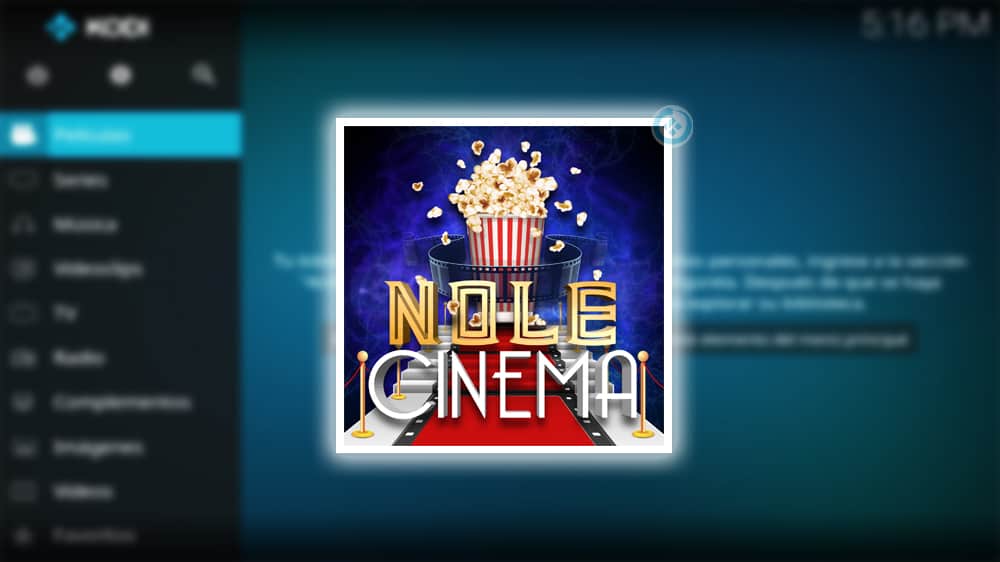
Nole Cinema Kodi Addon
Source: http://magnetic.website/repo
Nole Cinema is a great example of a Kodi addon that does 1 thing and does it well. You can just find movies on Nole Cinema. What we love about Nole is that it doesn’t try to do everything like lots of other add ons.
Kodi is inundated with add on which want to do Live TV, Movies, Tv Shows, Sports and everything else, and just end up doing them all poorly.
Nole Cinema is probably one of the best add ons, on Kodi when it comes to cinema. Not only do you have the latest releases and easy to navigate categories, but you have tonnes of fantastic box sets relating to franchises so you can binge-watch one after the other.
If you really want to get the best out of Nole Cinema we recommend paying for a Real Debrid subscription, which will give you greater access to high-quality links as well as 4K quality streams. However even without Real Debrid, Nole Cinema works great and uses an Auto Play function like Movie Theatre Butter.
This means it will simply find the best link and start playing straight away, so you don’t have to sift through working links. Links will generally be in 720p or 1080p quality.

Common Errors
Here are the 4 most common errors you might encounter with Nole Cinema:
- Could not connect to URL/Download: If you have a problem connecting to the URL source for the add on, first check the spelling and the repository. Next try again, just in case there is a glitch with the server. If the problem persists go through our guide linked above.
- Source not working/slow/frozen: When you have autoplay enabled, Nole Cinema will find a working link for you automatically. However, if you always want to get an HD or 4K link you may need to switch off autoplay and go hunting for the link yourself. Give 10 seconds for the link to load and refresh the link a few times to see if that gets it working. If that still doesn’t fix the problem, then read about more fixes guide lined above.
- Kodi check log error: After you have been using Kodi for a while you may start getting check log errors. Generally, this means you just need to clear your cache. To find out how to clear cache, and download system tools to clean up Kodi read on the guide linked above.
- Script error: A script error means either the add on or your Kodi install is corrupted. Check the add on and if the problem persists you may need a fresh install of Kodi. To learn this and more fixes read on the guide linked above.
Review
Nole Cinema is a fantastic add on and so simple to use. When you click on a movie title all you must do is choose between 720p, 1080p, and HD quality and then play. Nole will do everything else.
To get the best out of Nole Cinema and have it running as fast as possible, we recommend you turn off metadata processing, which you can do by:
- Going to the Kodi Home screen
- Click Add ons and then video add ons
- Select Nole Cinema and then click settings
- Click customization and then turn off the setting for enable metadata
Nole Cinema should run much smoother, which is handy if you are using a lower RAM device like an Amazon Firestick.
Nole Cinema has the following categories:
- Romance
- Sci-Fi
- Adventure
- Animation Domination
- Comedy
- Crime
- DC Comics
- Drama
- Thrillers
- War
- 4K Community
- New Releases
- Classics
- Action
- Fantasy
- Gangster
- Horror
- International
- Marvel Universe
- Mystery
- Sports
- Collections
ReviewVPN cannot attest to the legality, security and privacy of the applications discussed on this site. It is highly recommended that you use a VPN service while streaming or using Kodi. Currently, your IP 216.73.216.76 is visible to everyone and your Browser is being tracked by Advertisers & ISP Provider. Here are the main reasons why you must use a VPN: A VPN works be replacing your ISP-assigned IP address and creating an encrypted tunnel. We recommend the no log service offered by IPVanish. It works well on a Firestick and offers the fastest possible speeds.
YOUR INTERNET ACTIVITY IS BEING WATCHED
How to Install Nole Cinema Addon on Kodi with Screenshots
- From the home screen, select the cogwheel at the upper left.

2. Select System in the bottom right corner.

3. Select Add-ons on the left side of the screen.

4. Select Unknown sources.
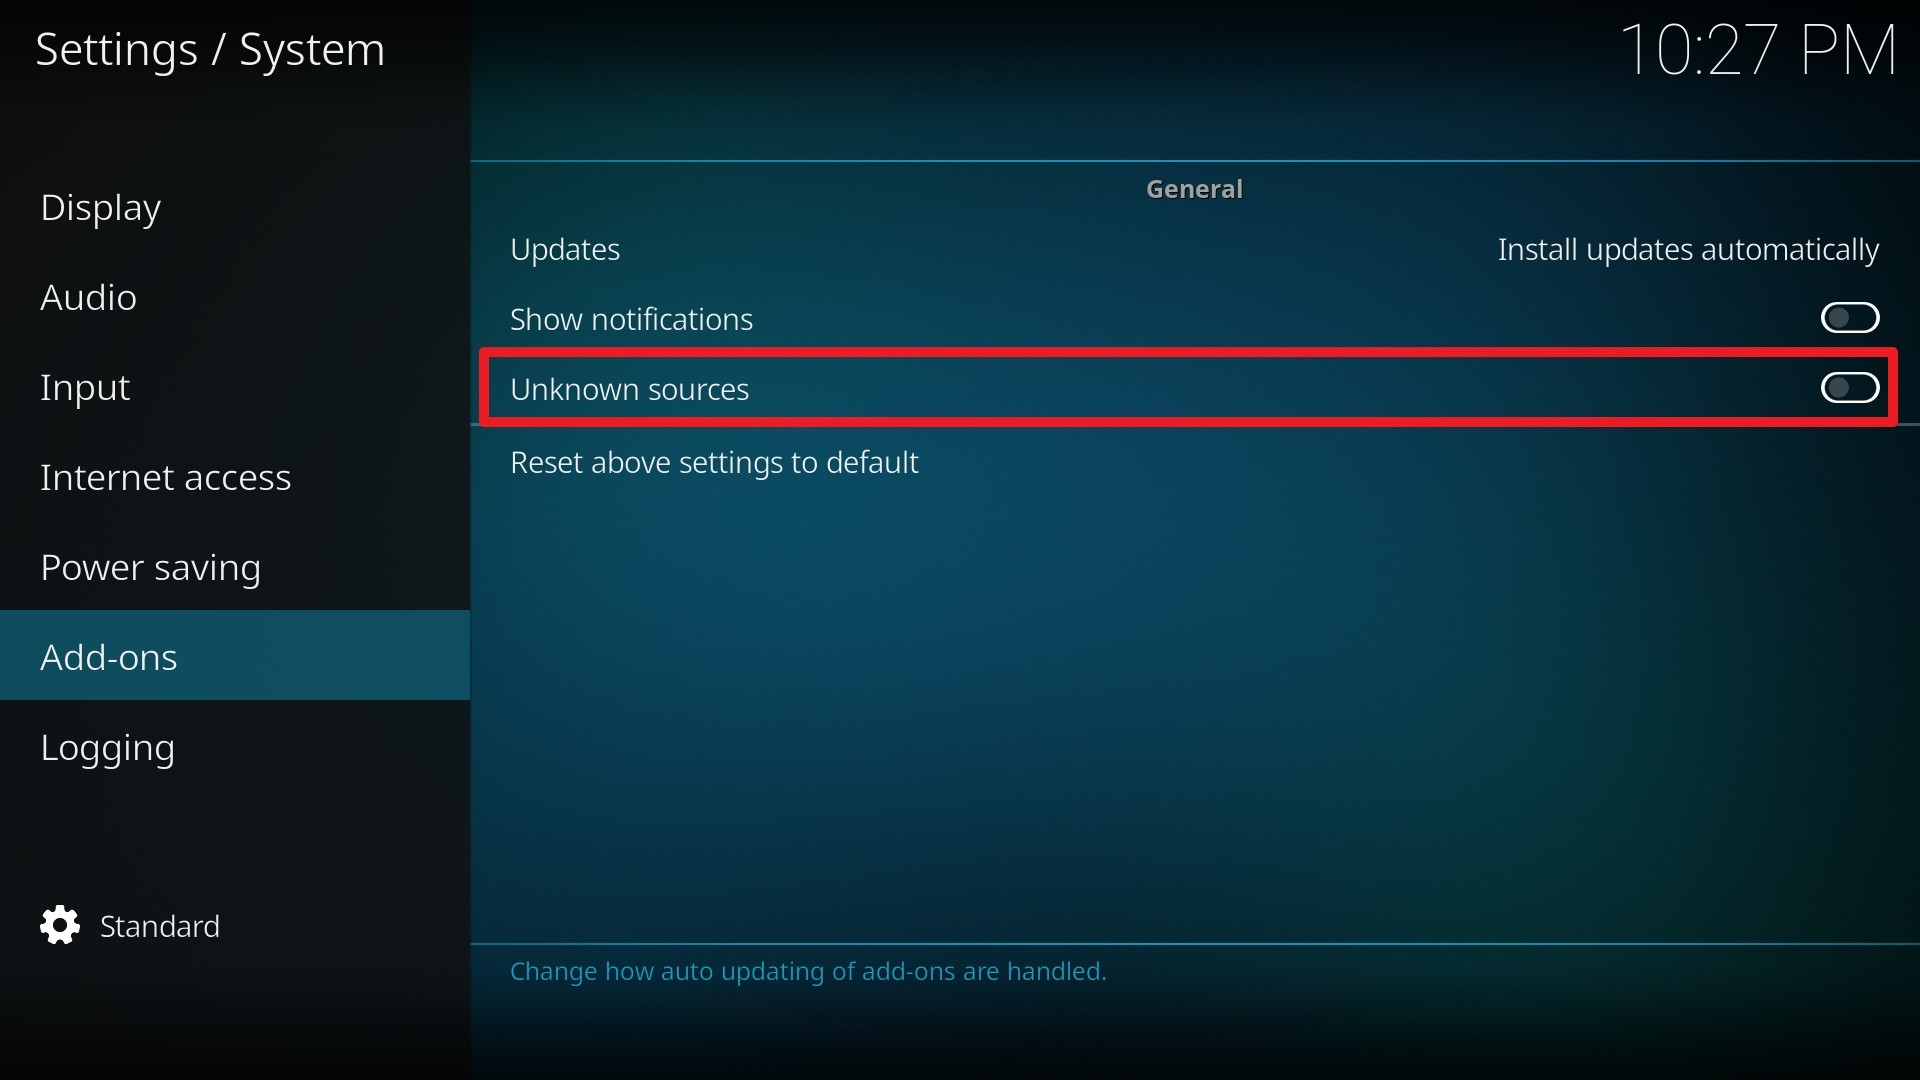
5. Click Yes to allow unknown sources.

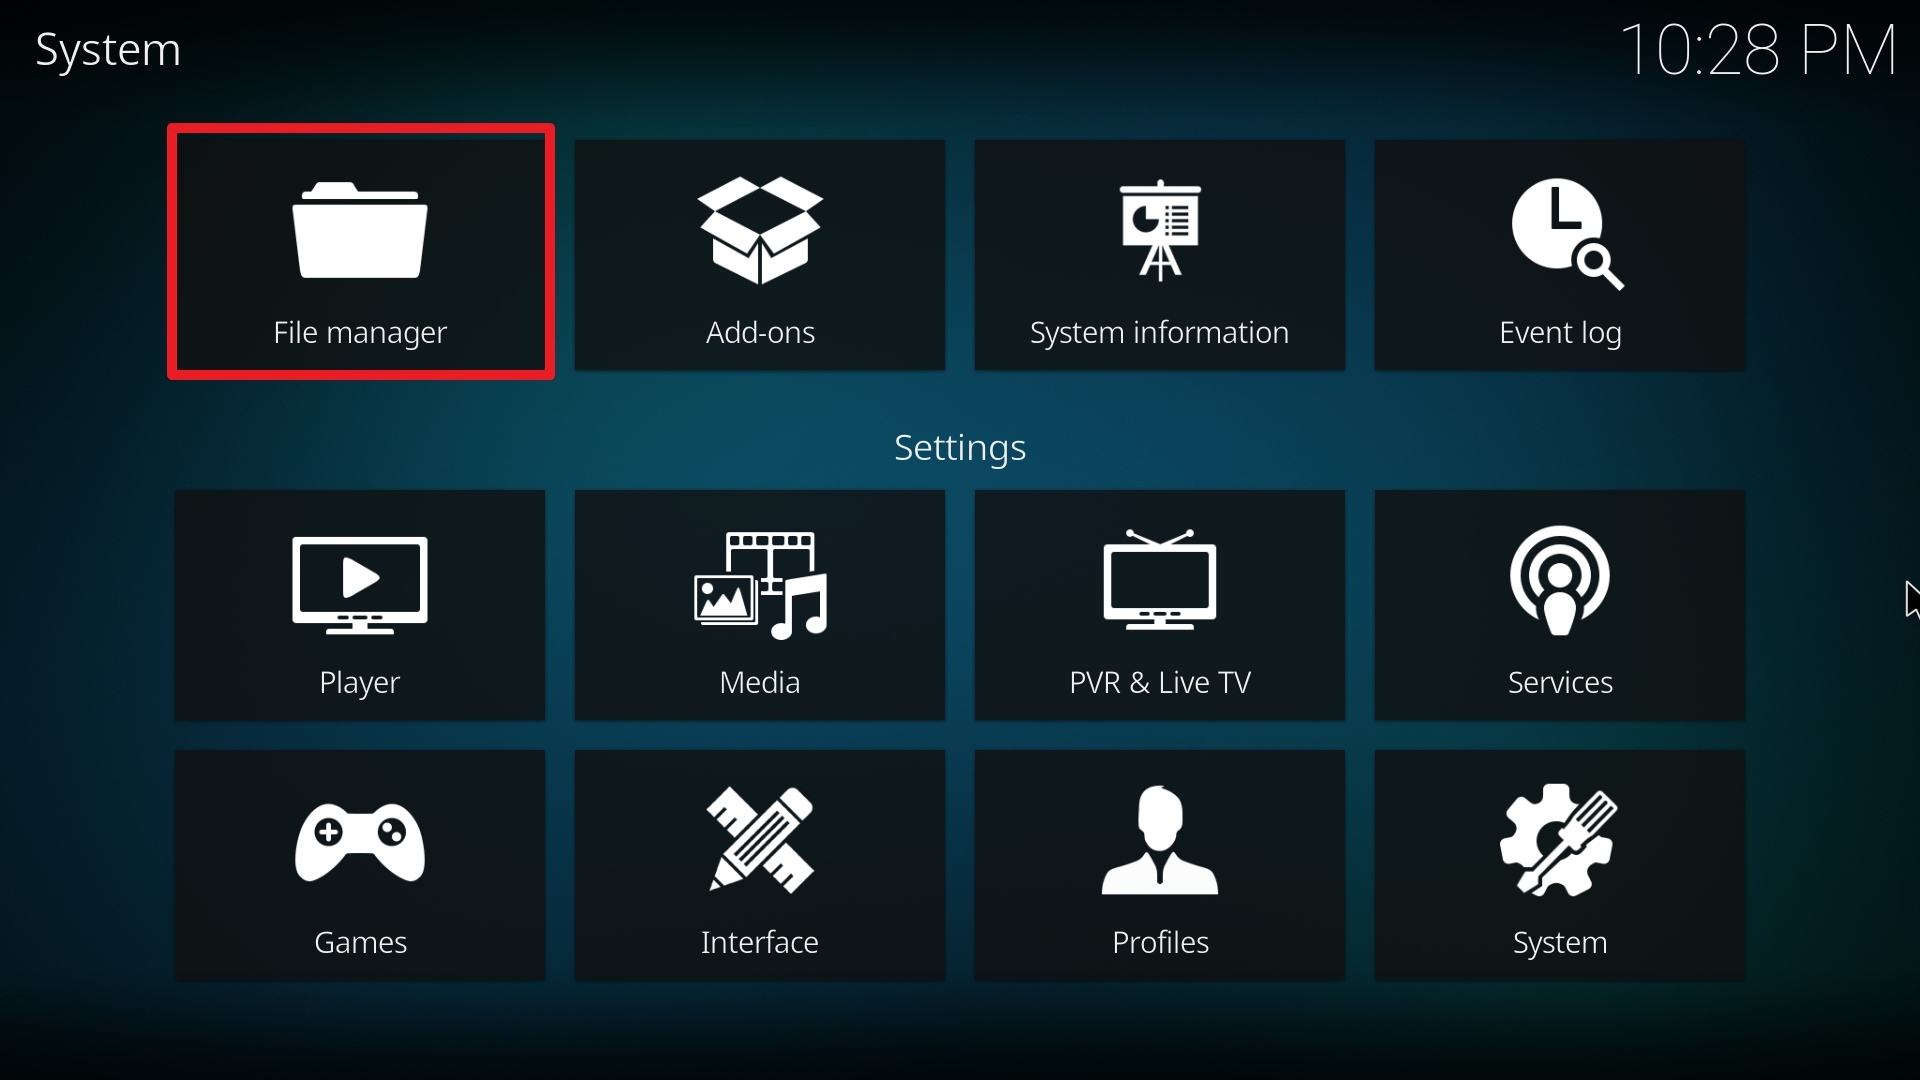
6. Select File manager.
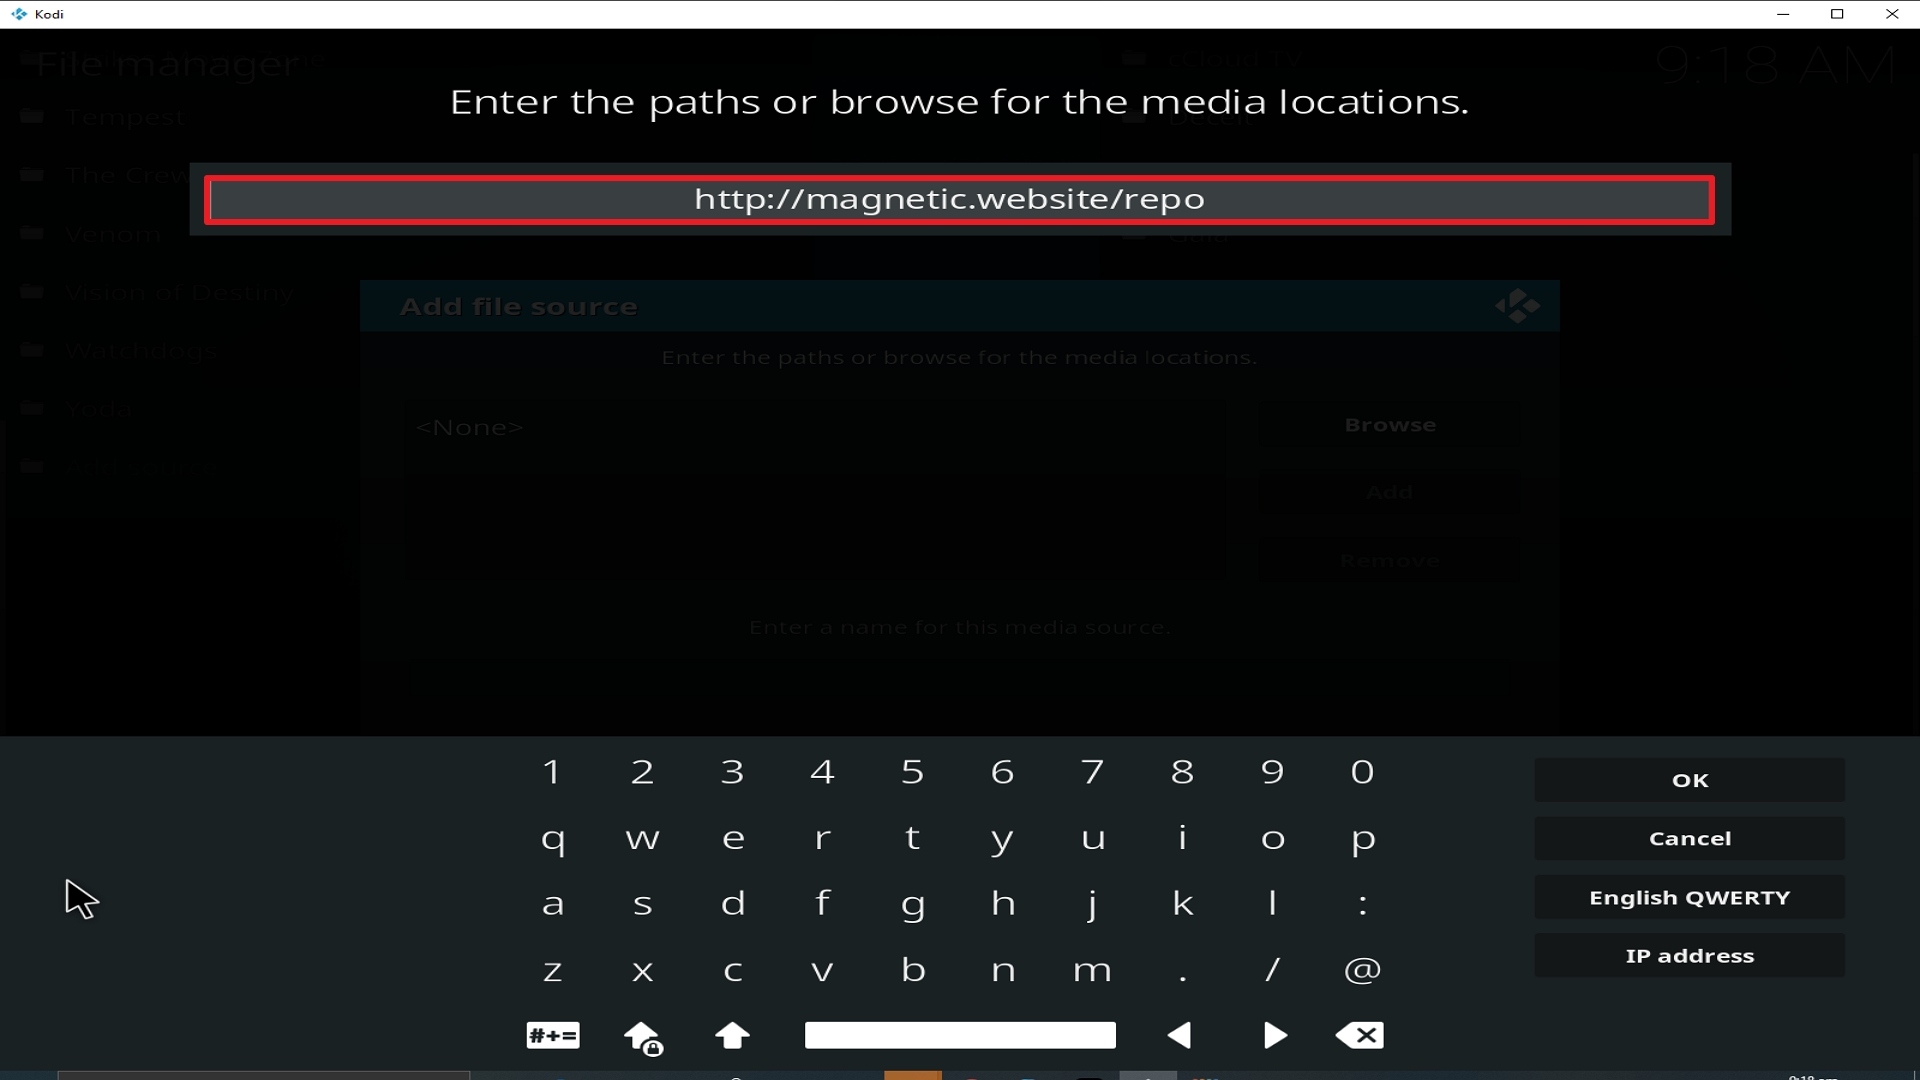
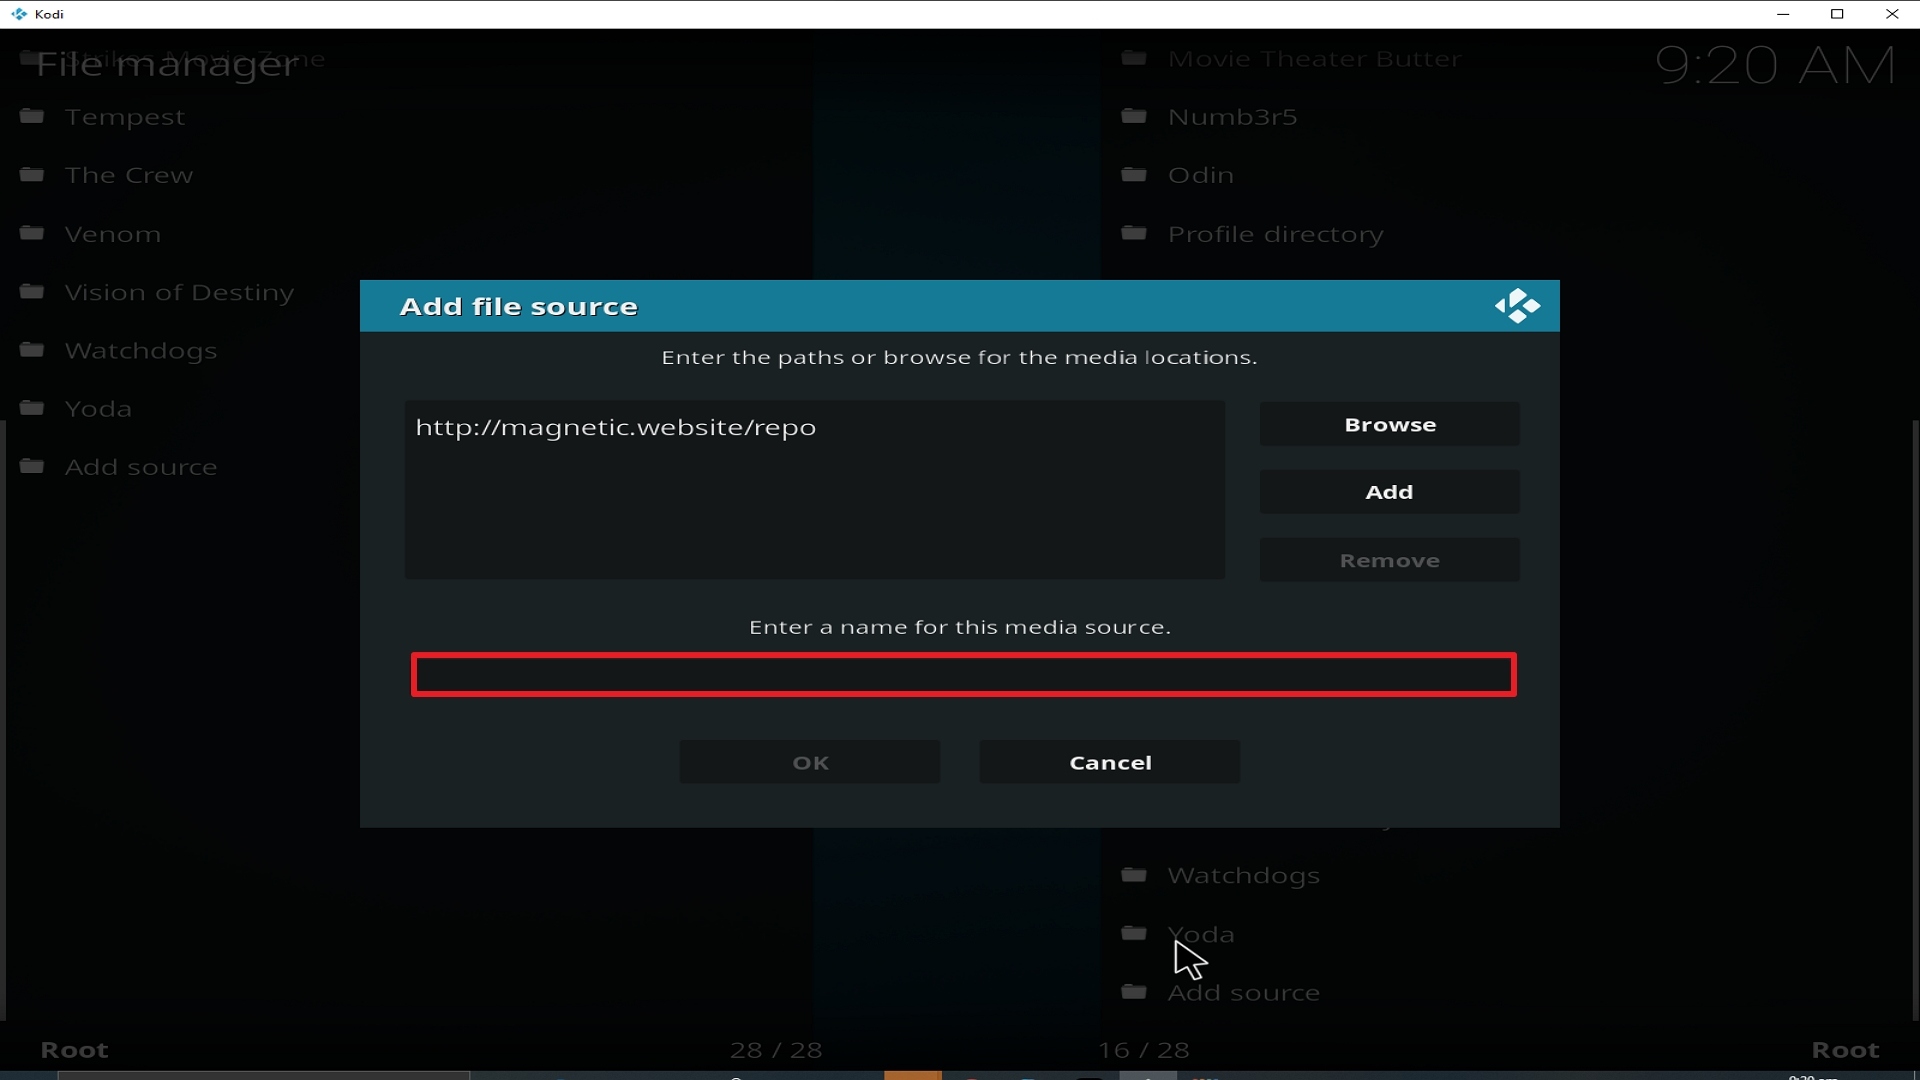
7. Click Add source.

8. Click on <None>.

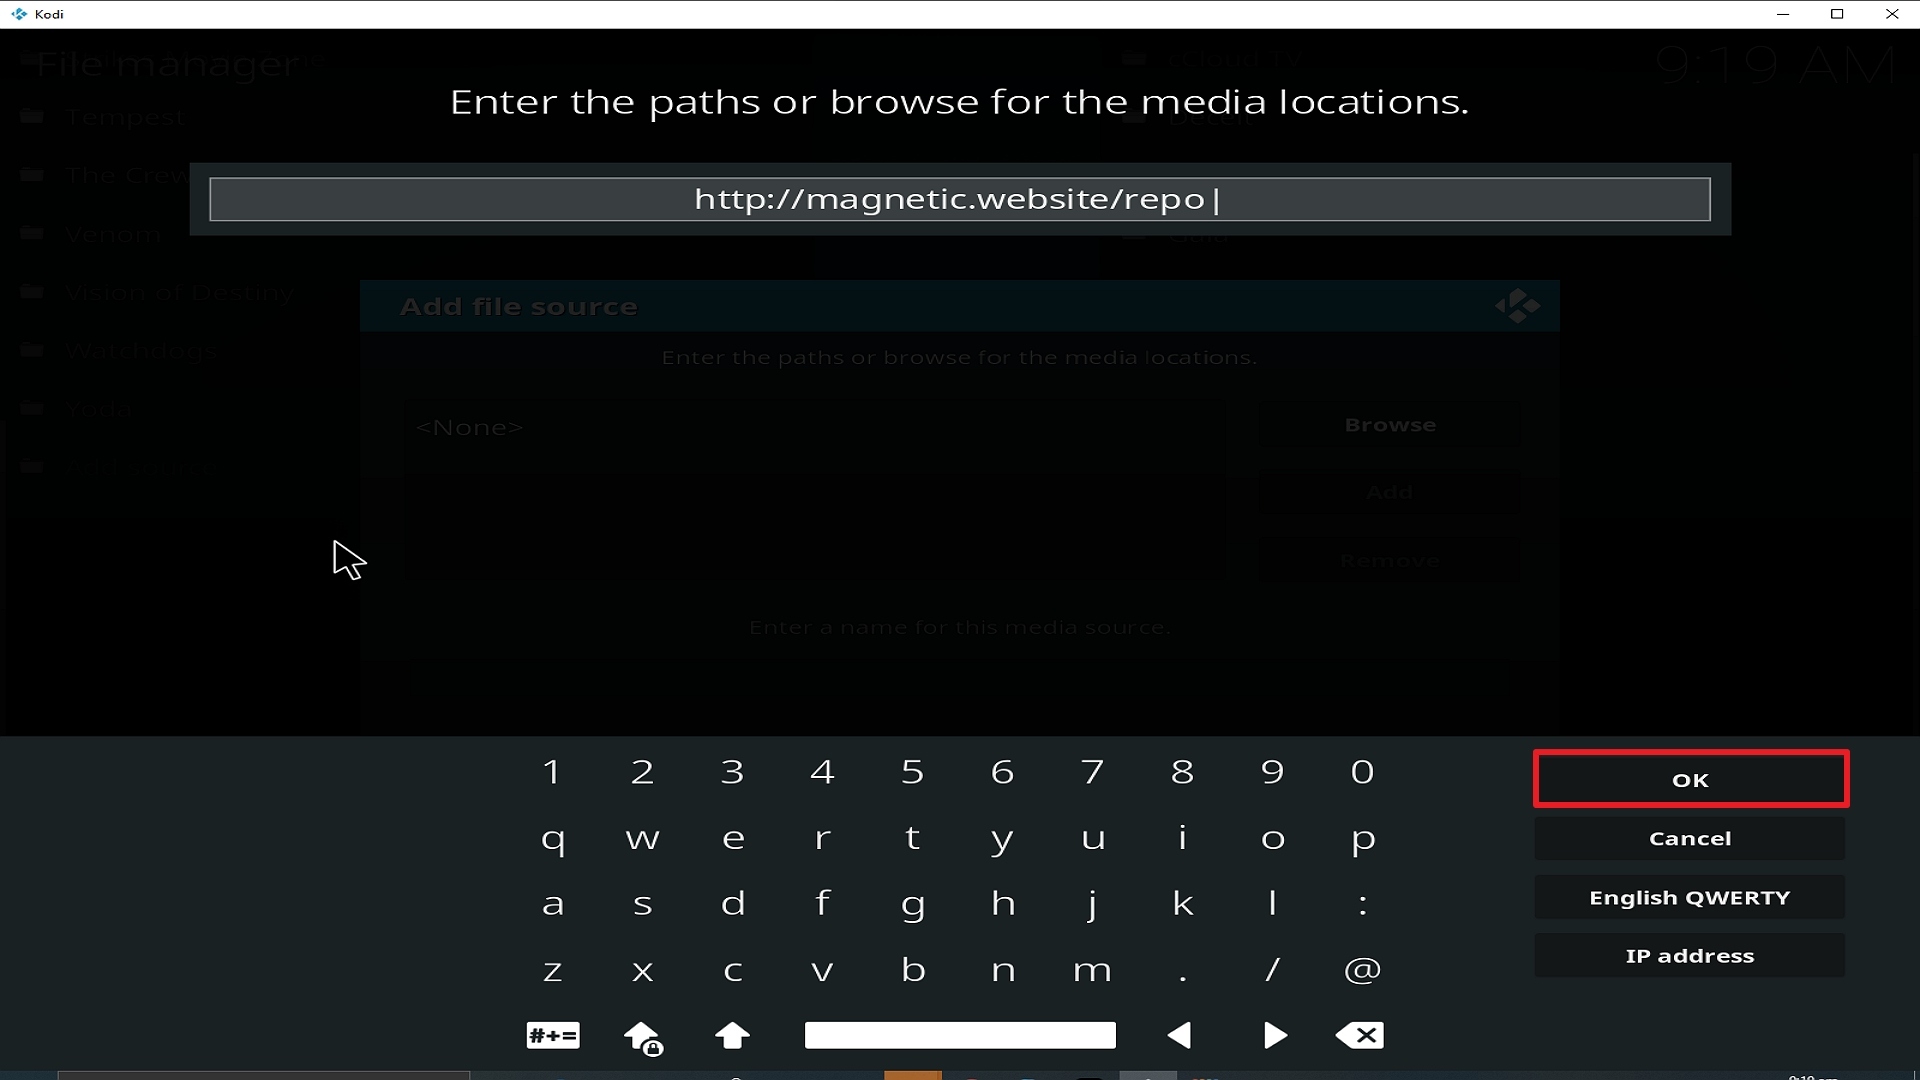
9. Type exactly: http://magnetic.website/repo
10. Click on OK.
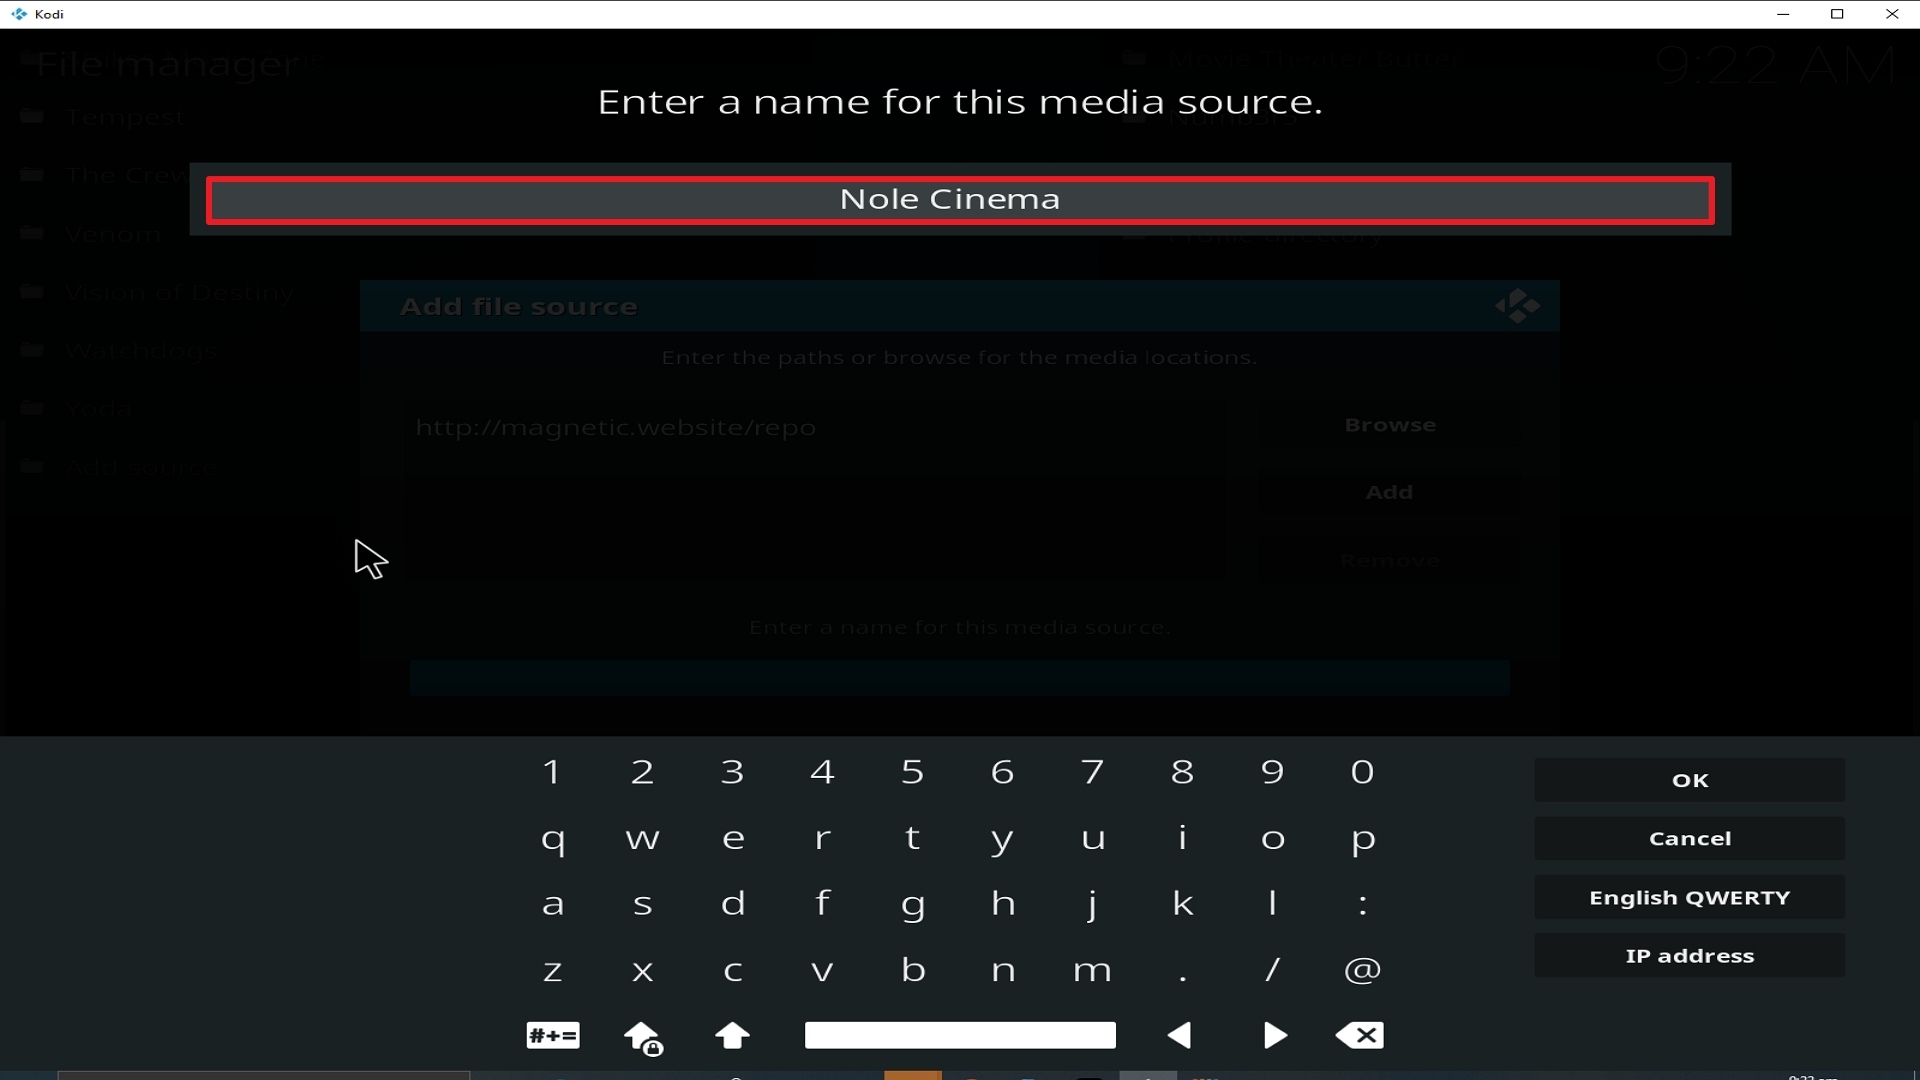
11. Select enter a name for this media source.
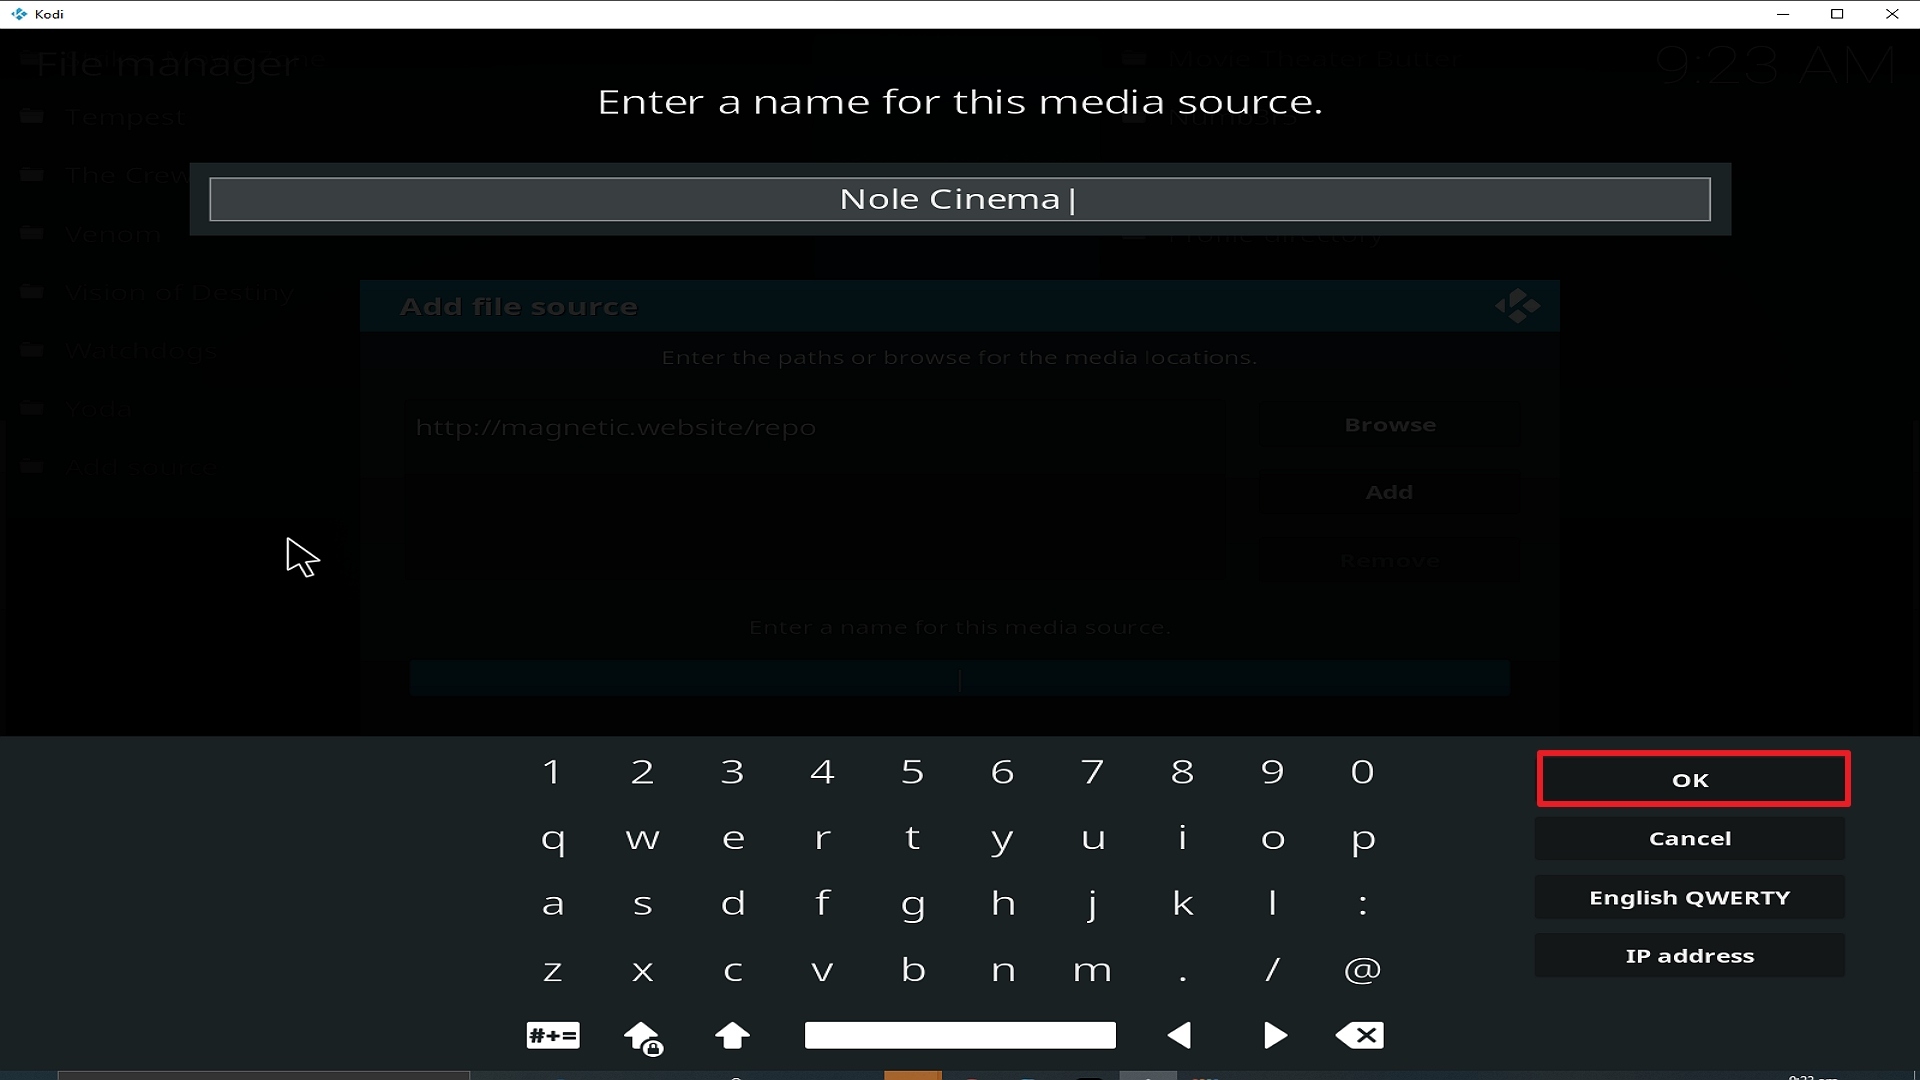
12. Name is Nole Cinema (this part isn’t critical as long as you remember the name).
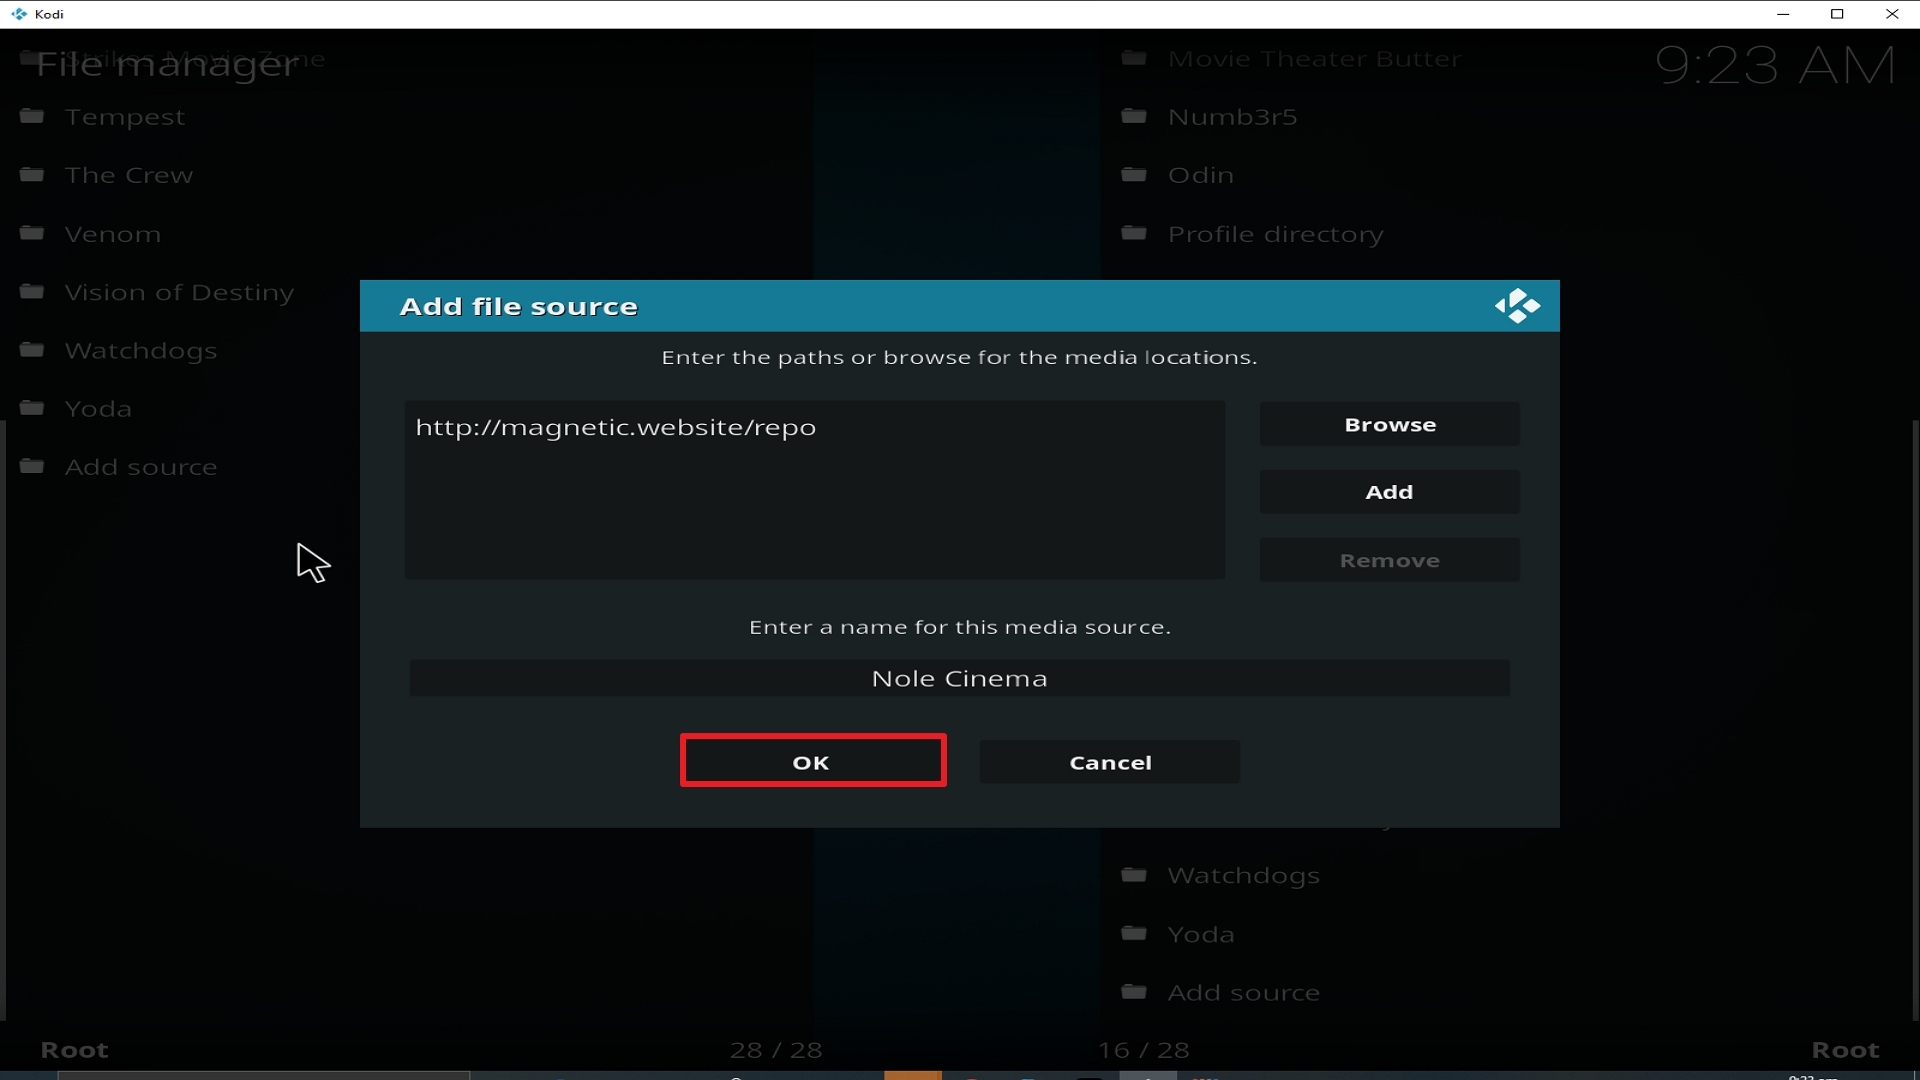
13. Click on OK.
14. Click on OK.
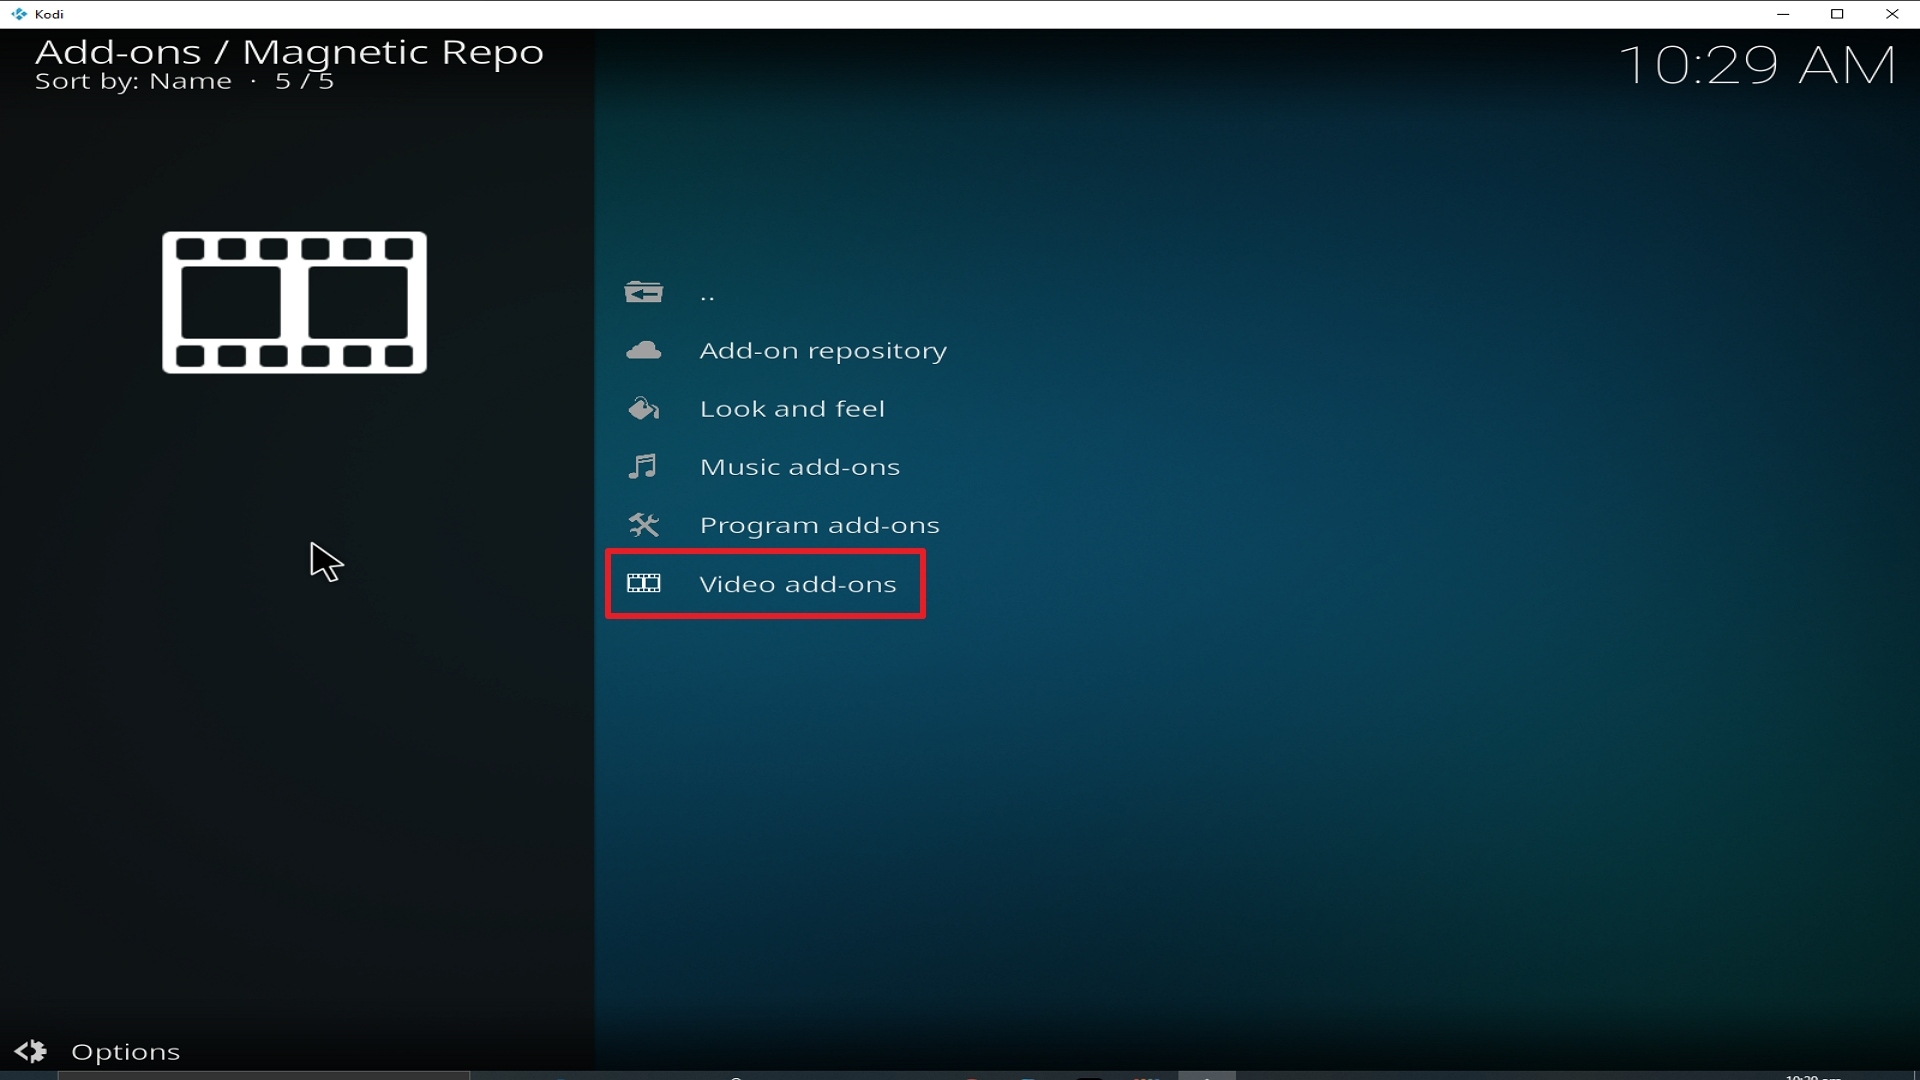
15. Take one step back and click on Add-ons.

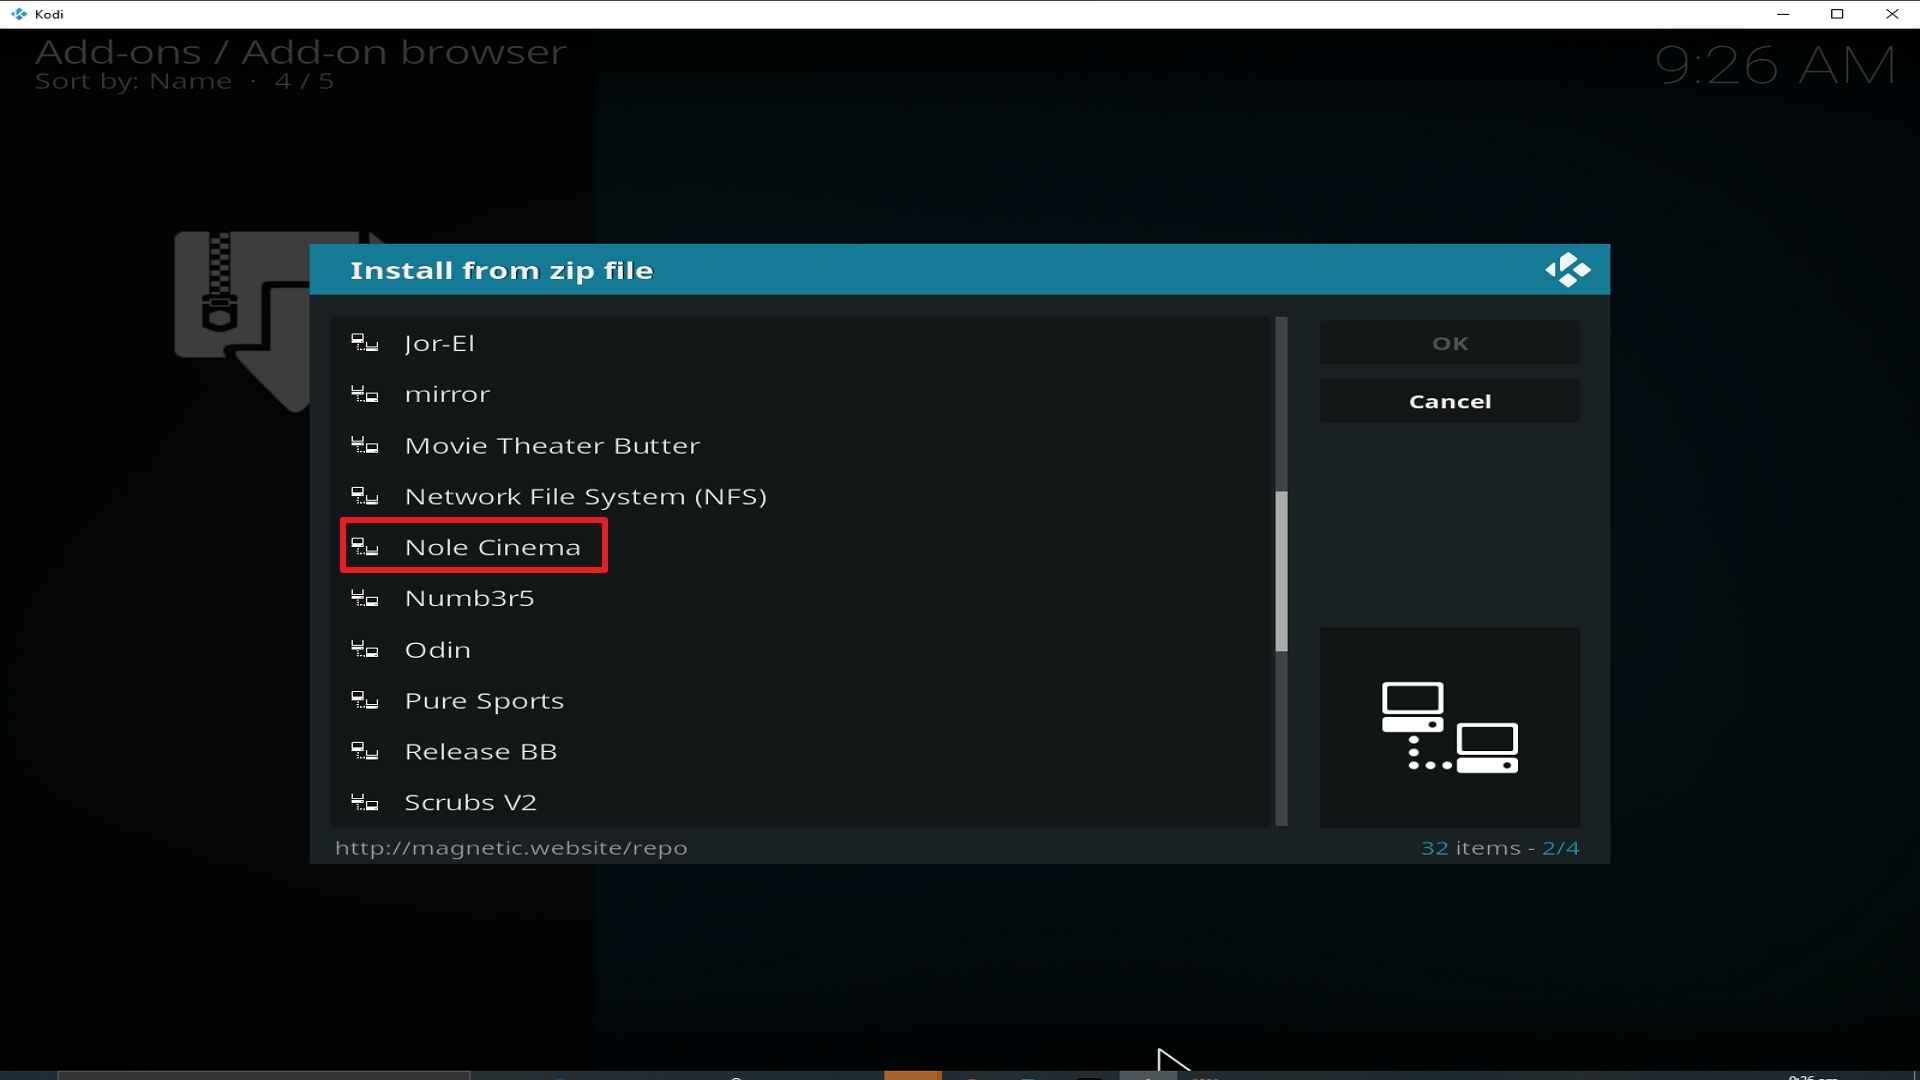
16. Select install from zip file.

17. Click on Nole Cinema (or whatever you named the source).
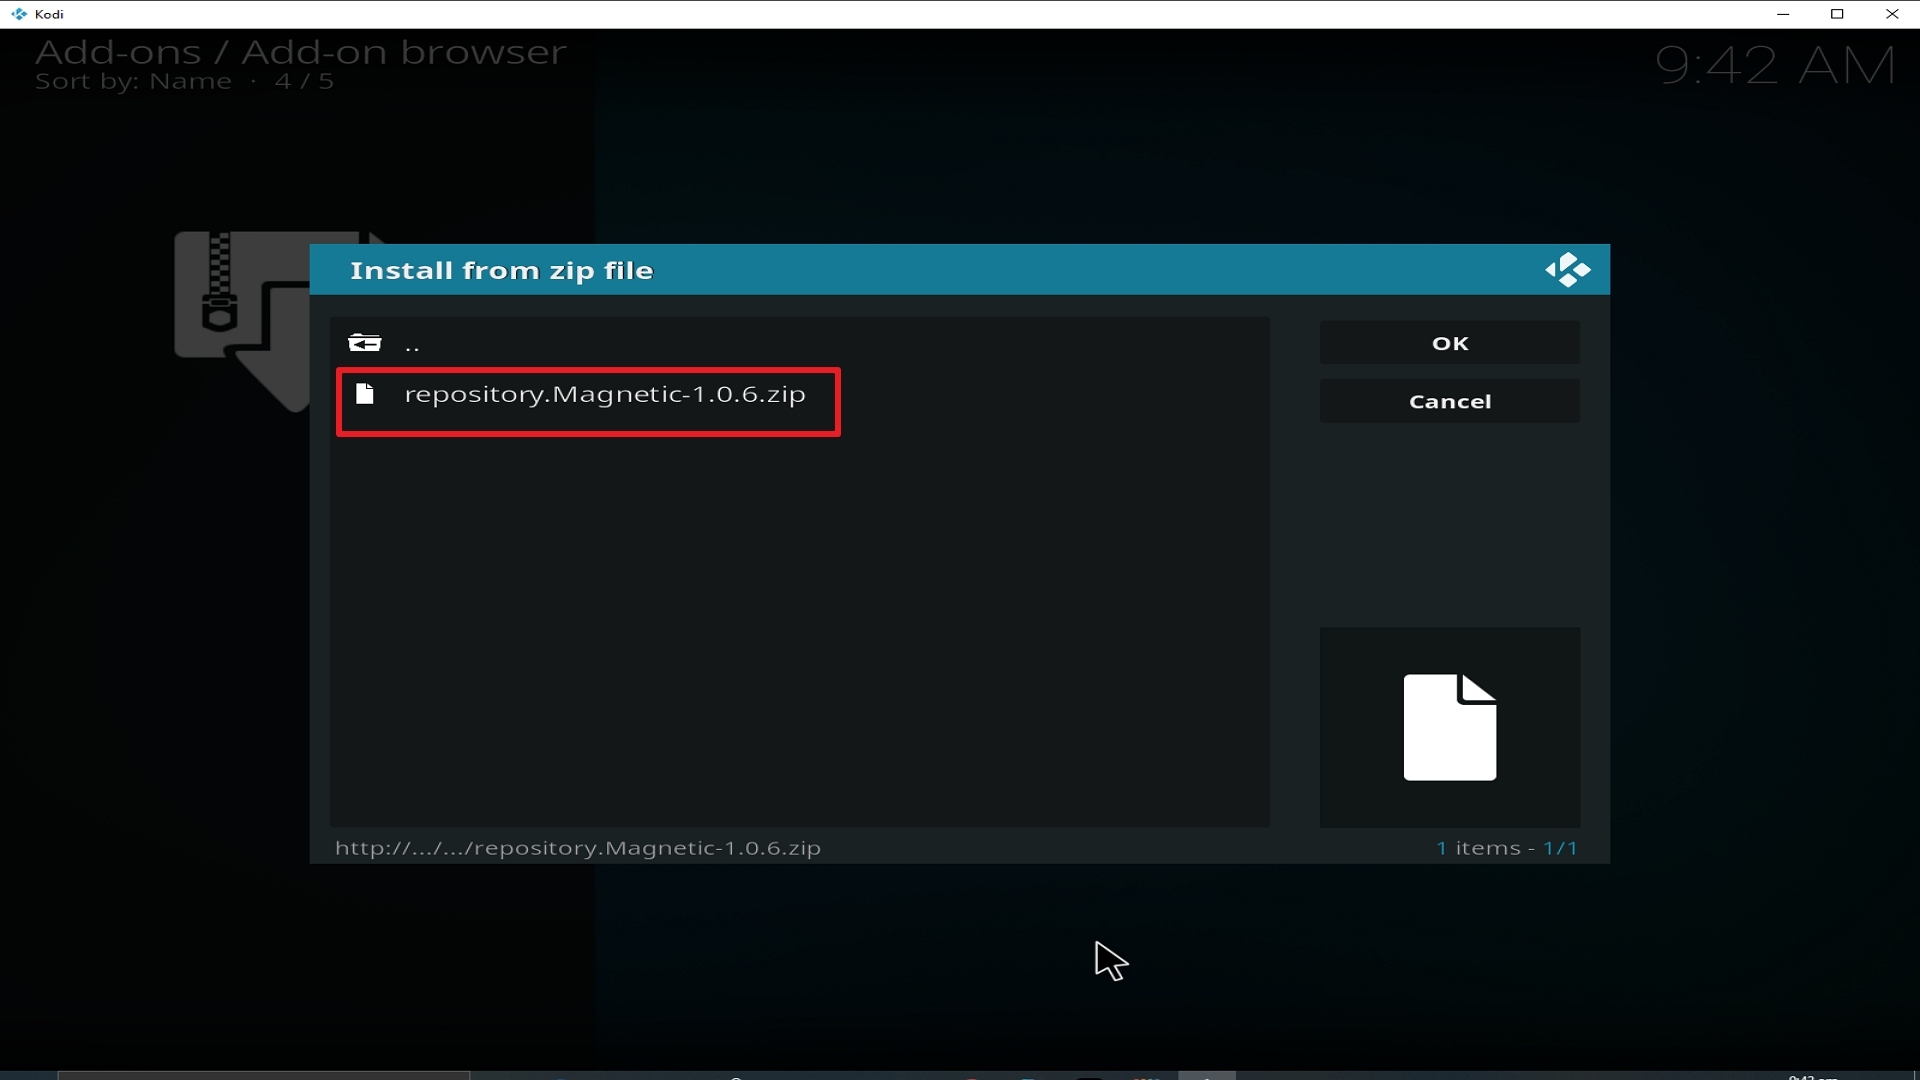
18. Click on repository.Magnetic-1.0.6.zip
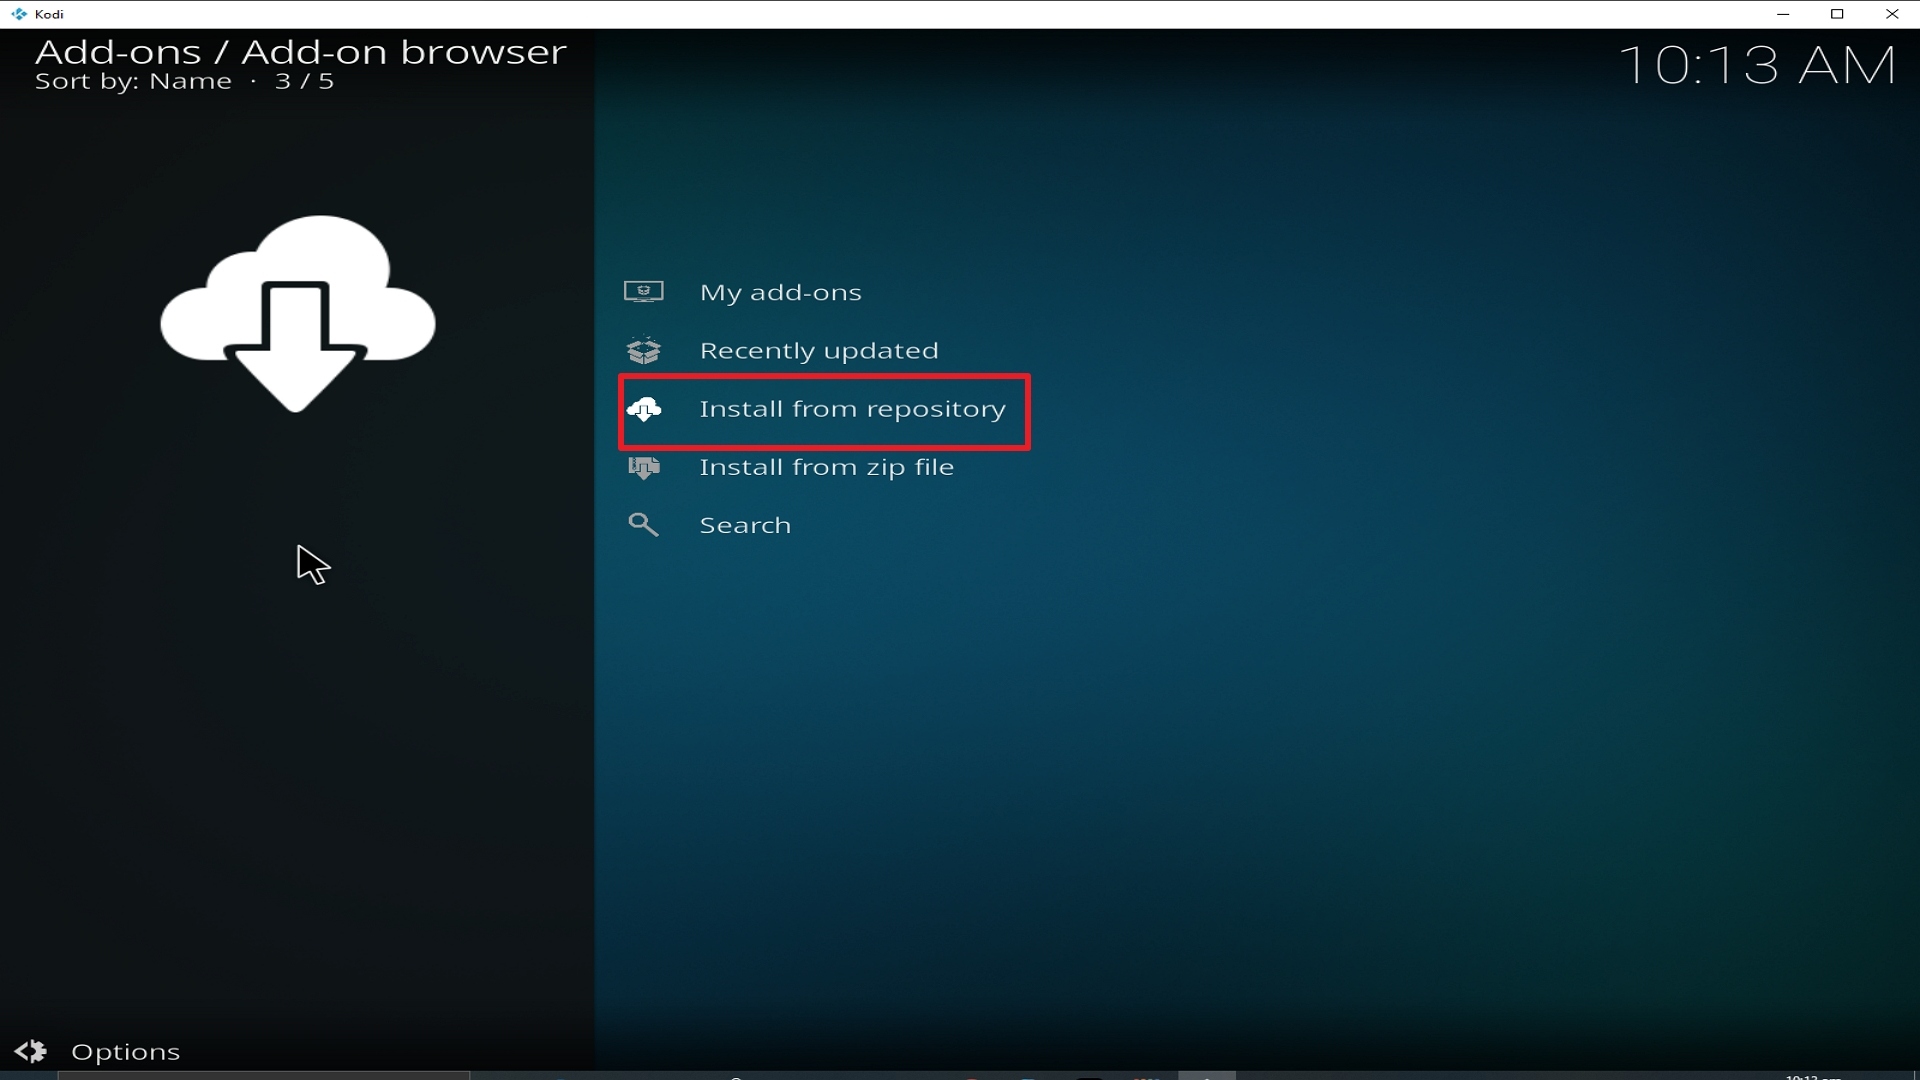
19. Select on Install from repository.
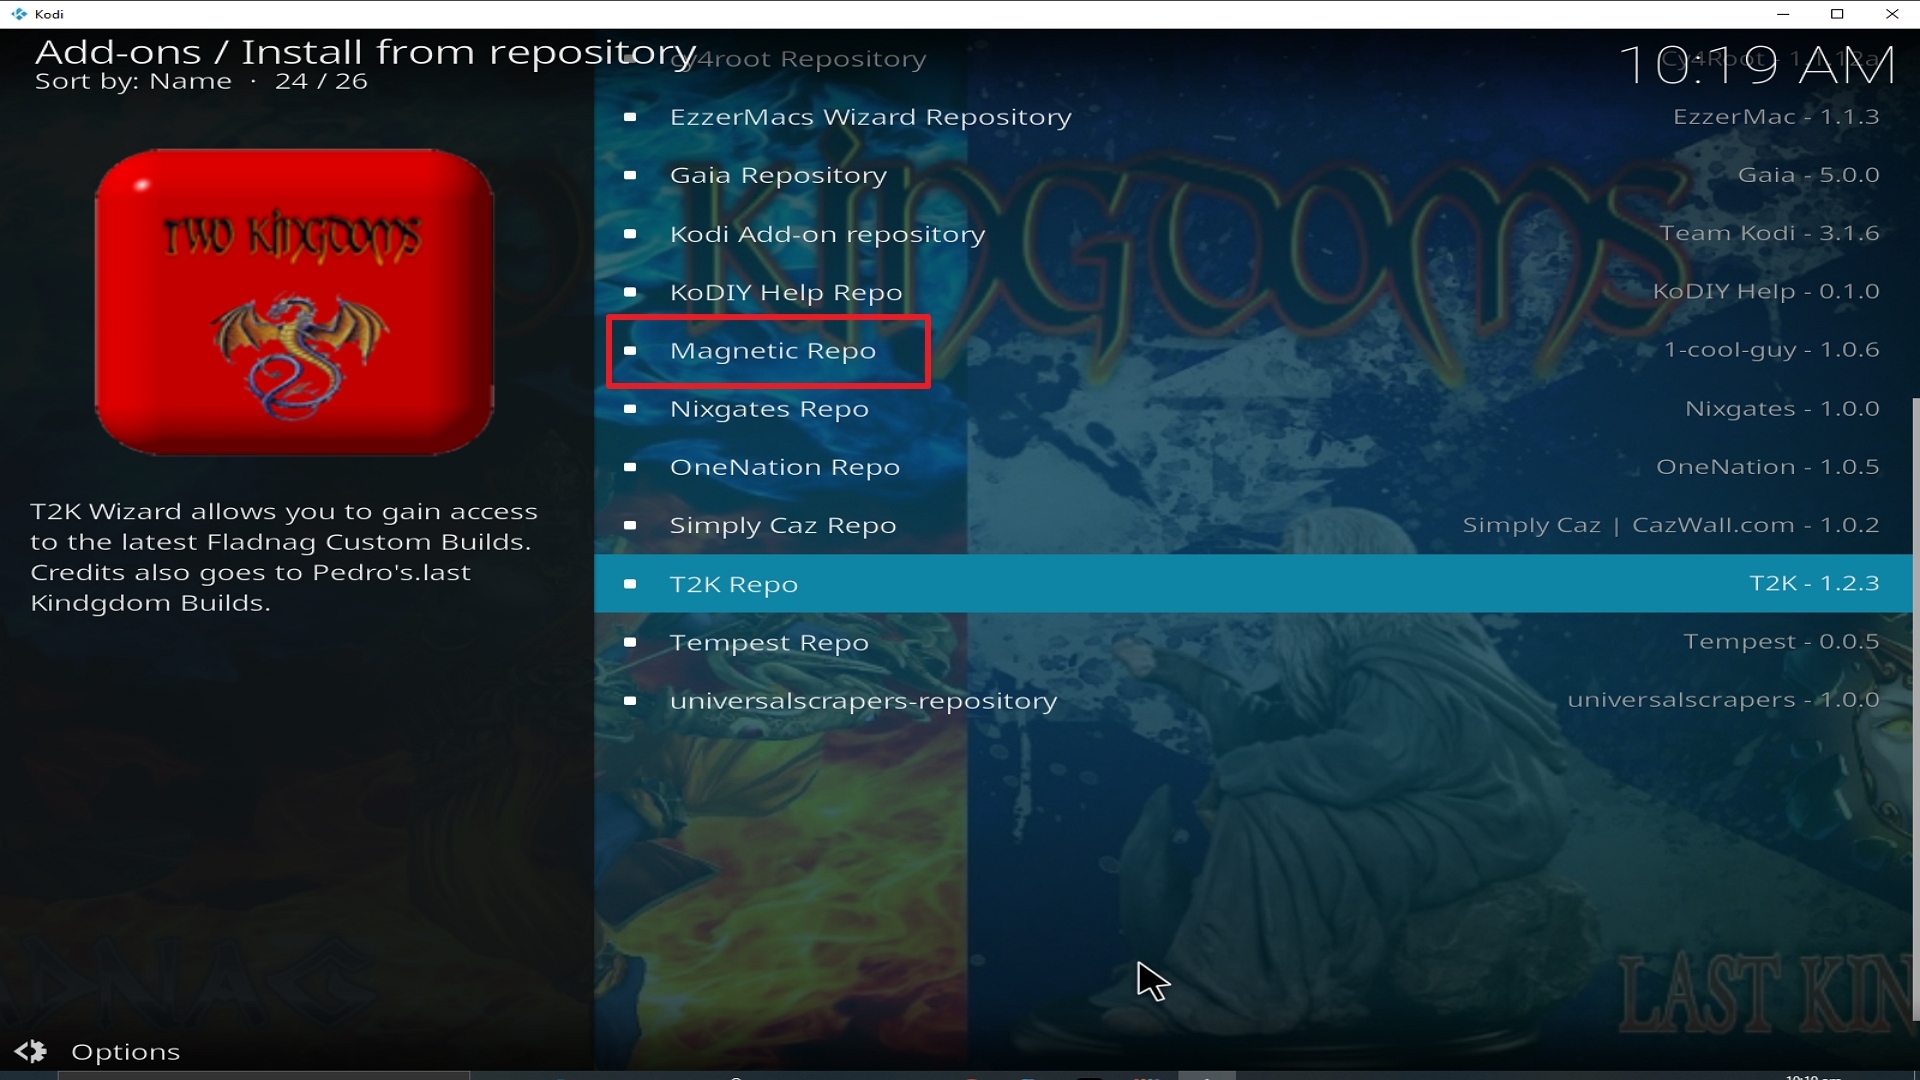
20. Click on Magnetic Repo.
21. Pick Video add-ons.
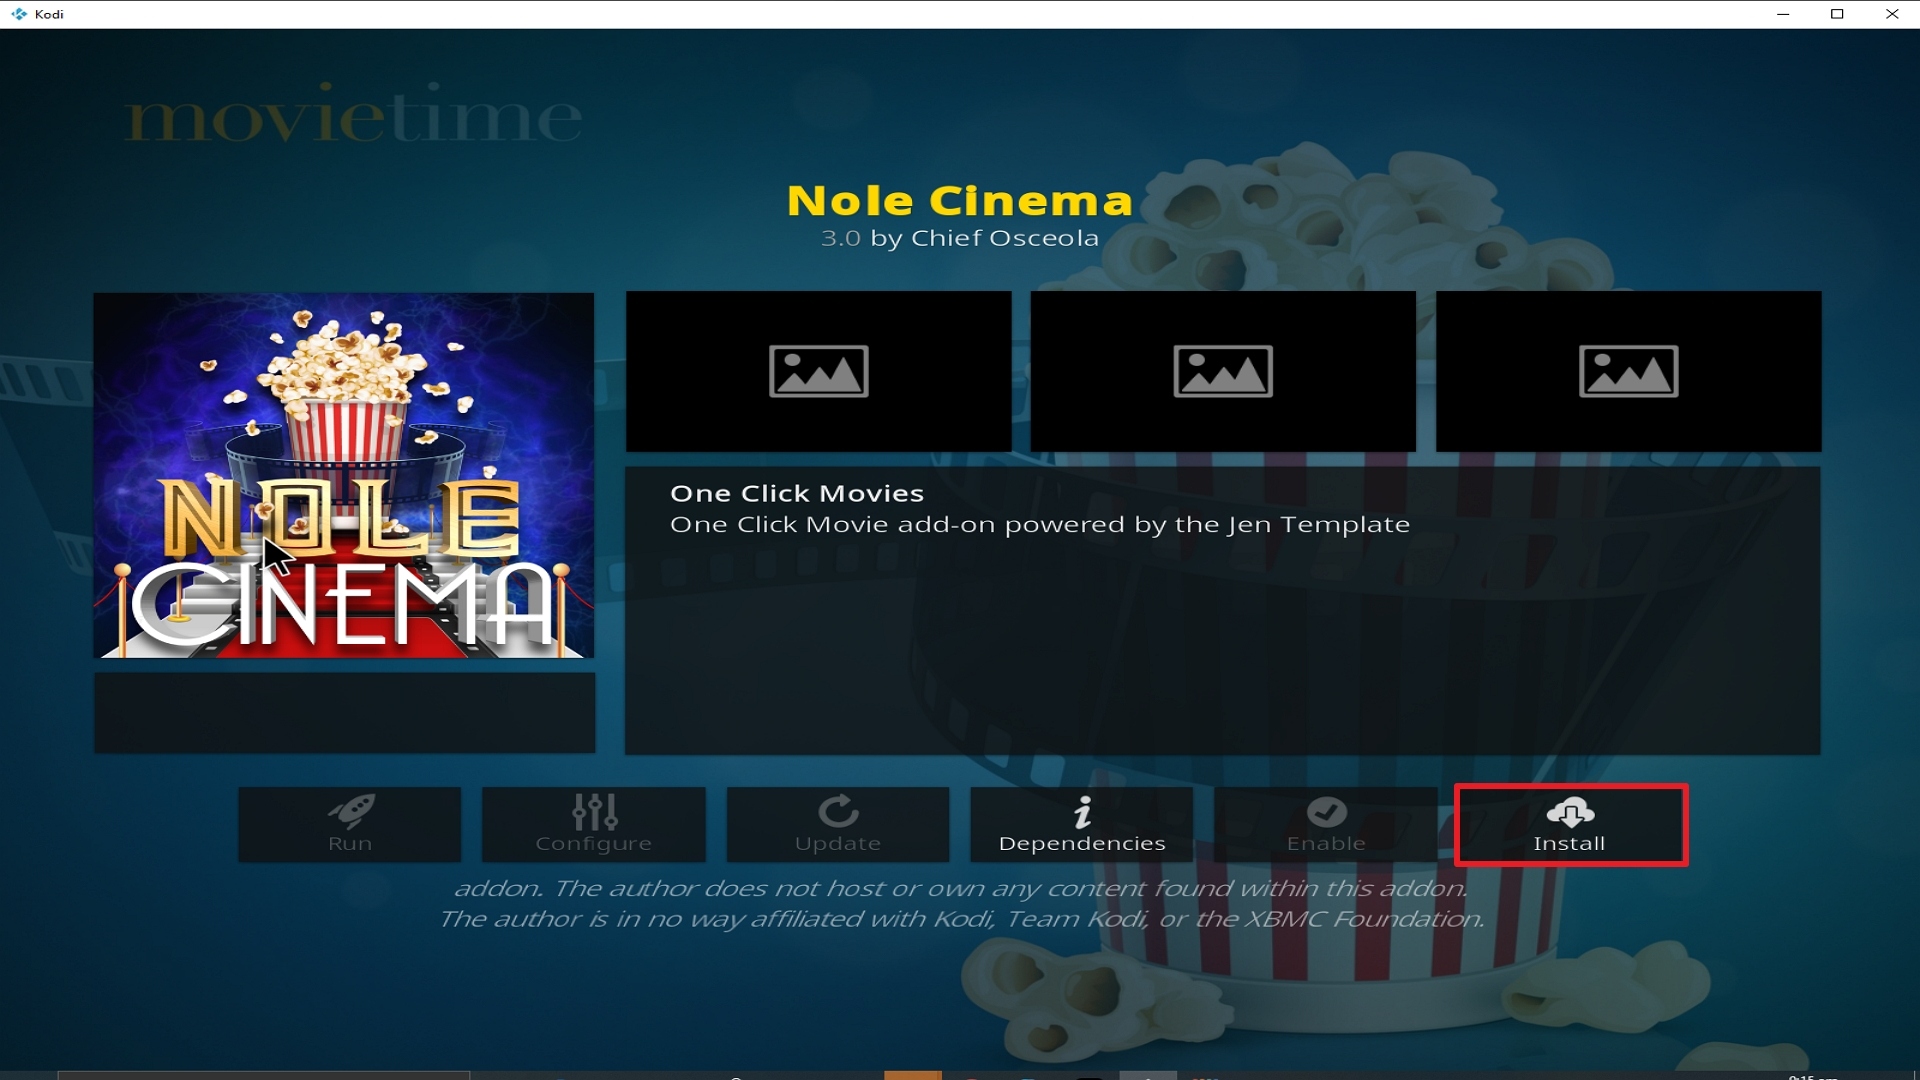
22. Select Nole Cinema again.
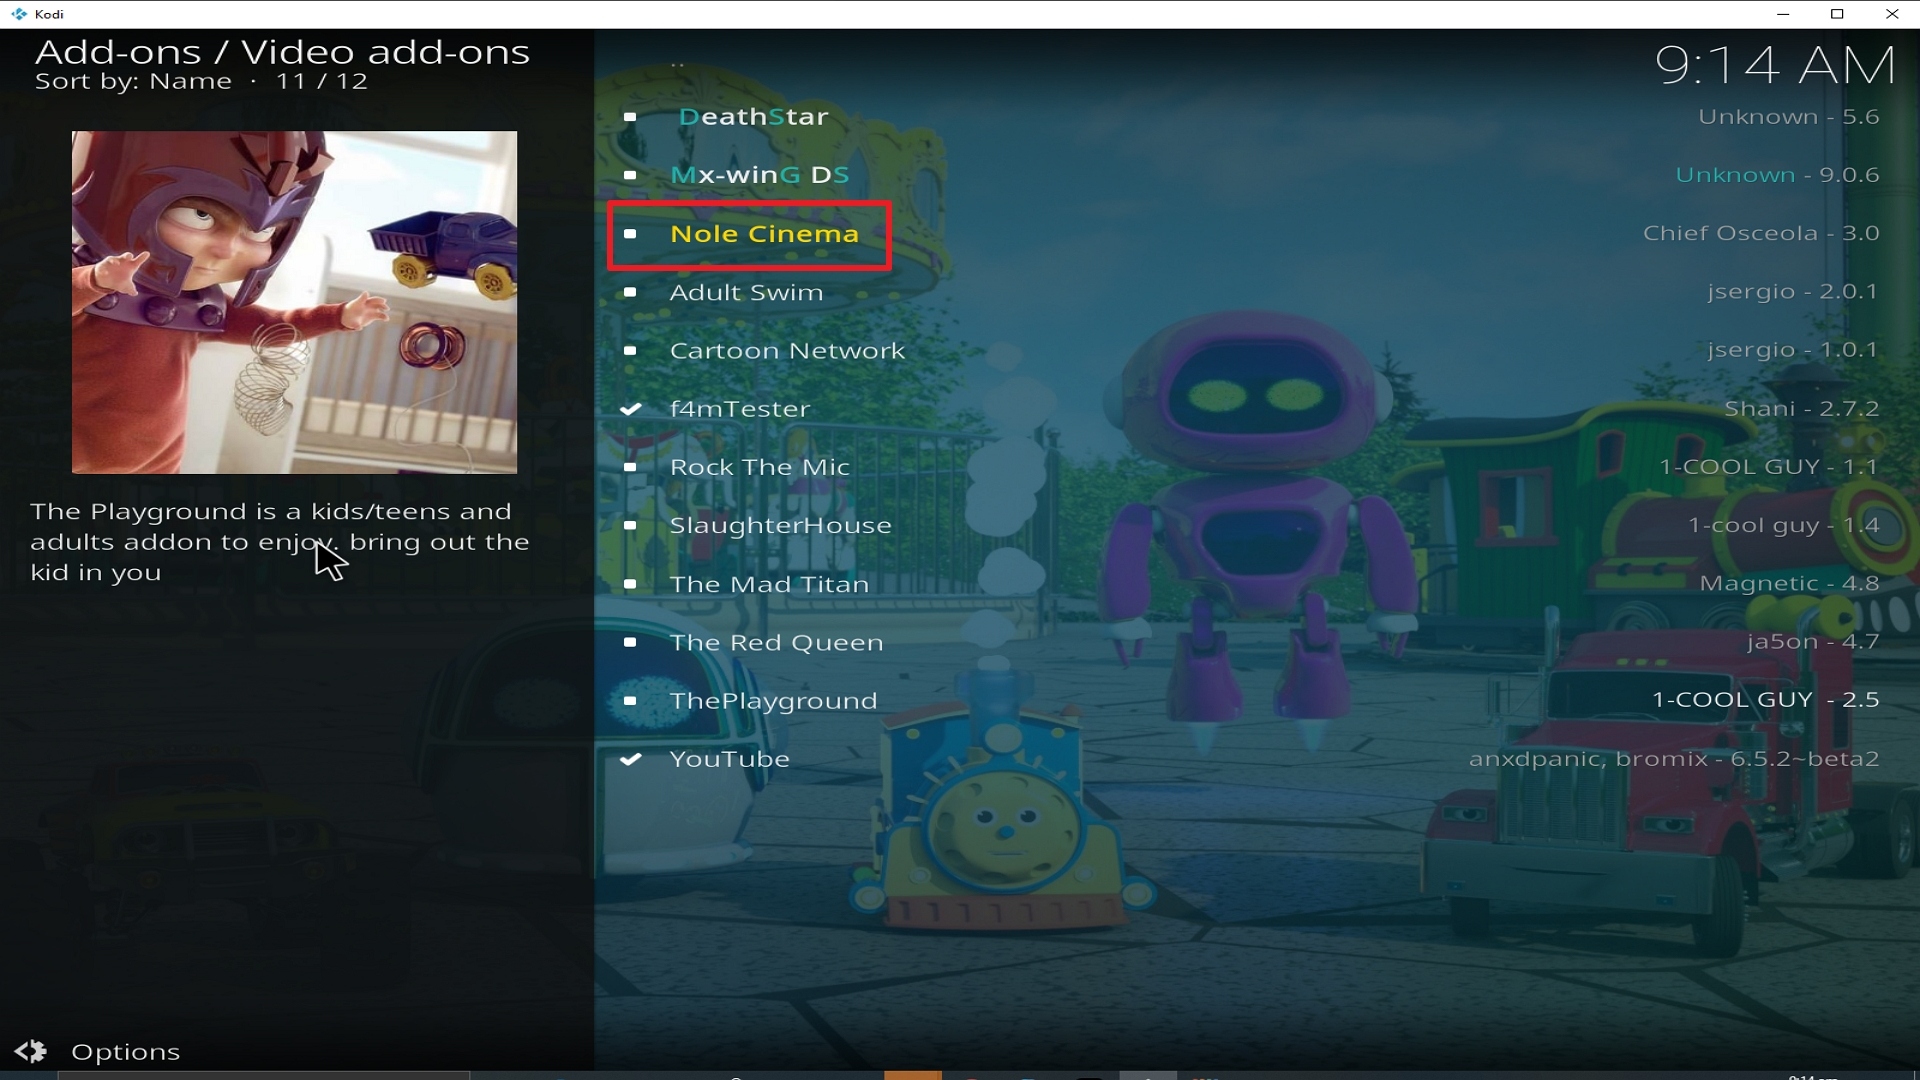
23. Click on Install.
24. Select OK after reviewing the add-ons that will be installed.
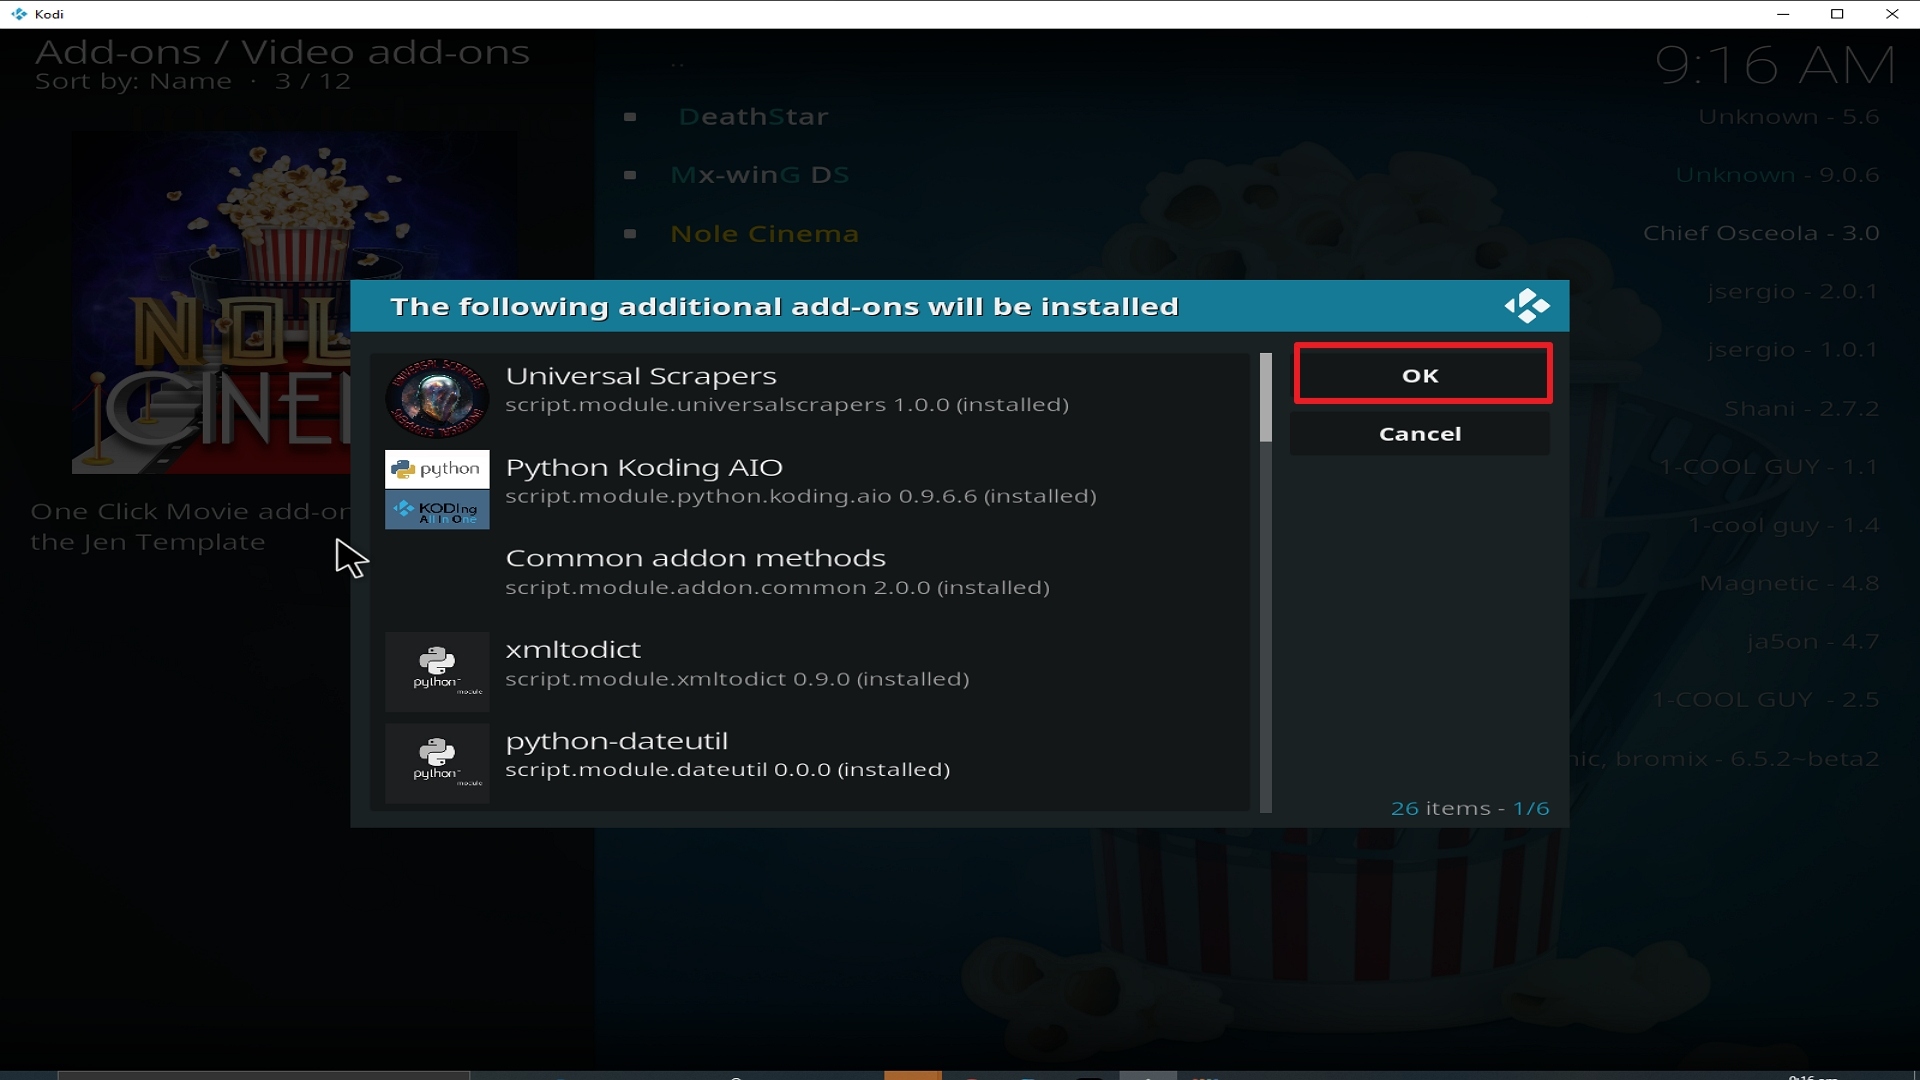
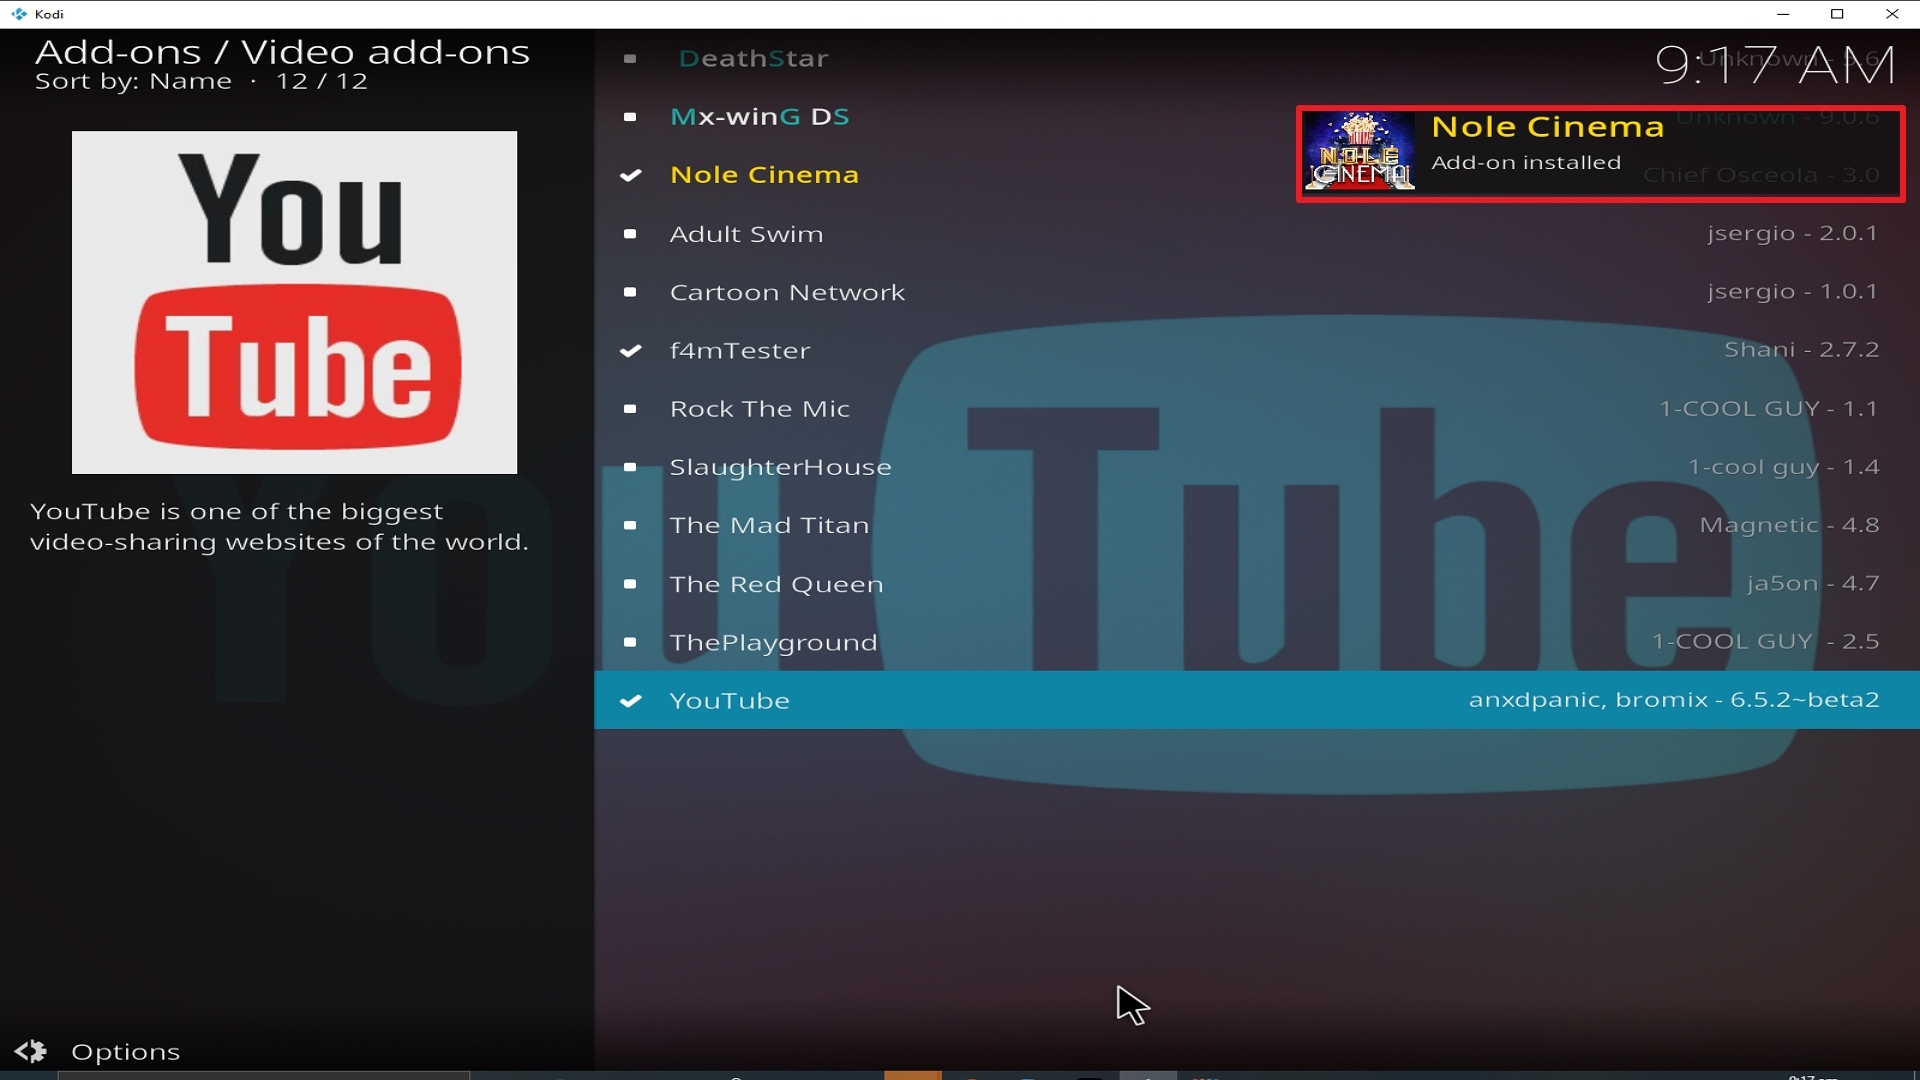
25. You should see a popup in the upper right corner saying Nole Cinema has installed. There will actually be multiple popups for the various components.
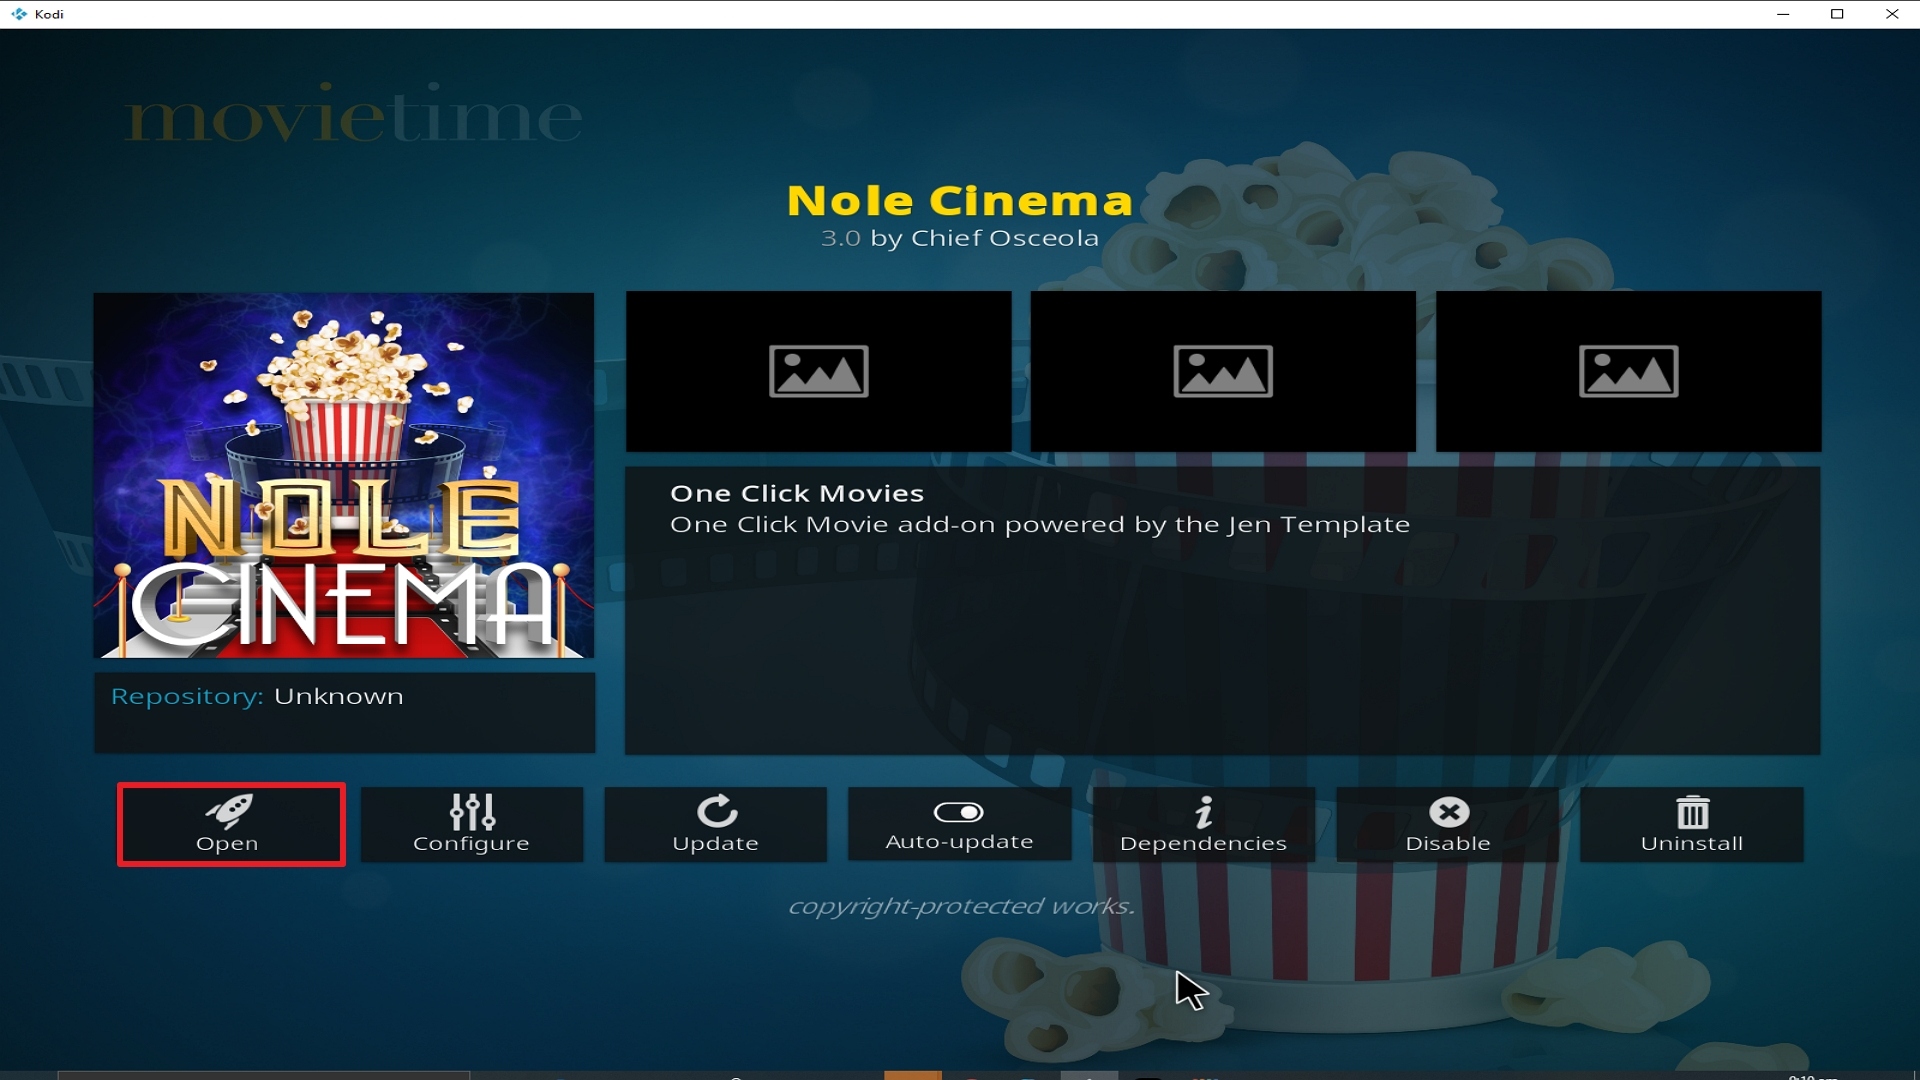
26. Click on Open to start the Nole Cinema add-on.
Grab your subscription now!
Click here to get the lowest price on Surfsharkthrough our exclusive limited-time offer.
How to Install Surfshark VPN on Firestick
If your Firestick still has the older interface, read this article to learn how to update it: Update Firestick Interface.
Follow our screenshots below to install the SurfShark VPN app on your Fire TV stick.
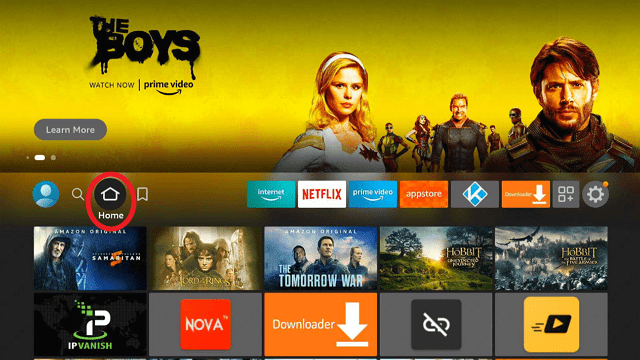
1. Go to the Home screen of your Firestick.
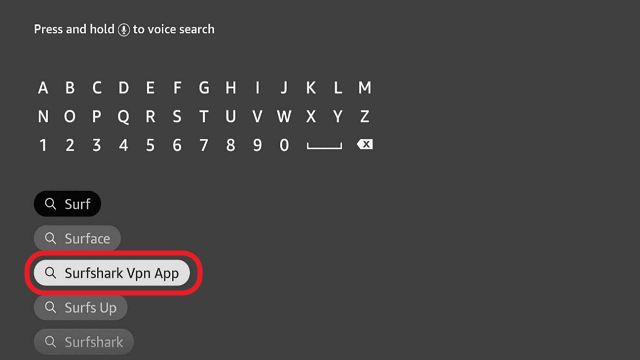
2. Navigate towards the Find tab. Press the Search button from the resulting dropdown.
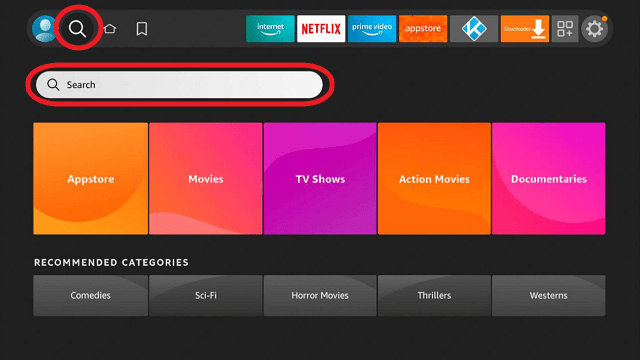
3. Type in the keyword of SurfShark and select from the suggestions that will appear.
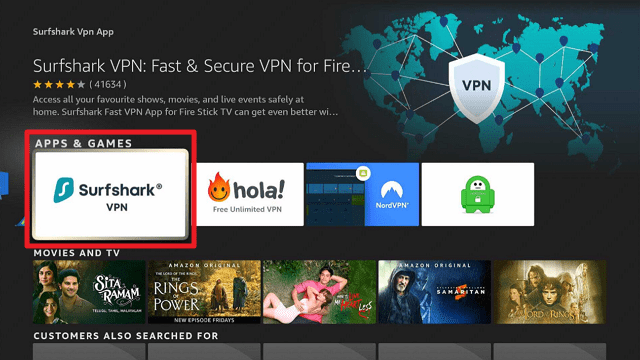
4. Click the official SurfShark icon from your search results.
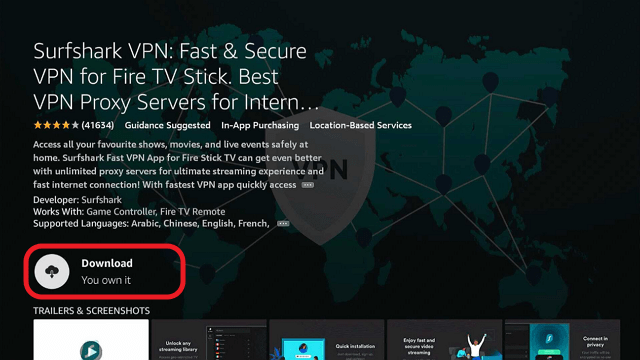
5. Press the Download (You own it) button.
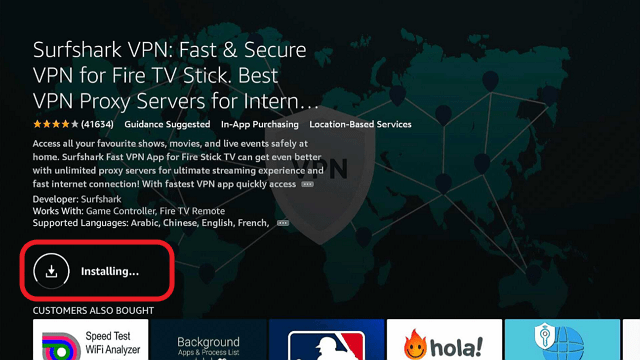
6. The SurfShark VPN installer will download on your device.
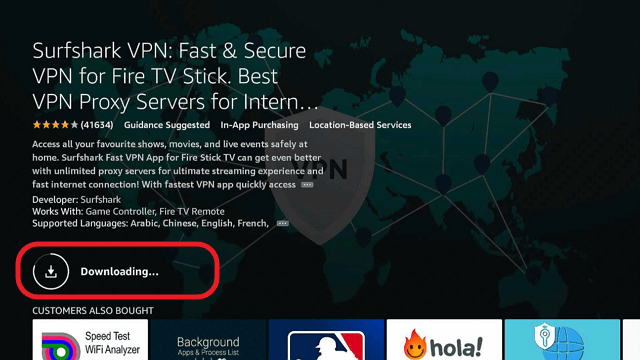
7. SurfShark VPN’s app will automatically install itself on your Fire TV stick.
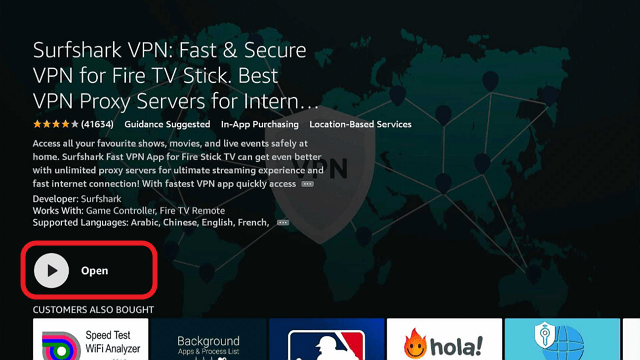
8. Press the Open button after completing SurfShark VPN’s installation process.
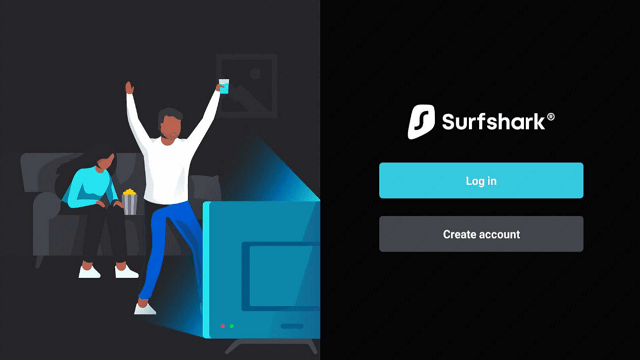
9. Please wait for the SurfShark VPN to load its user interface.

10. You can now log in with your SurfShark VPN account credentials.
Learn more about Surfshark and Grab the Best Surfshark Deal Now!
Install Surfshark on Firestick
For more VPN discounts, go to ReviewVPN Deals and purchase the best VPN for you.
Click here to get the lowest price on Surfshark through our exclusive limited-time offer.