cCloud TV Kodi Addon
In this article, we will help you install cCloud TV Kodi Build on Firestick.

Source: http://www.lvtvv.com/repo/
cCloud TV is one of the best Live TV addons for Kodi. Rivalling Red Box and even Mobdro when it’s on a good day.
You can access over 1000 live channels, as well as TV Shows, Movies, radio channels, and news channels. Its also been going for so long that it even has its own website: http://ccloudtv.org/
It’s also one of the longest-running Live TV add ons and has survived this longing by being smart and not hosting any content from all the Live TV that it allows you to stream.
In our review, we detail this further, but Live TV channels are kept updated by the community and you rarely have a channel go down for very long.
We also recommend that you install cCloud TV’s Electronic Programme Guide (EPG) alongside the add on, which you can do, after you have installed cCloud TV by going to:
- From the Kodi home screen so to settings and then add ons
- Go to Install from Repository
- Then cCloud repo and program add ons
- Click on cCloud TV Guide and then install
Just be aware that the database does take a while to build and synchronize for the programming and timings for over 1,000 channels. So, don’t panic and think the program guide has frozen. Just get it going and go and grab some fresh air. The guide really does make a massive difference to the experience.

Common Errors
Here we list out the common errors you will come across with cCloud TV, this tends to happen much more when dealing with Live TV add ons:
- Installation Failed. This error can manifest in two ways, either the installation gets an error message saying it cannot connect to the URL, or the installation bar just gets stuck at 0%. If you cannot install the add on in the first place, checked you have typed out the URL correctly. Then check the source, by typing in the URL into your internet browser. If the source works, then chalk it up to an overloaded server. If the problem persists find more fixes guide linked above.
- Stream not working/ Not available. When a stream fails, it means that the source it was trying to fetch could not be connected. First, if a stream hasn’t failed but just appears to be a black screen, give it as long as 10 seconds to connect. Secondly, try to refresh the stream again. Sometimes the server may be overloaded and have not picked up your request. If the problem persists then read our full guide linked above.
- Kodi error check log. You might get an error message saying you need to check the Kodi error log. This just means that your media cache is full. You will get this after you have been streaming for a while. Everything you have watched gets cached and on smaller storage devices you run out of space. You can either ignore the message until it won’t let you. Or learn how to clear the cache of any device and more fixes, try some more in the guide linked above.
Review
cCloud Tv is a brilliant Live TV add on and has been going strong for years. The reason is the community. Every channel is vetted and kept live by a community of faithful users.
When a link breaks a new one is found, and through the community, the add on stays active and updated.
The developer has continued to release some great updates as well. The EPG is beautiful and has a great outlay of programs and timings, as well as being easily searchable.
Tie this in with the ability to enable M3U IPTV playlists, which means you get a constantly updated and working list of channels.
ReviewVPN cannot attest to the legality, security and privacy of the applications discussed on this site. It is highly recommended that you use a VPN service while streaming or using Kodi. Currently, your IP 216.73.216.69 is visible to everyone and your Browser is being tracked by Advertisers & ISP Provider. Here are the main reasons why you must use a VPN: A VPN works be replacing your ISP-assigned IP address and creating an encrypted tunnel. We recommend the no log service offered by IPVanish. It works well on a Firestick and offers the fastest possible speeds.
YOUR INTERNET ACTIVITY IS BEING WATCHED
Legal Disclaimer: ReviewVPN.com does not encourage or endorse any illegal activity involved in the usage of services and applications referenced on this site. We do not verify the licensing agreements of services. The end-user is wholly responsible for ensuring that any media accessed through these services does not violate copyright and/or licensing laws. ReviewVPN does not promote, link to, or receive compensation from any Apps and IPTV services.
Install Surfshark on Firestick
How to Install cCloud TV Addon on Kodi with Screenshots
- From the home screen, select the cogwheel at the upper left.

2. Select System in the bottom right corner.

3. Select Add-ons on the left side of the screen.

4. Select Unknown sources.
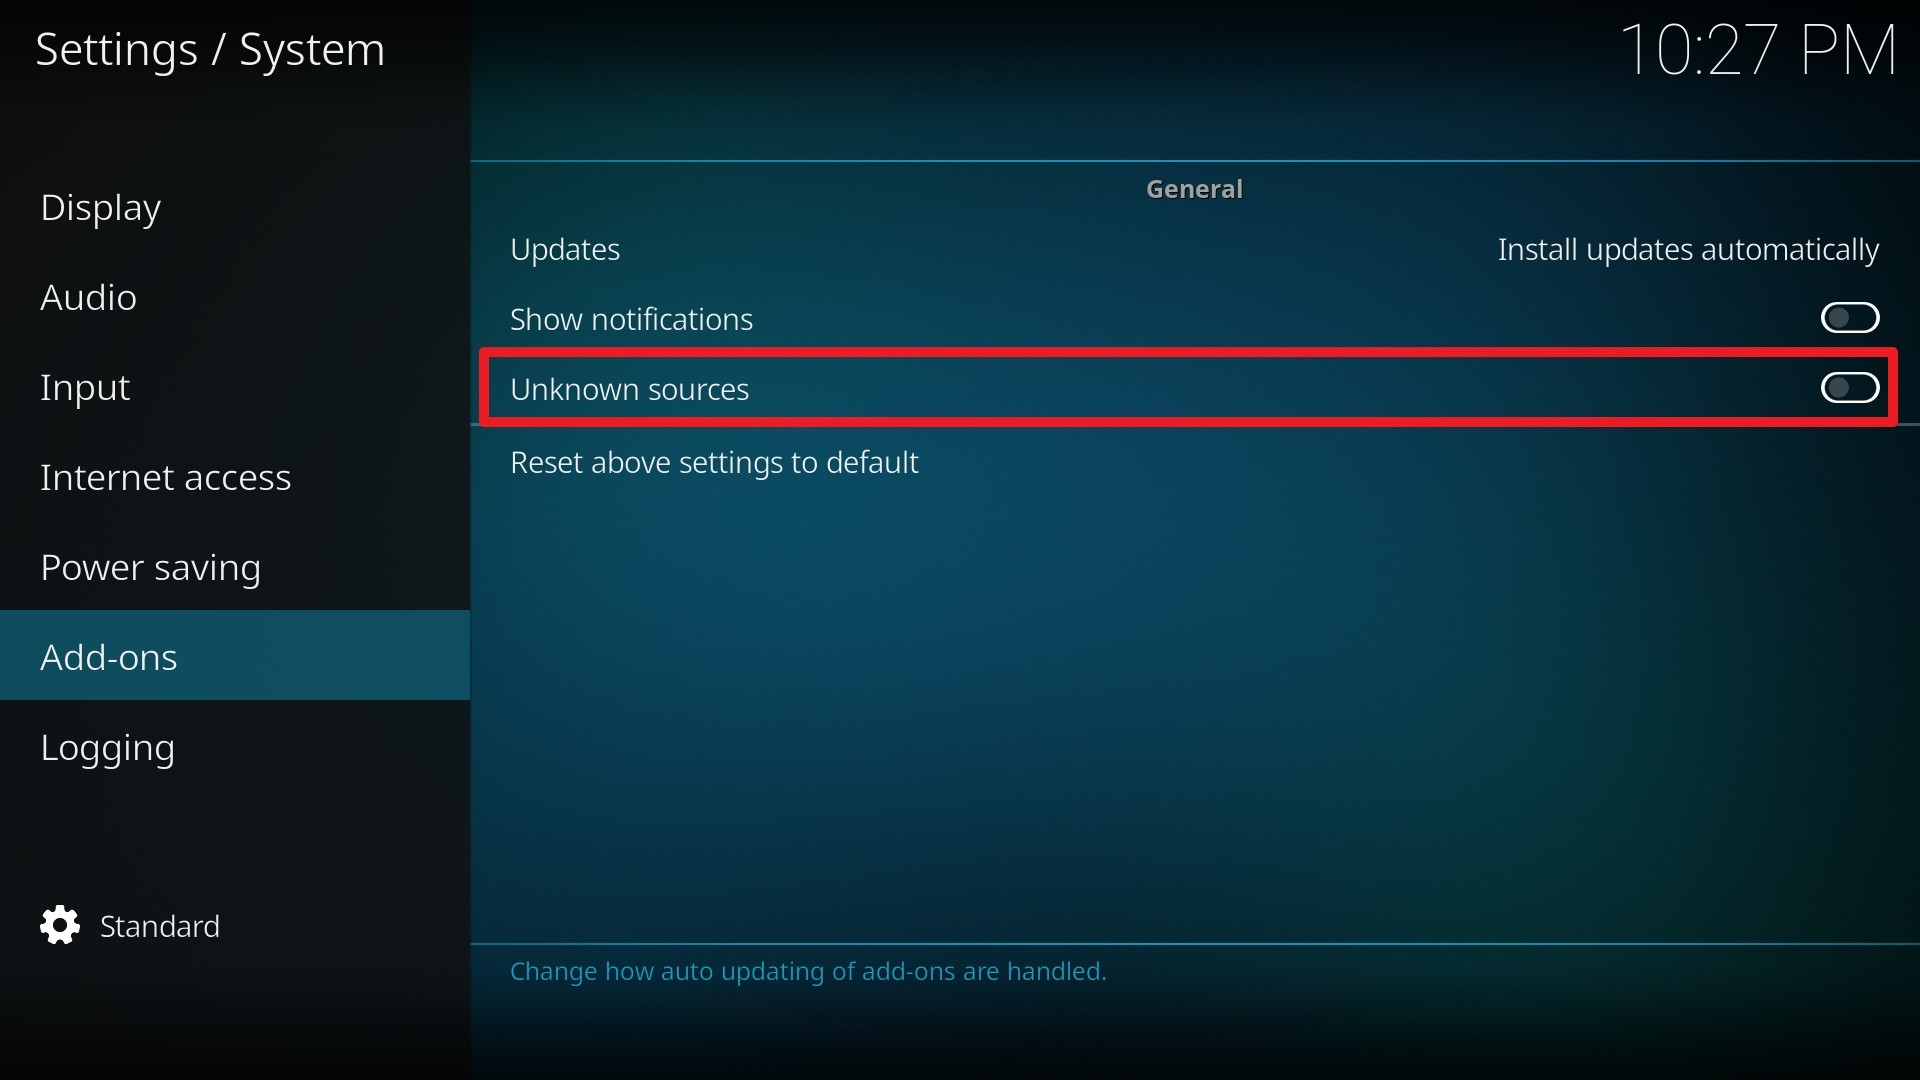
5. Click Yes to allow unknown sources.

6. Select File manager.
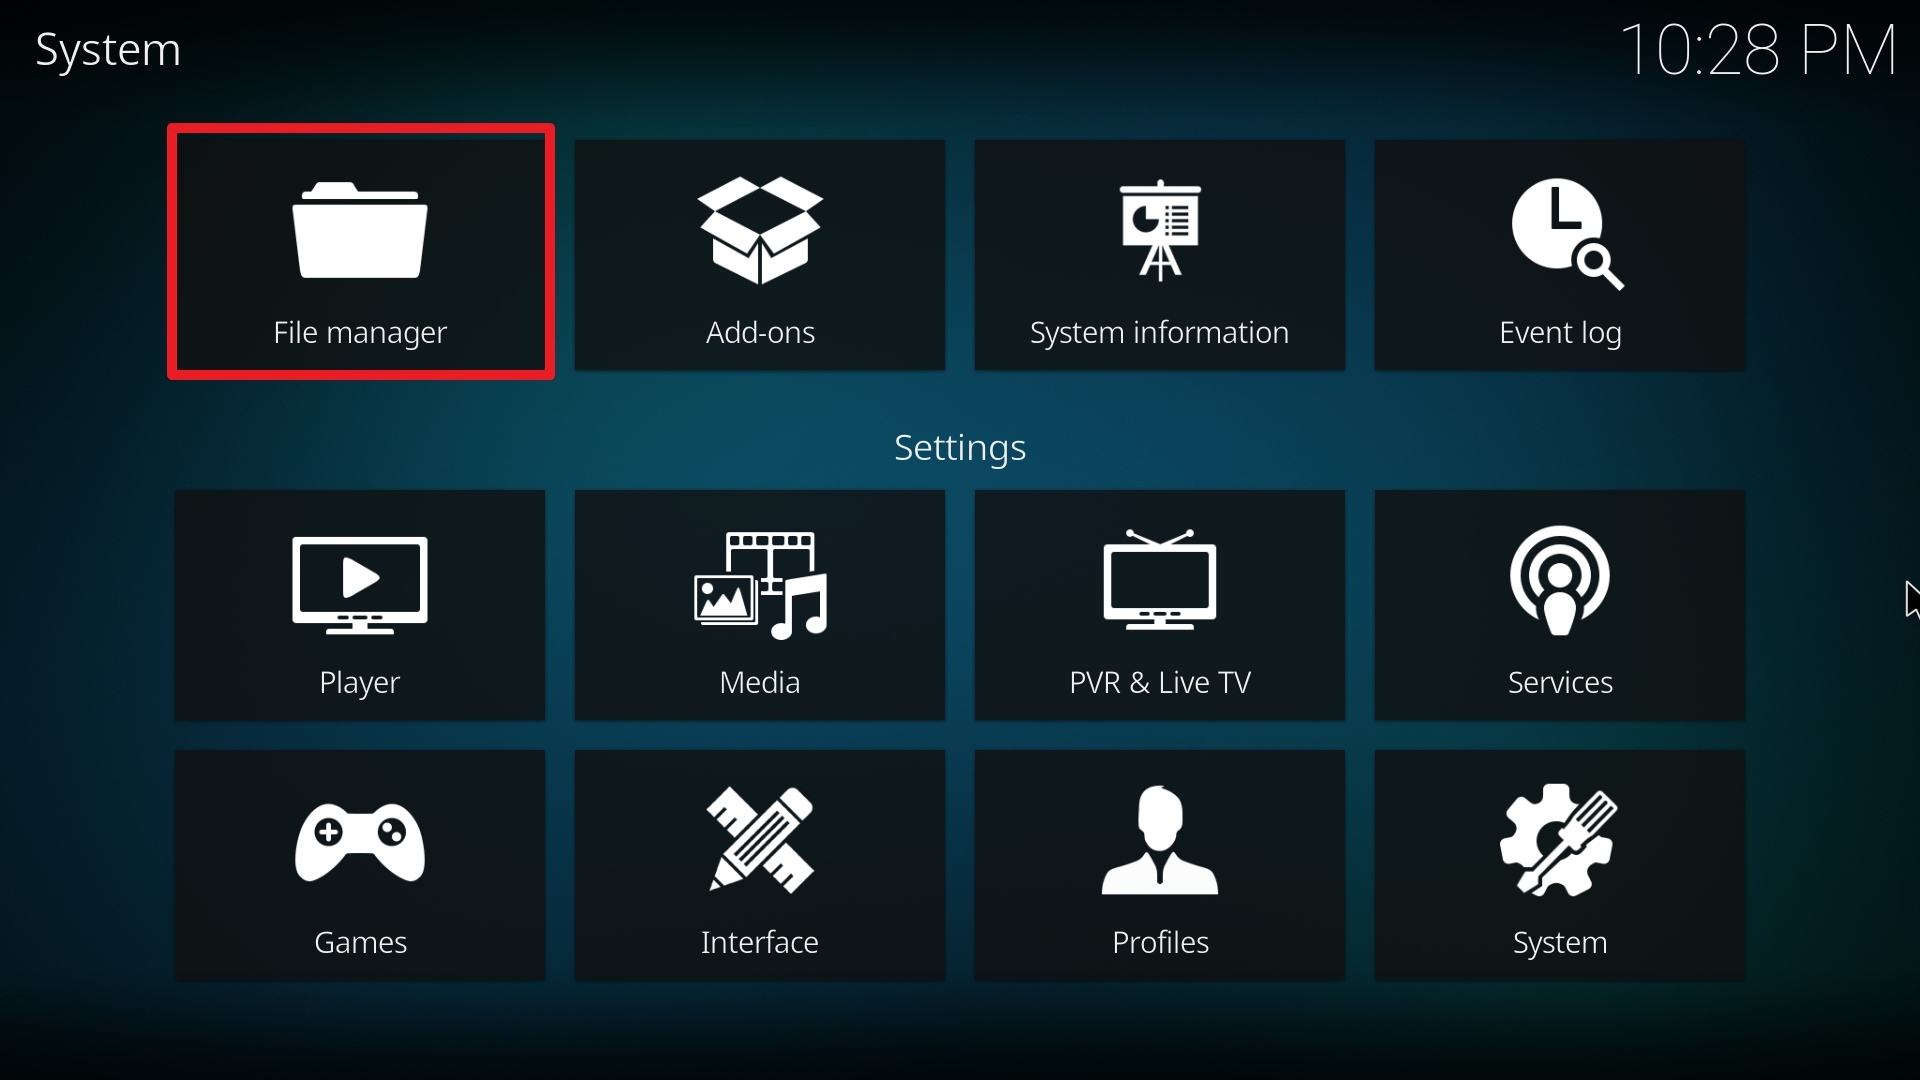
7. Click Add source.

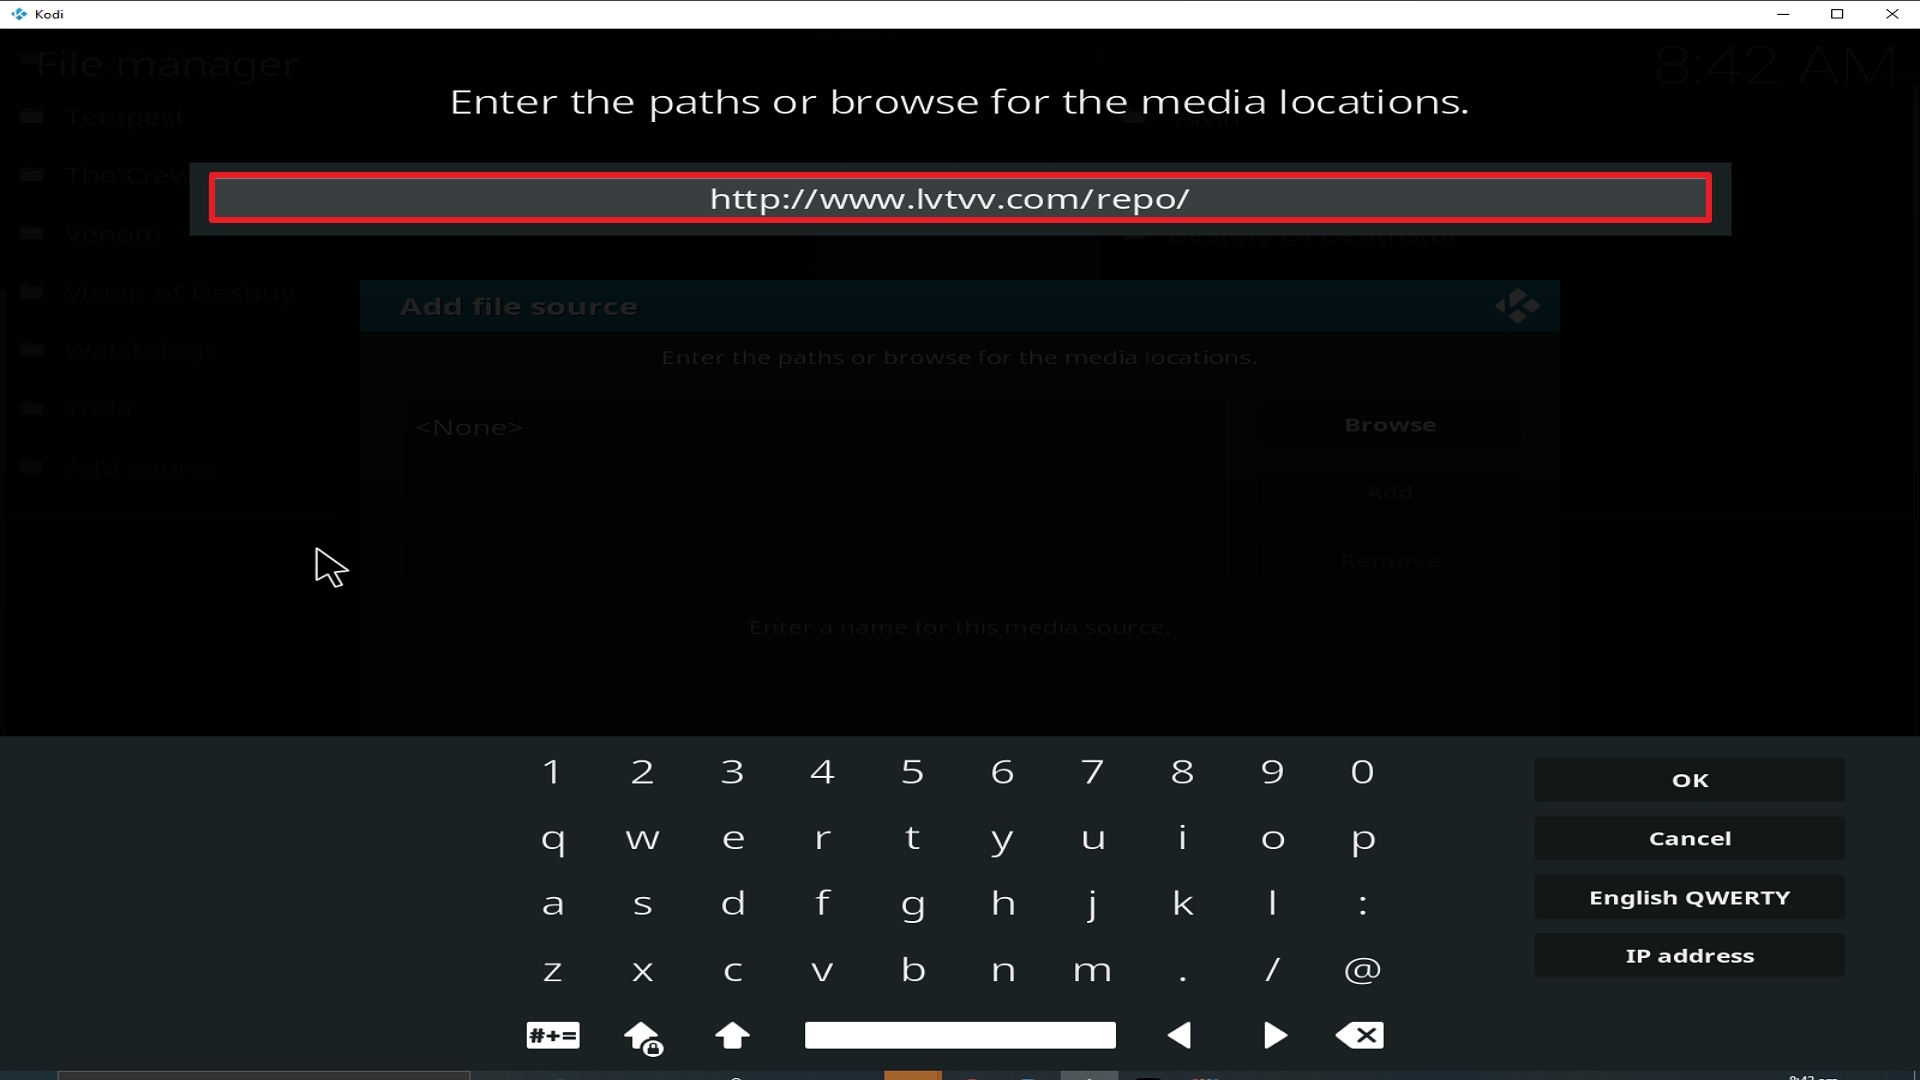
8. Click on <None>.

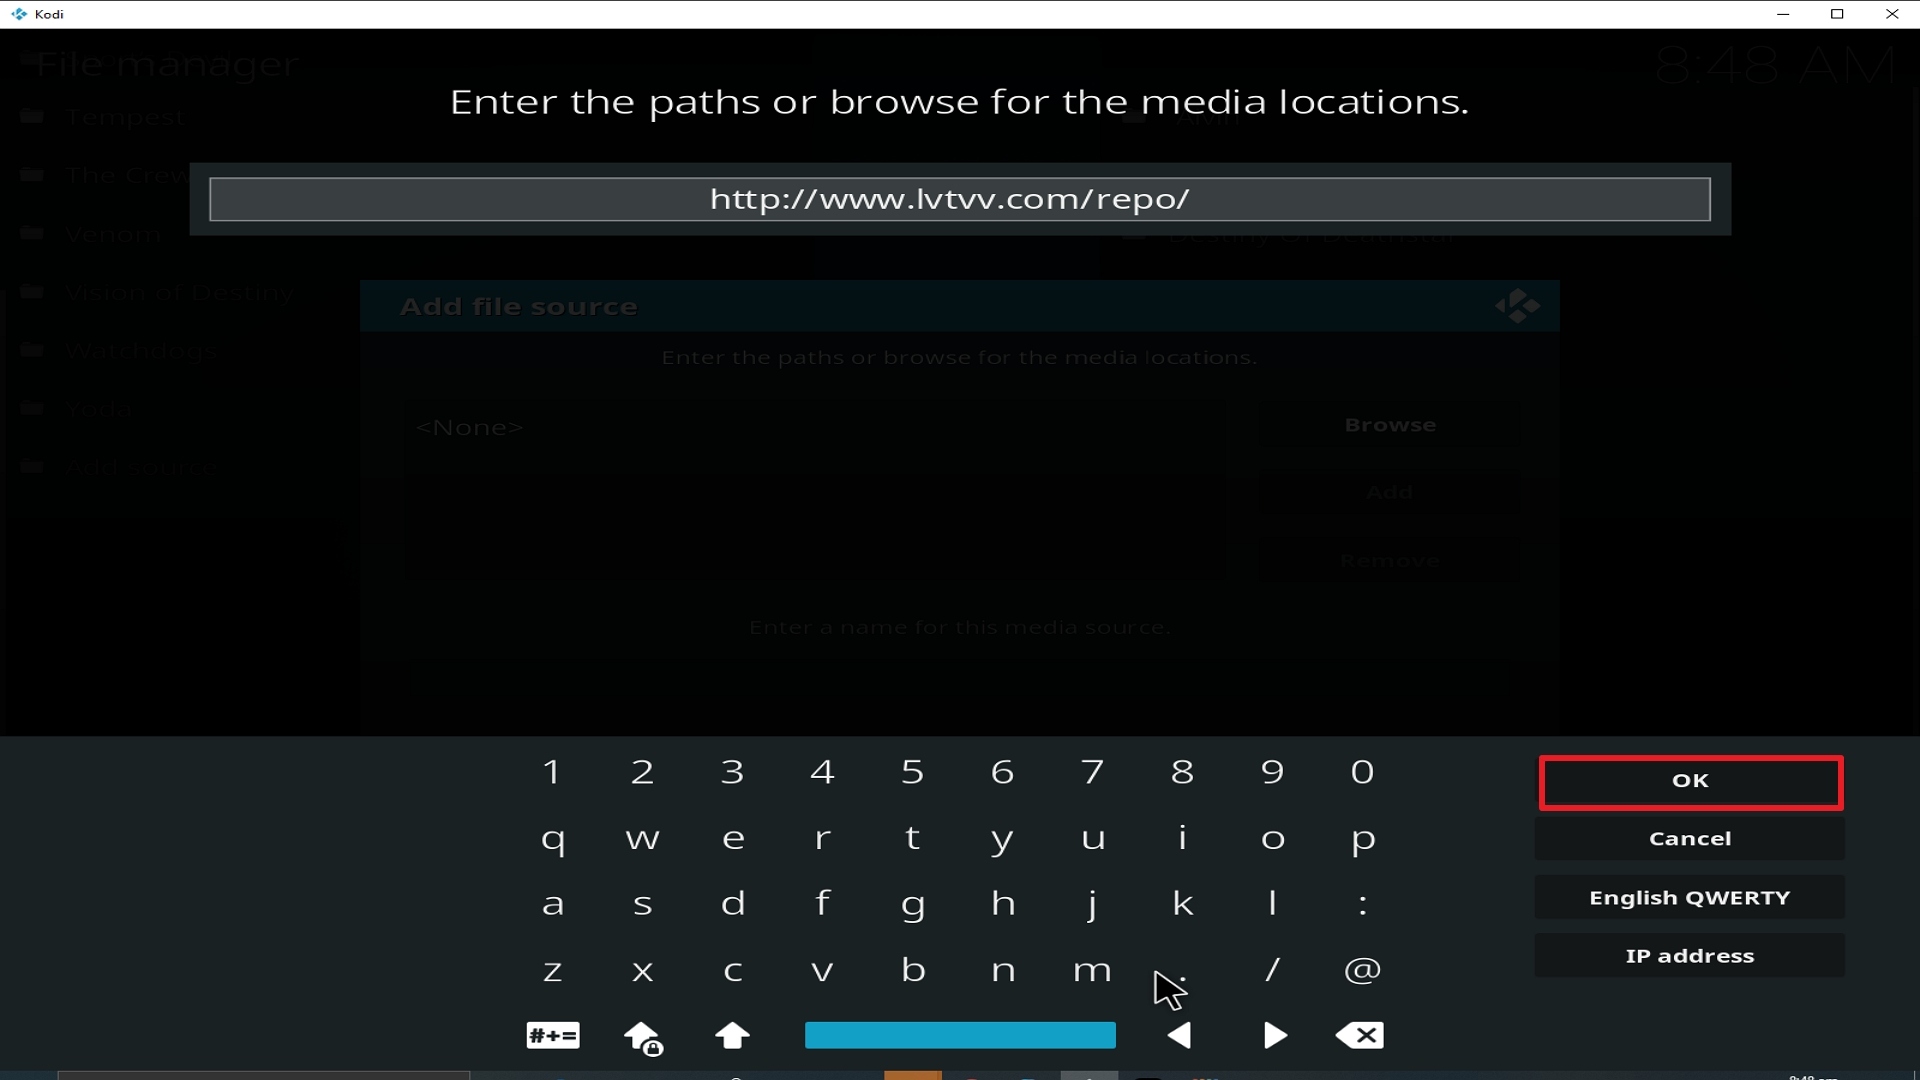
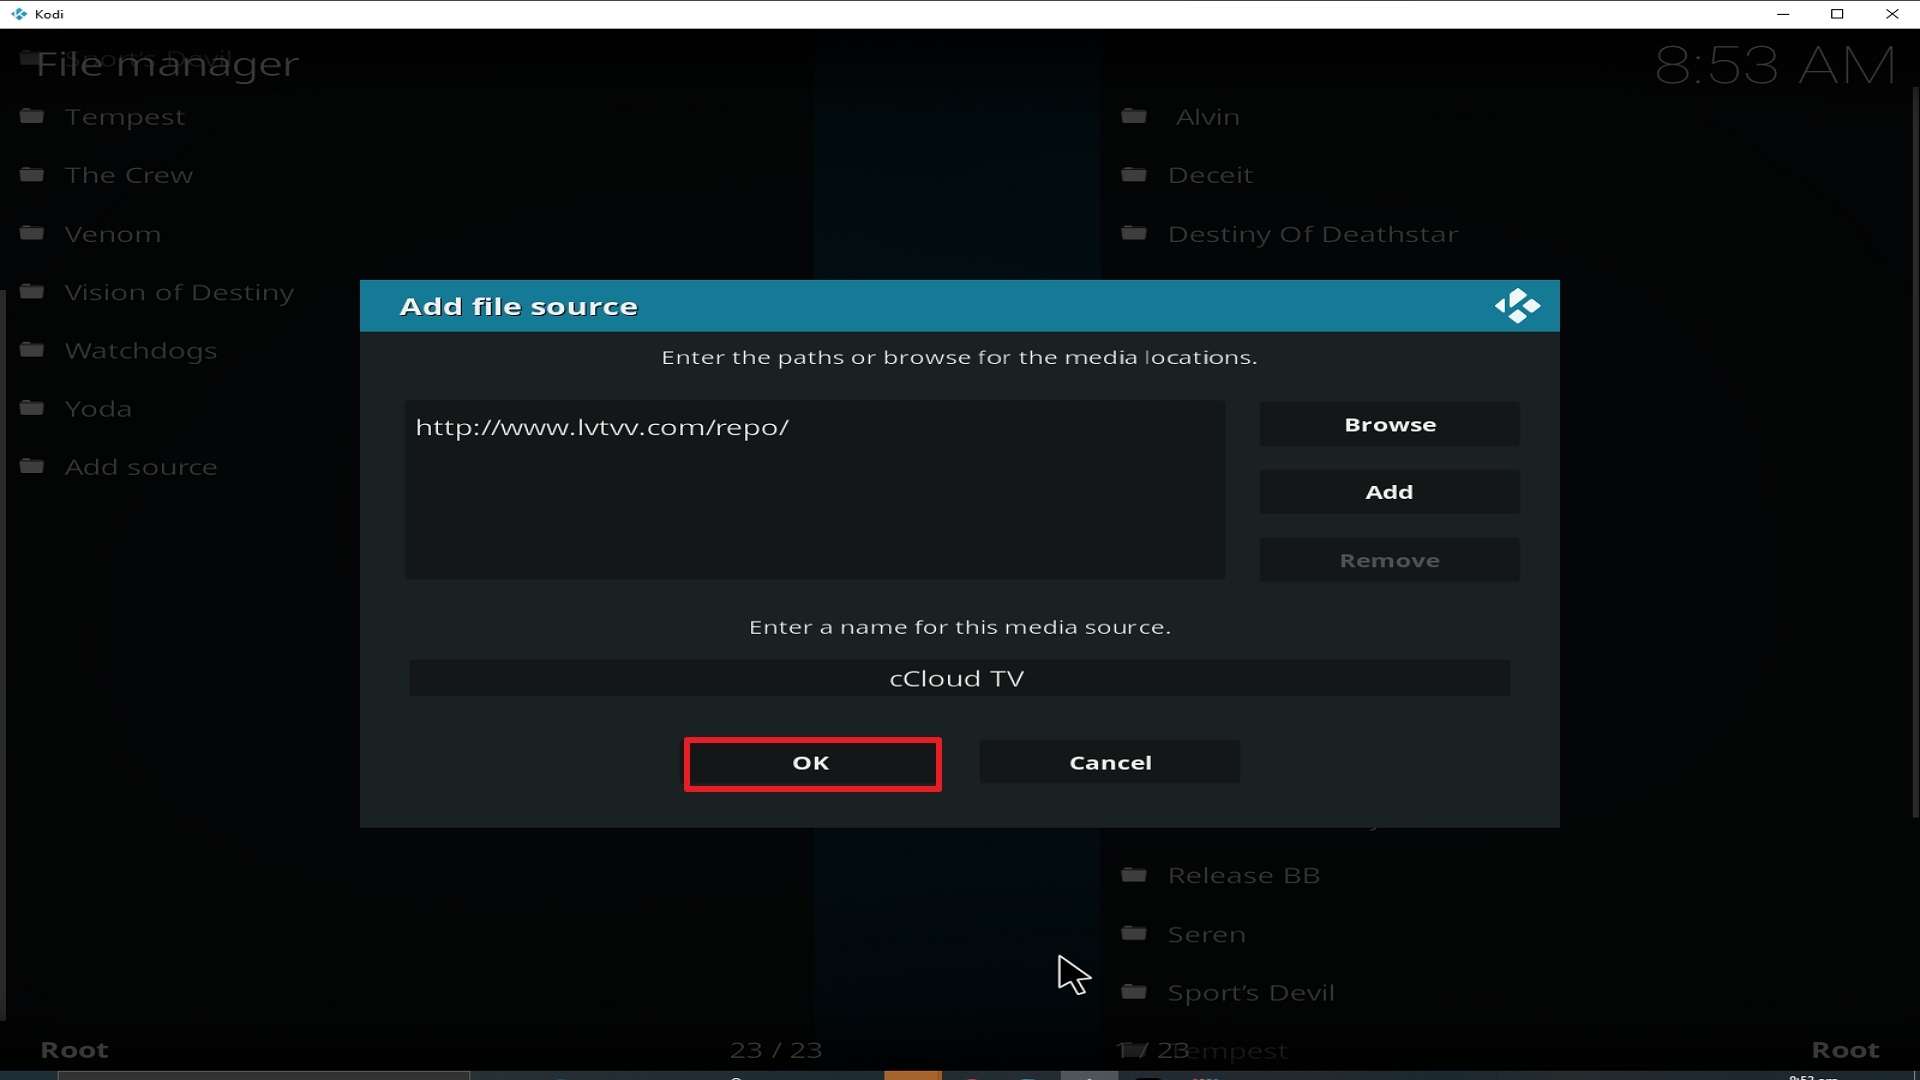
9. Type exactly: http://www.lvtvv.com/repo/
10. Click on OK.
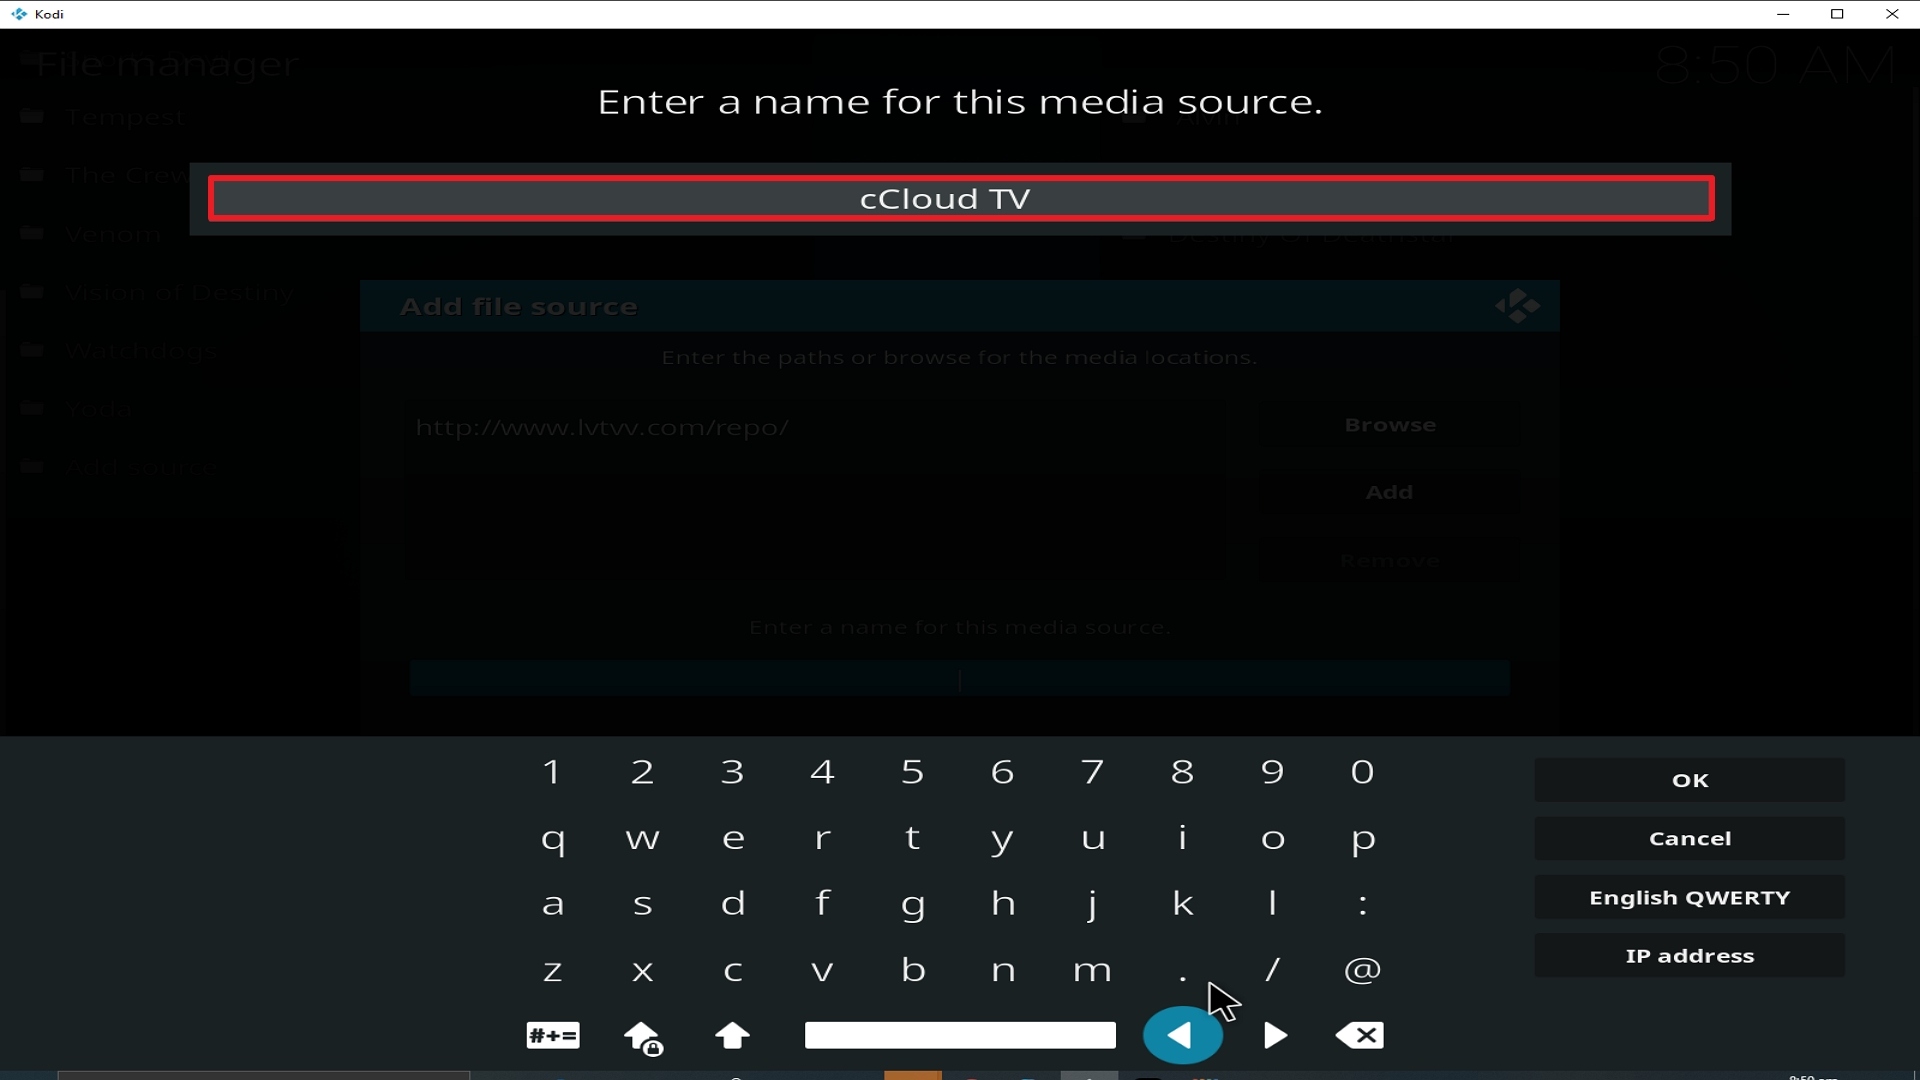
11. Select enter a name for this media source.

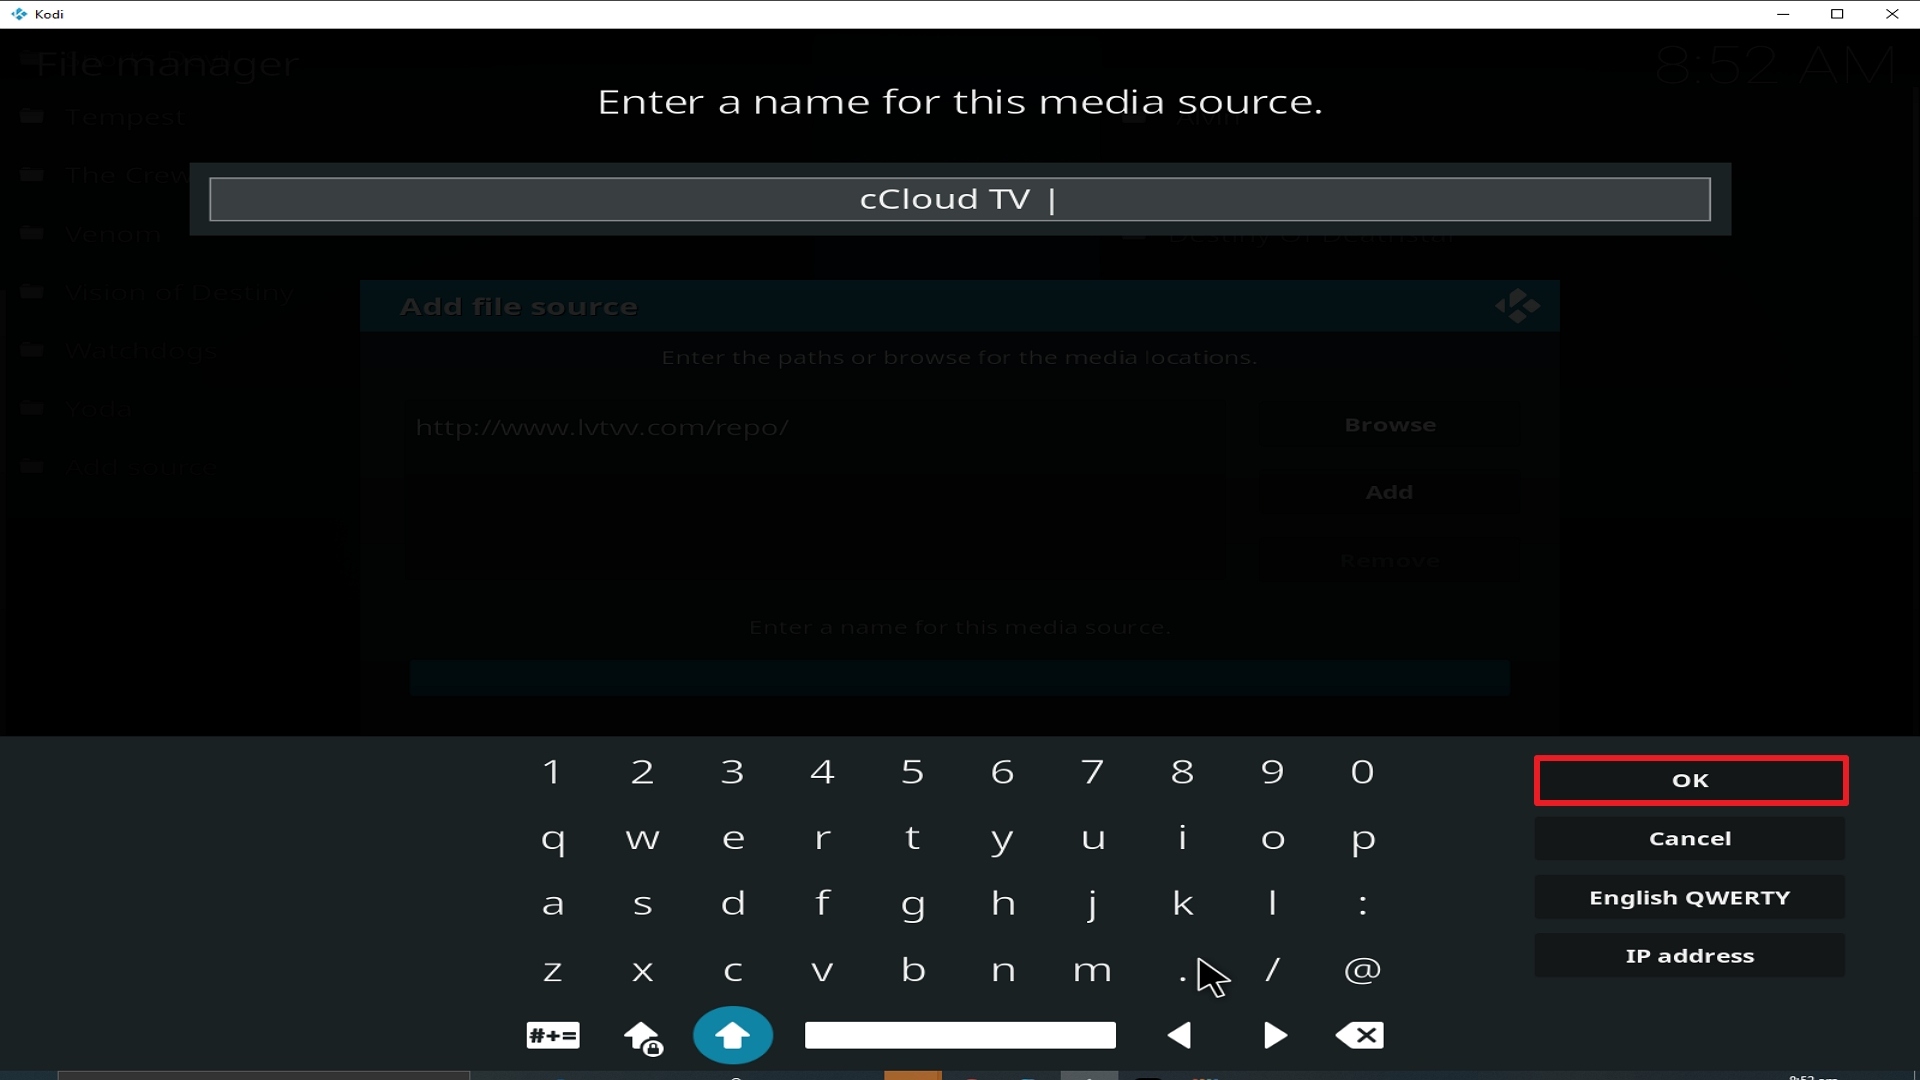
12. Name is cCloud TV (this part isn’t critical as long as you remember the name).
13. Click on OK.
14. Click on OK.
15. Take one step back and click on Add-ons.
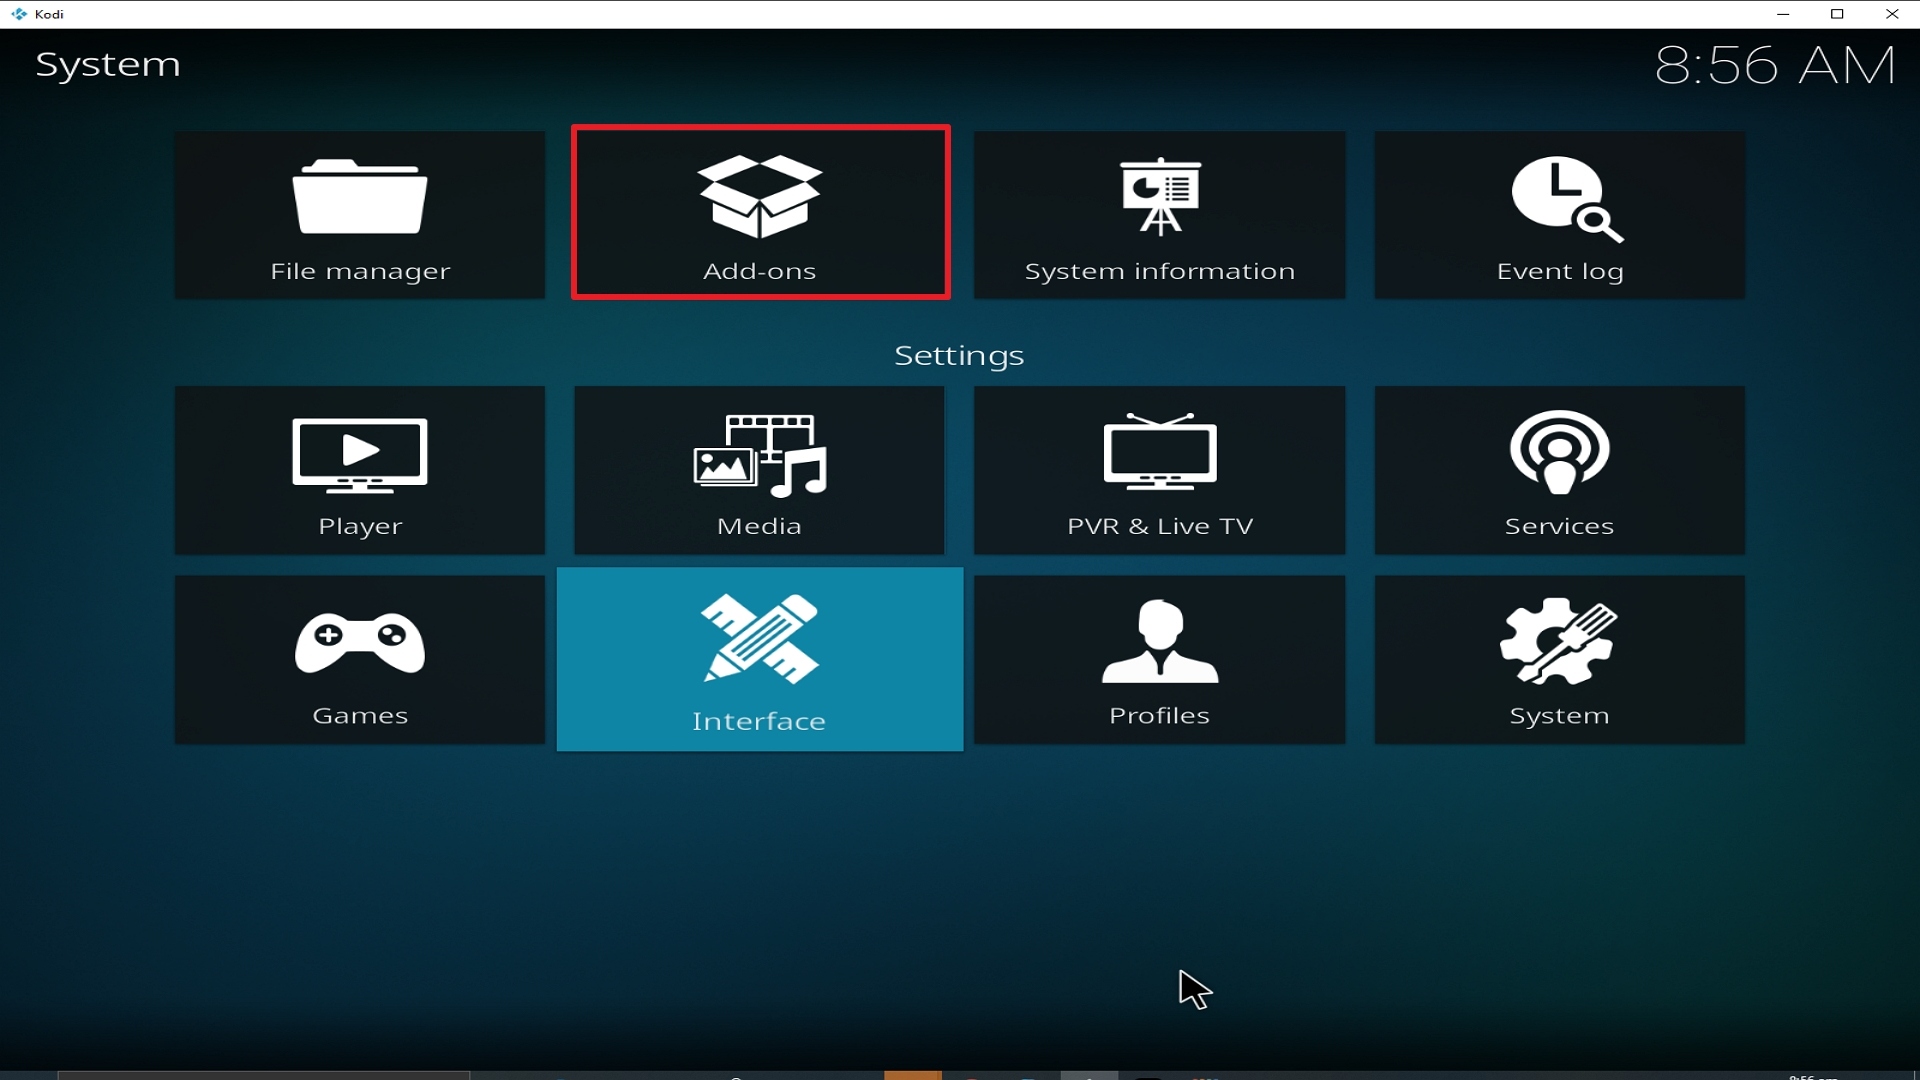
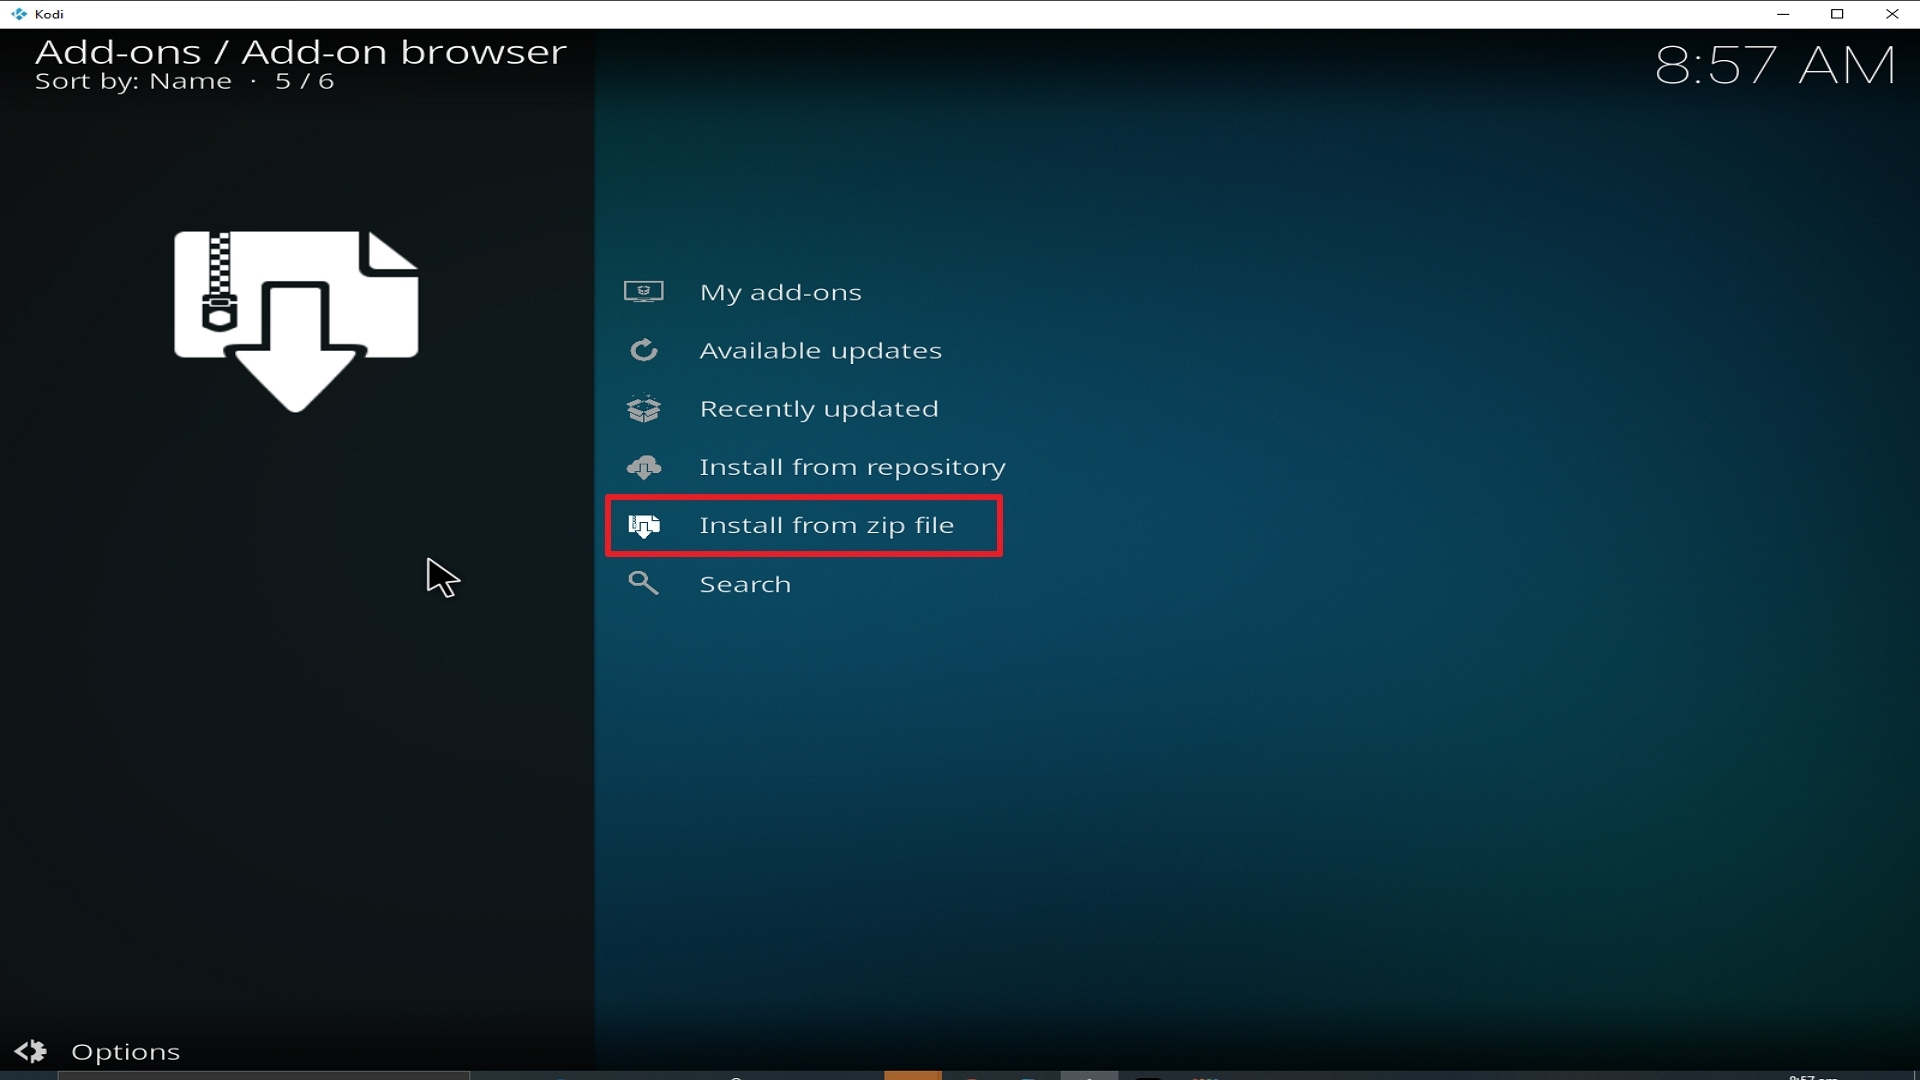
16. Select install from zip file.
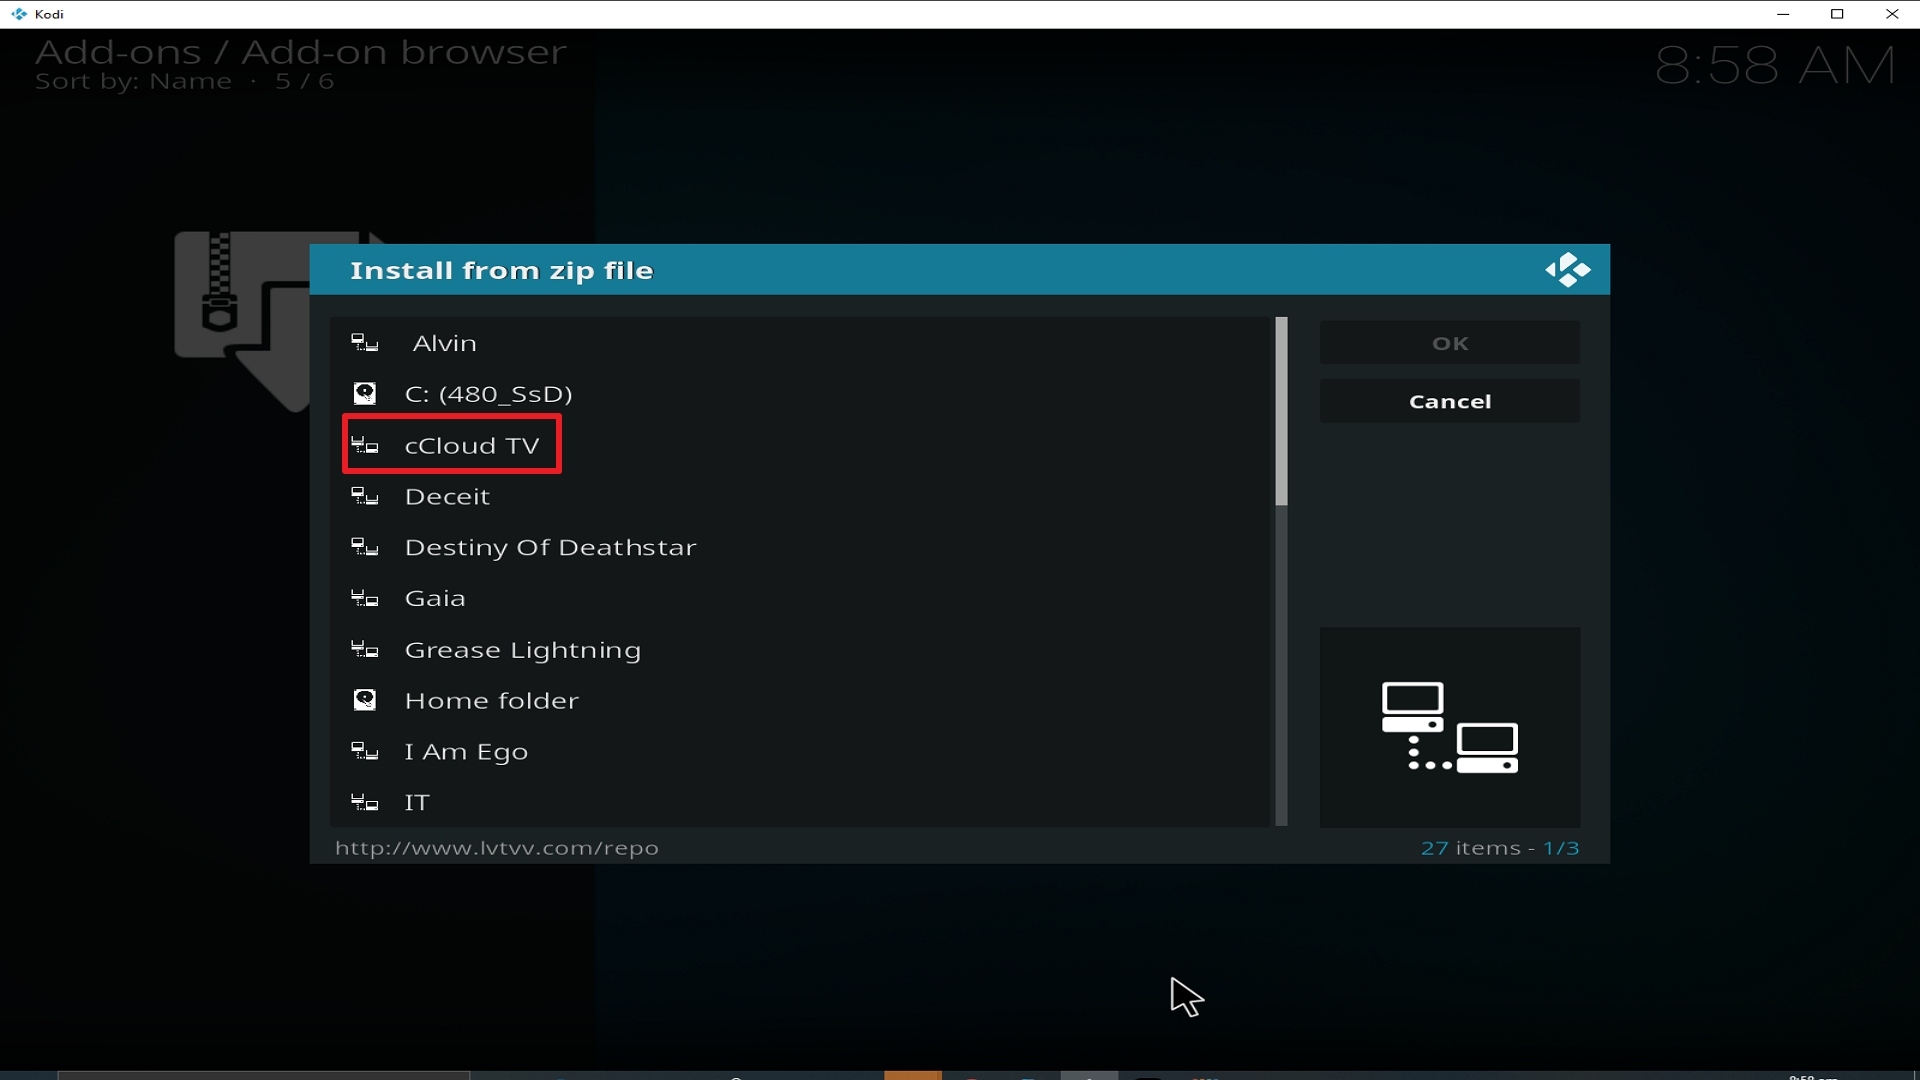
17. Click on cCloud TV (or whatever you named the source).
18. Click on repository.kodil-1.3.zip

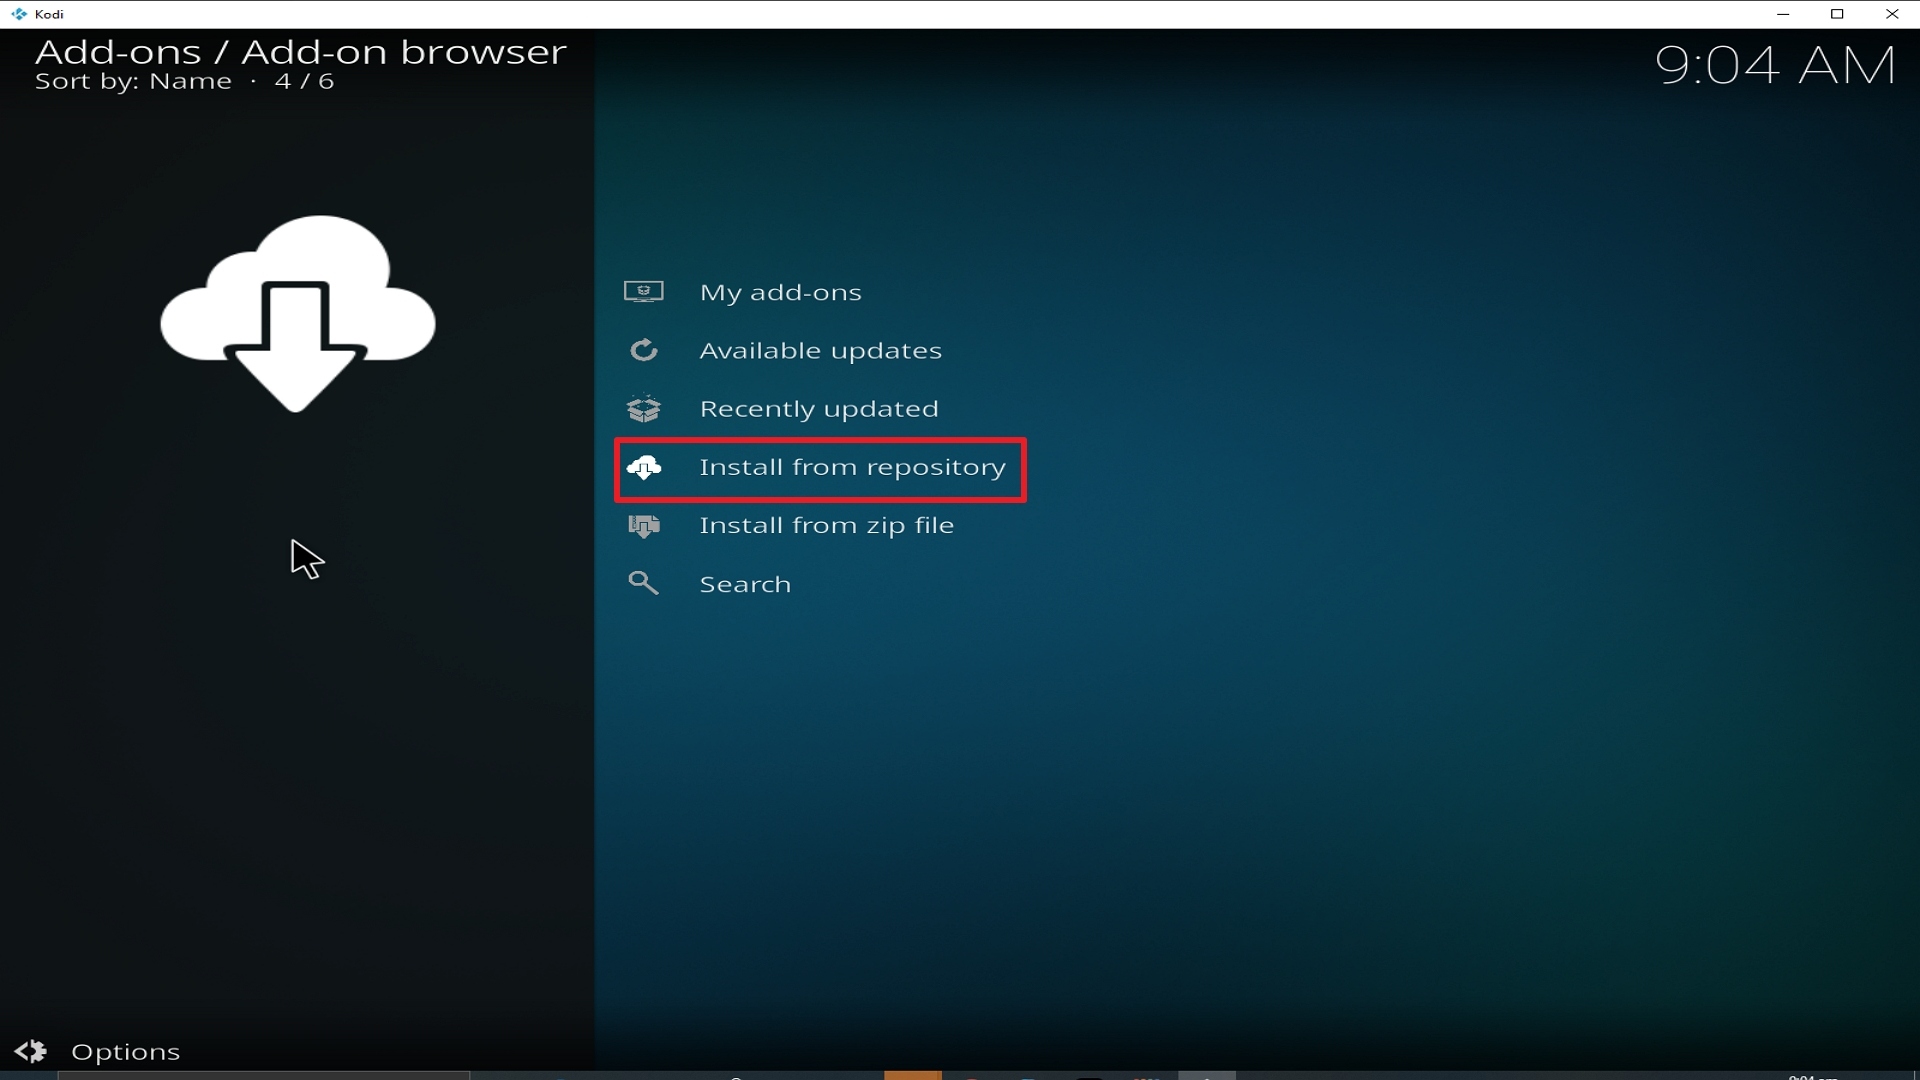
19. Select on Install from repository.
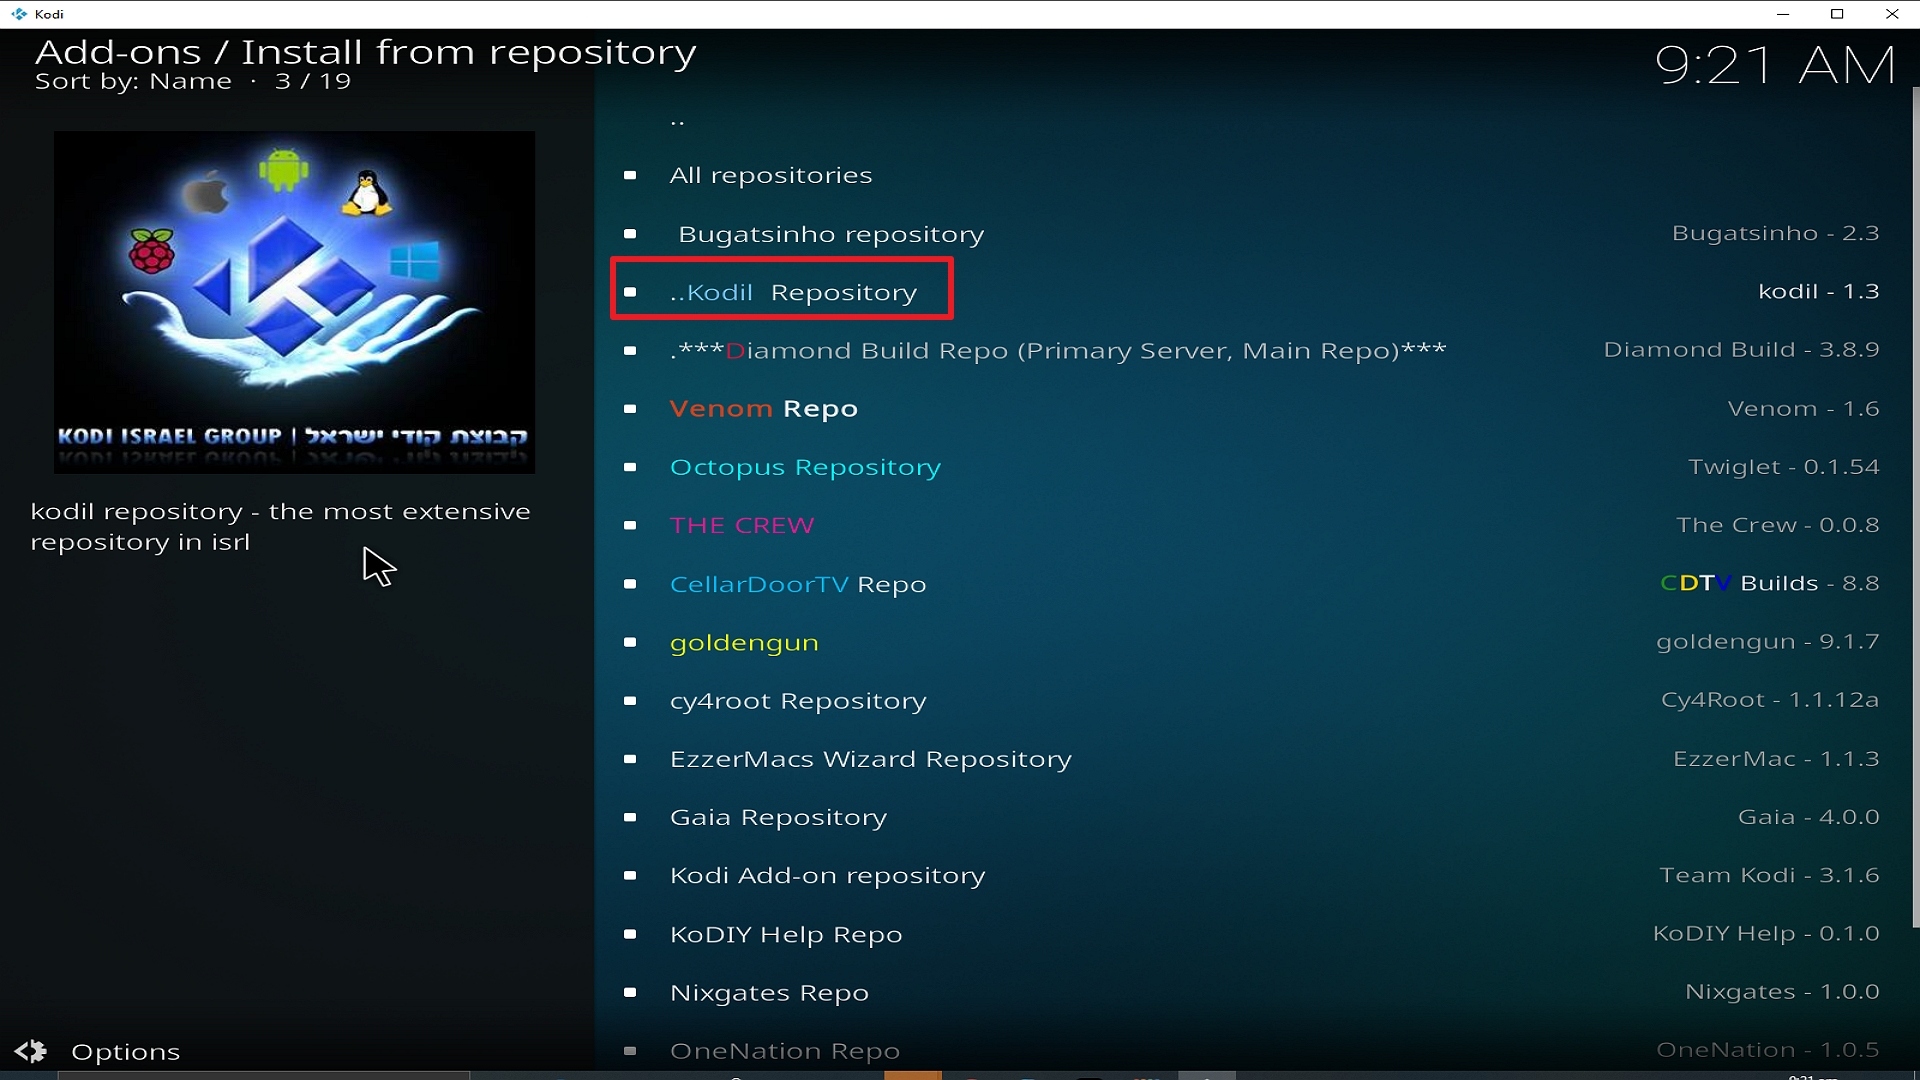
20. Click on Kodil Repo.
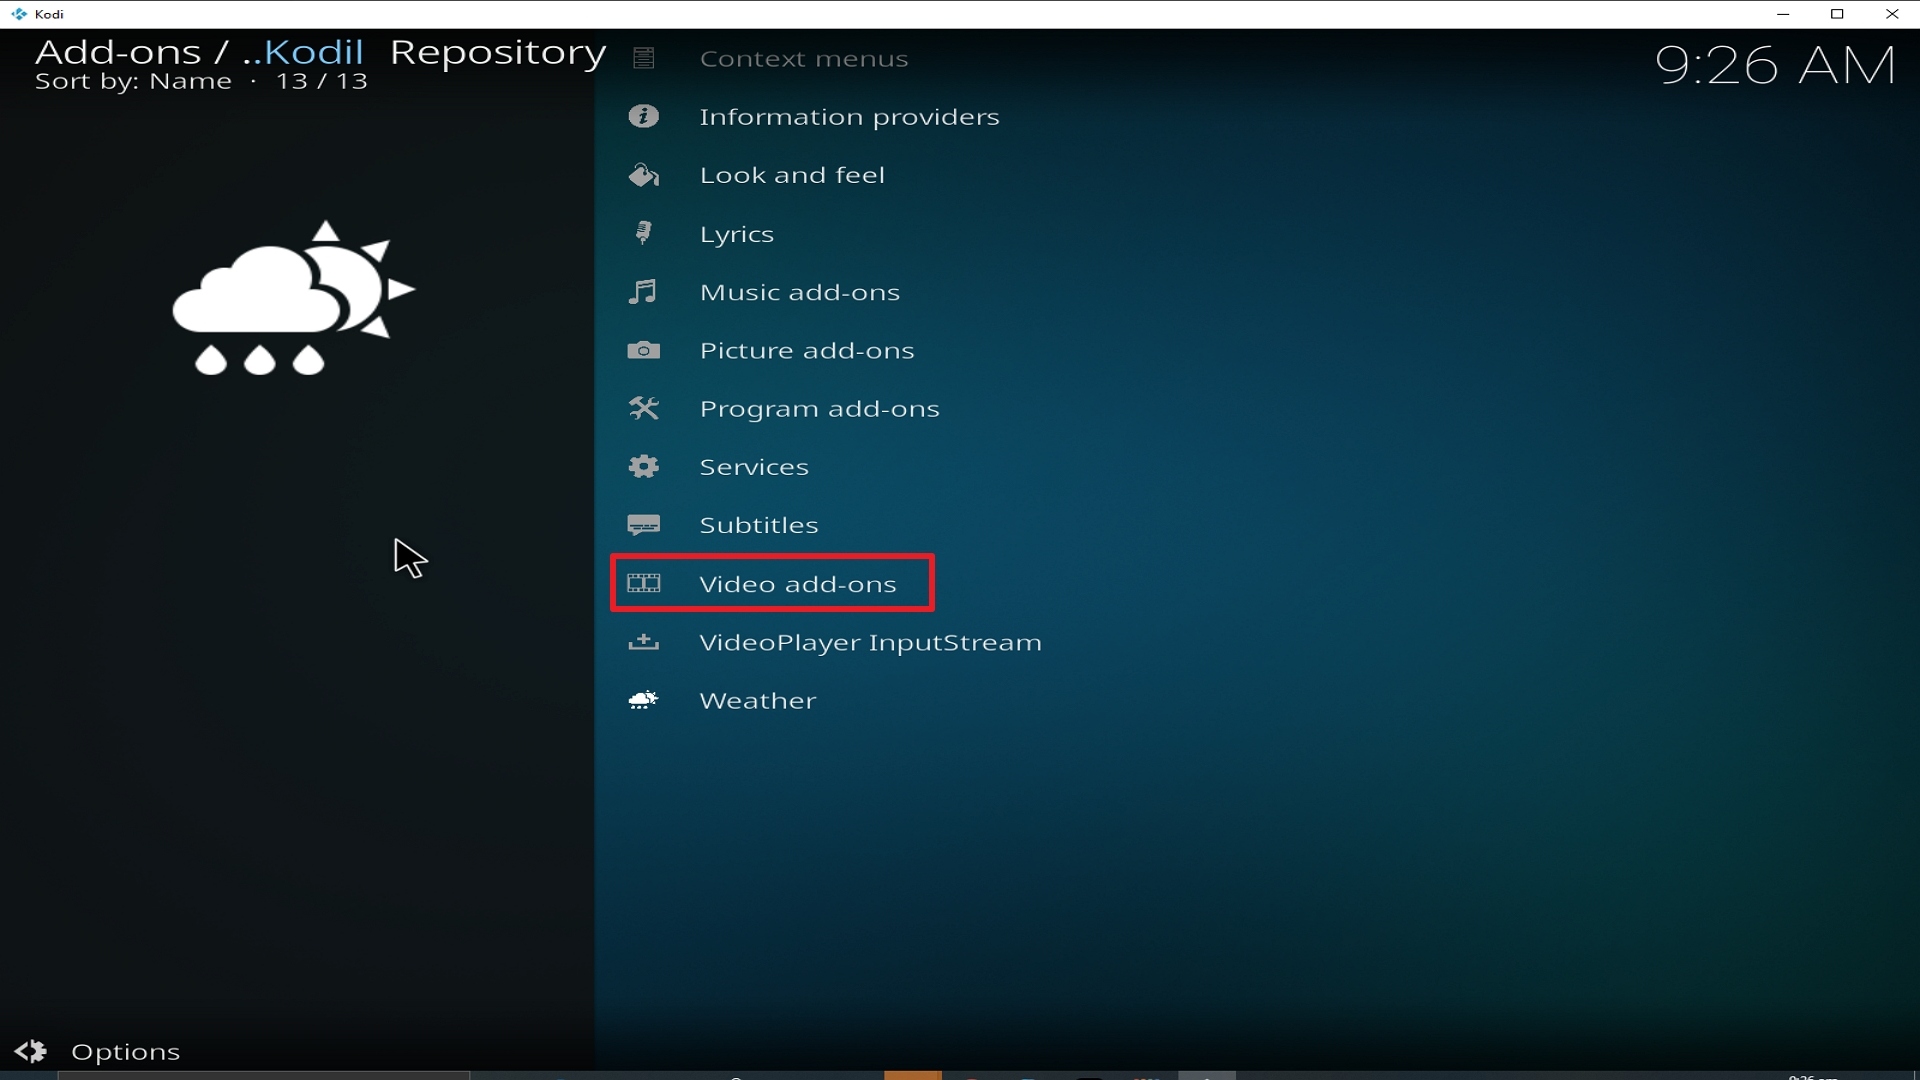
21. Pick Video add-ons.
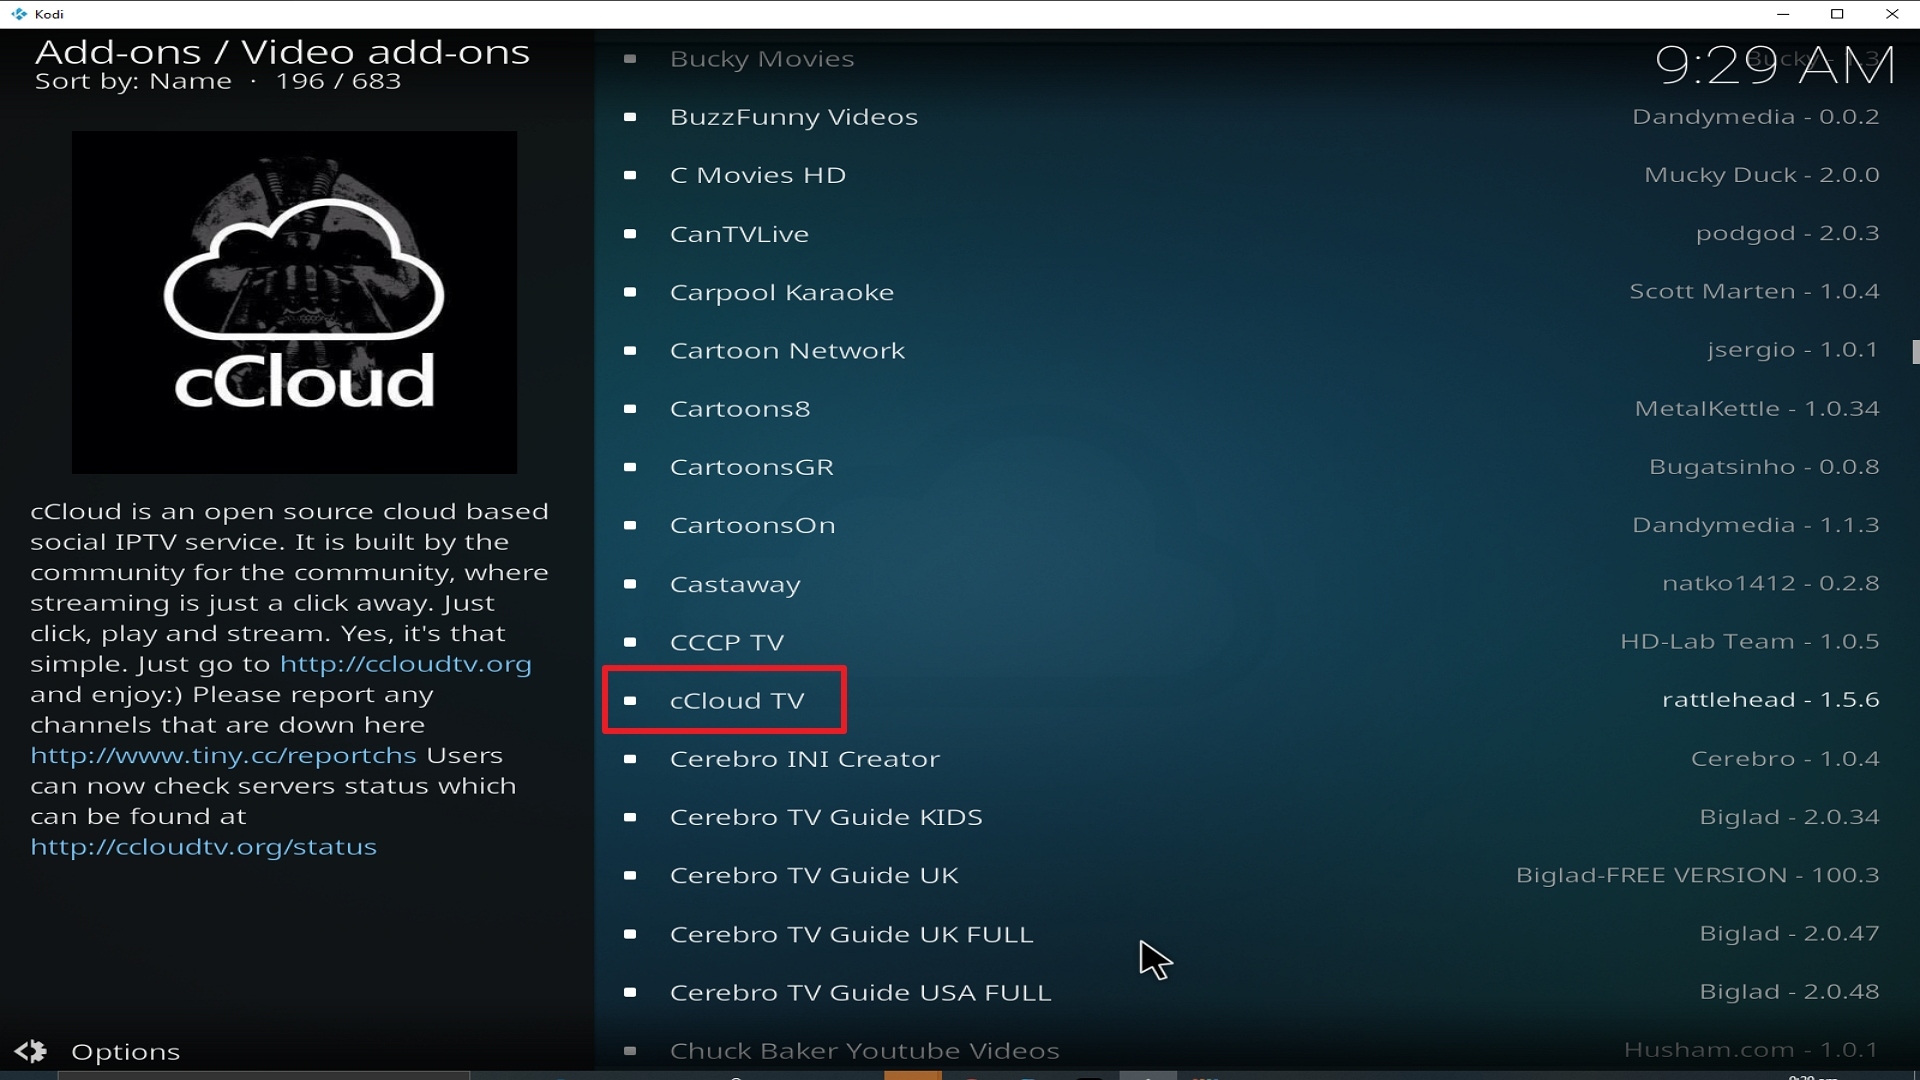
22. Select cCloud TV again.
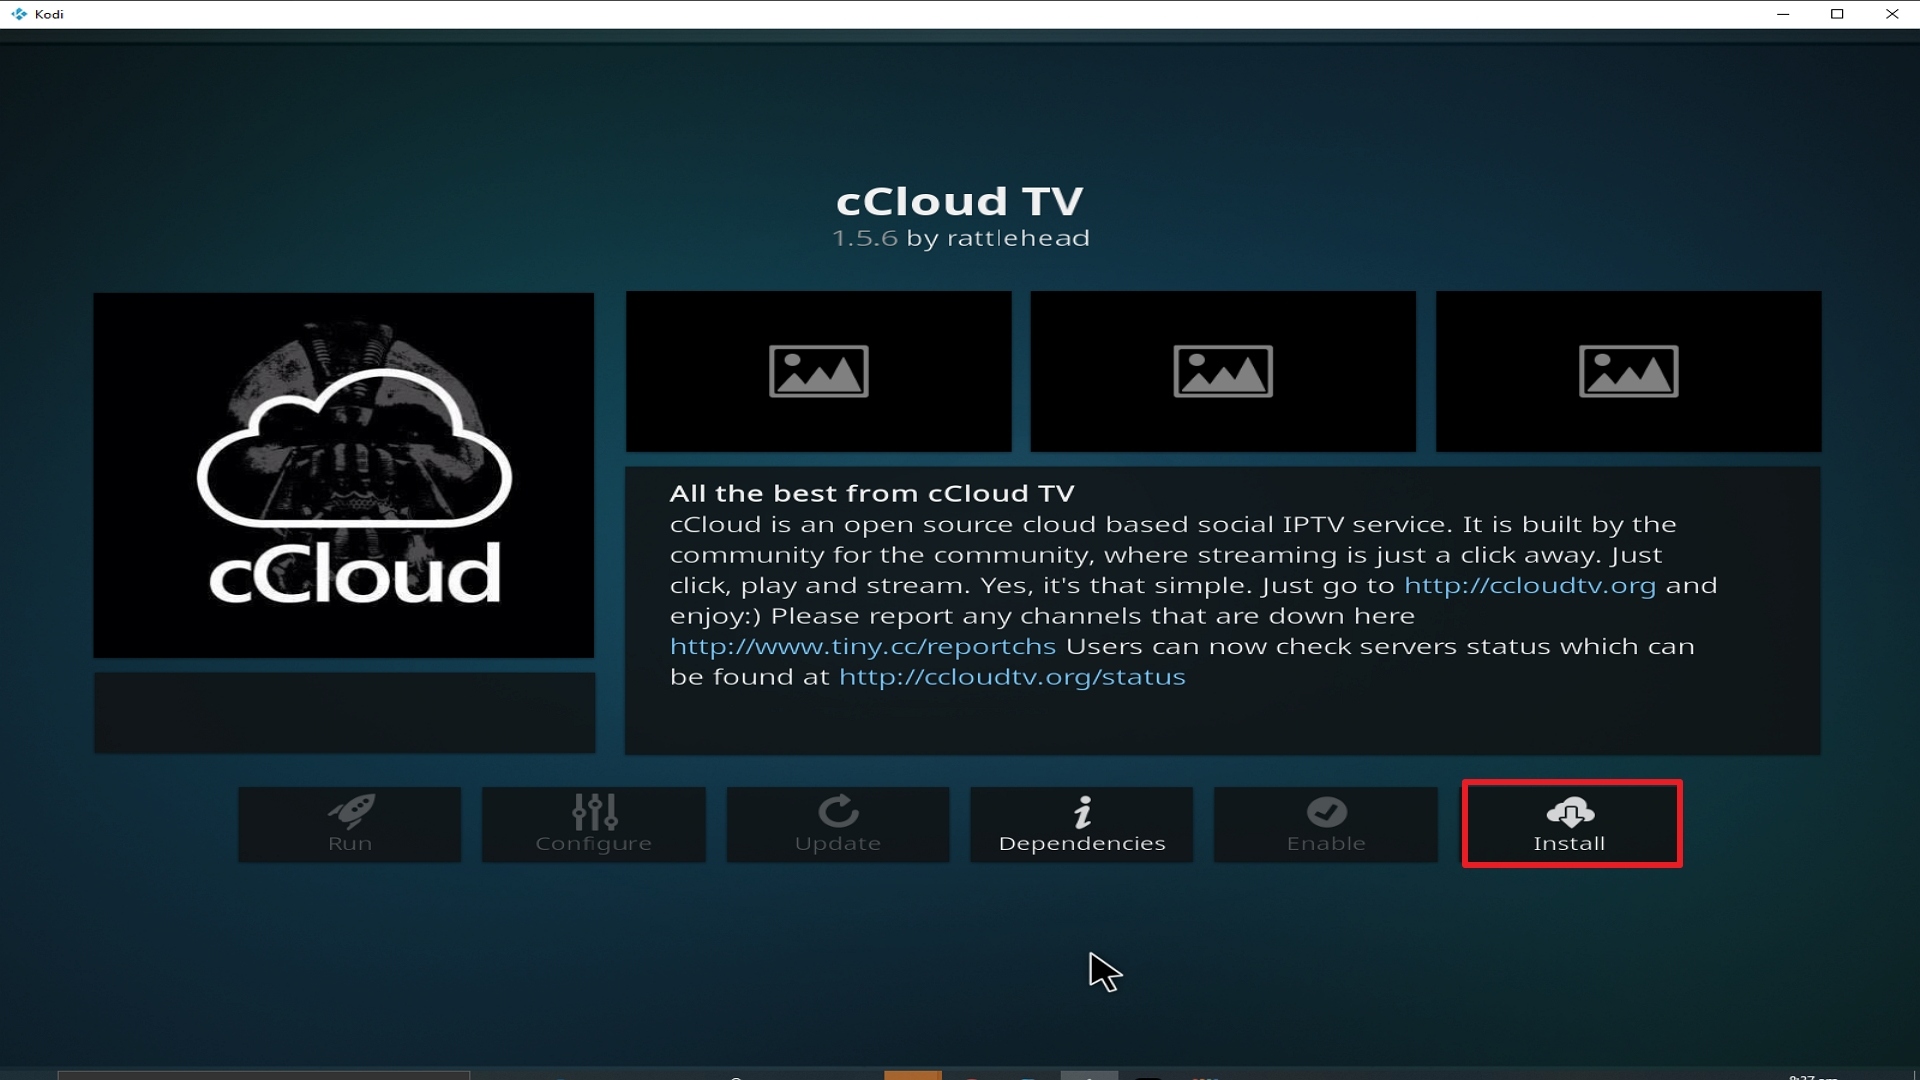
23. Click on Install.
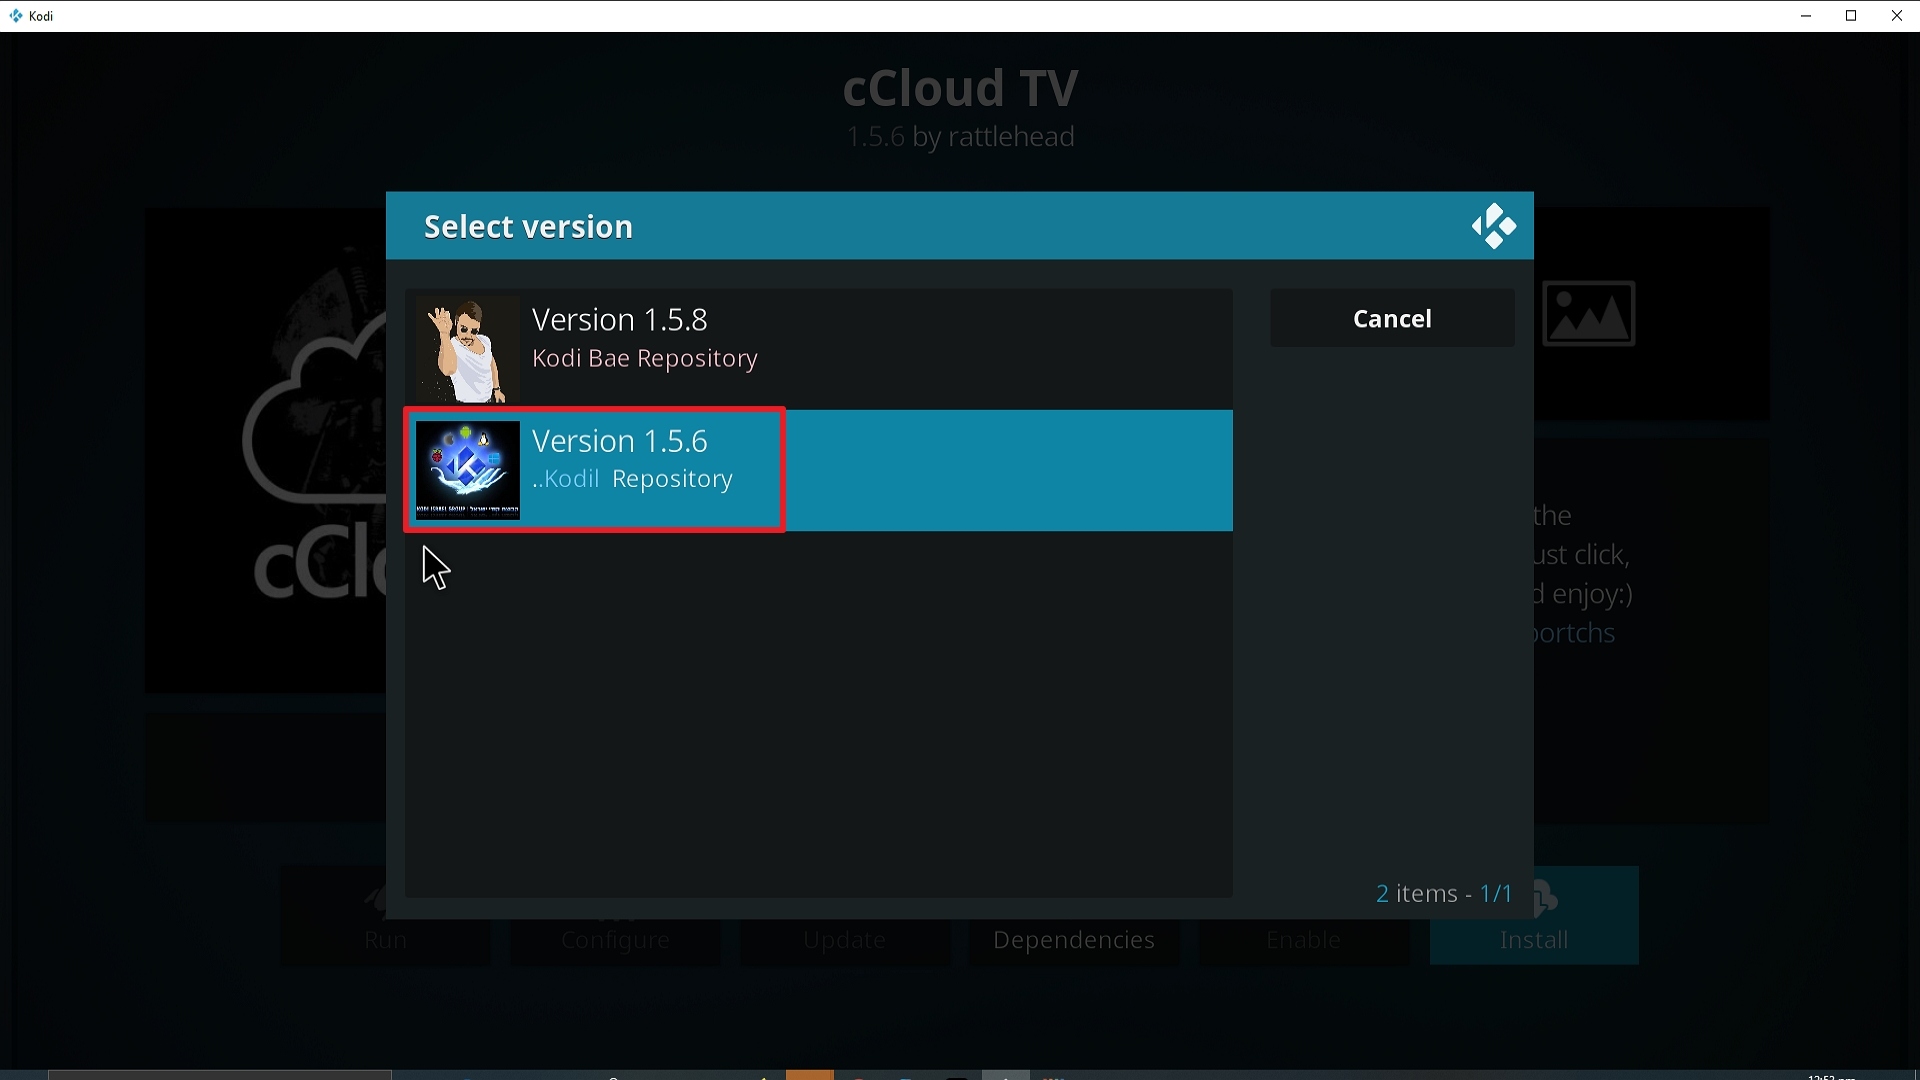
24. Select Version 1.5.6 Kodil Repo
25. Select OK after reviewing the add-ons that will be installed.
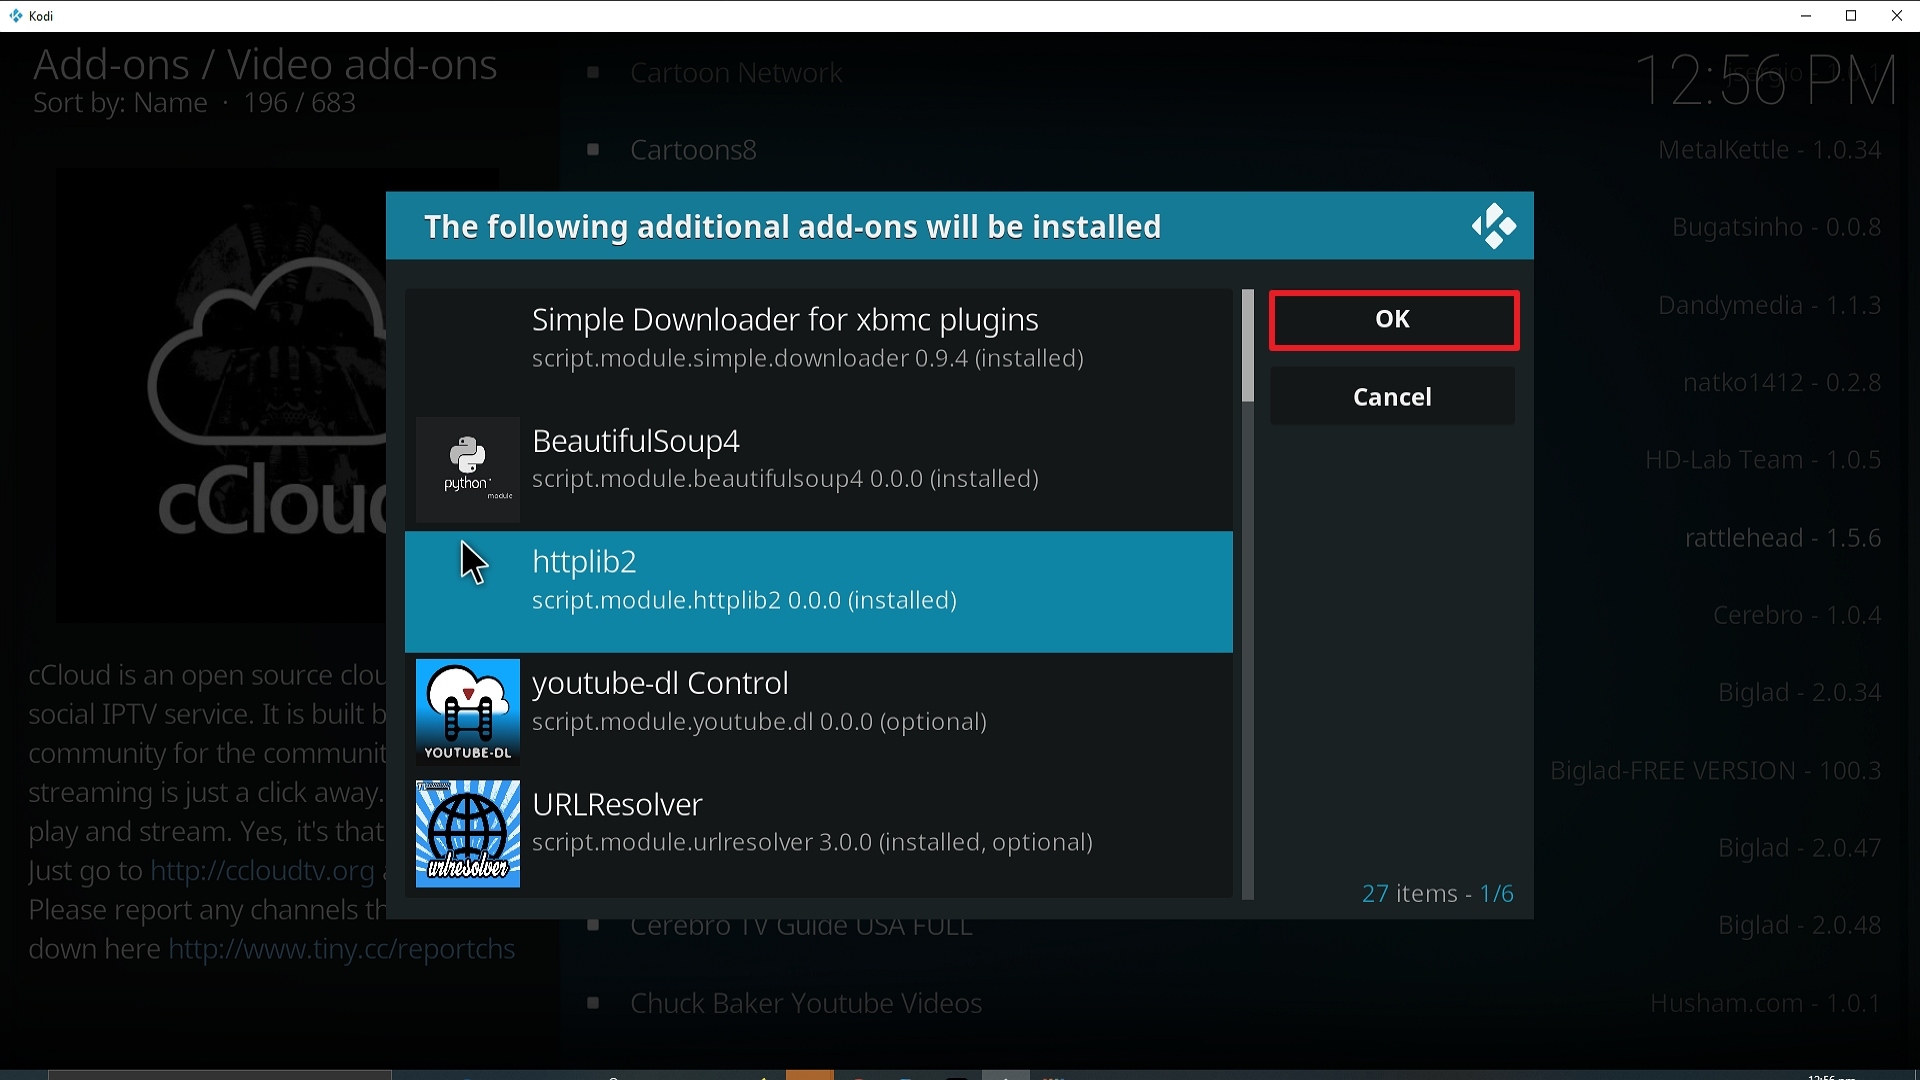
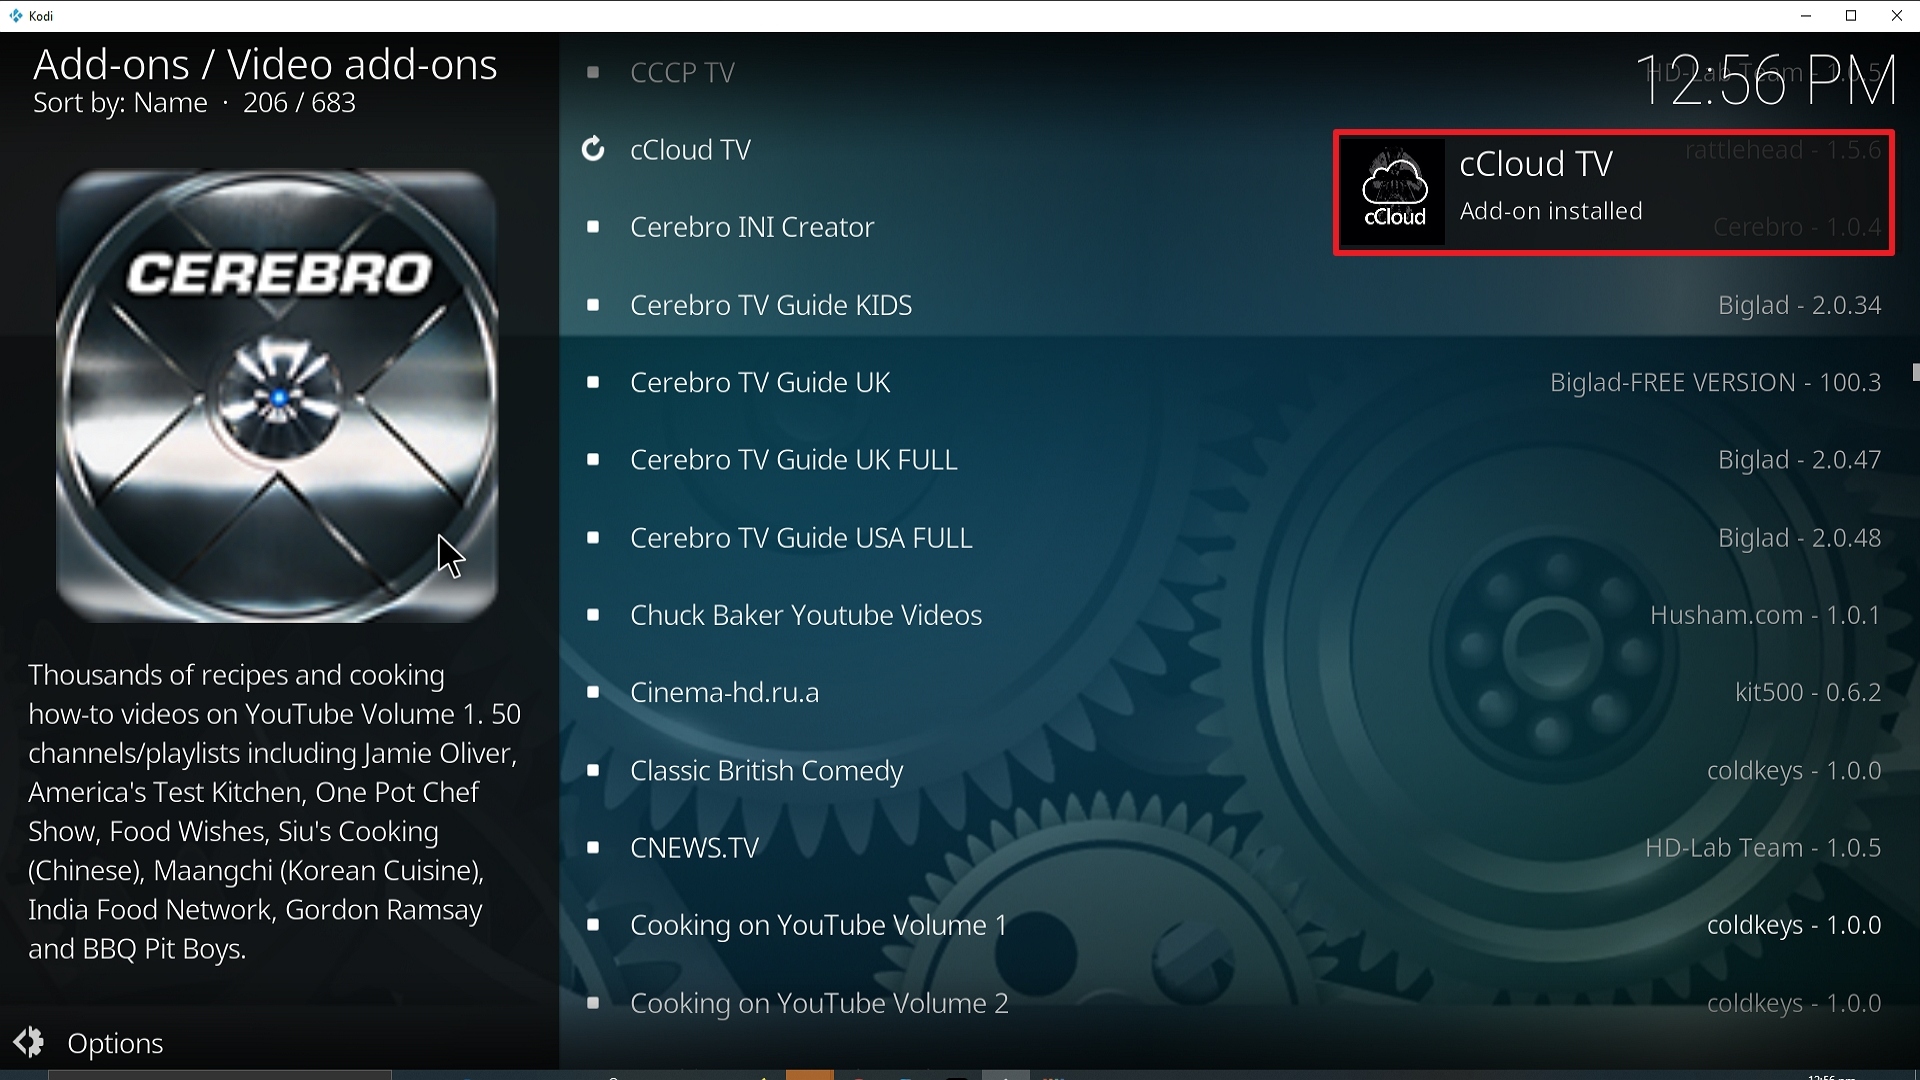
26. You should see a popup in the upper right corner saying cCloud TV has installed. There will actually be multiple popups for the various components.
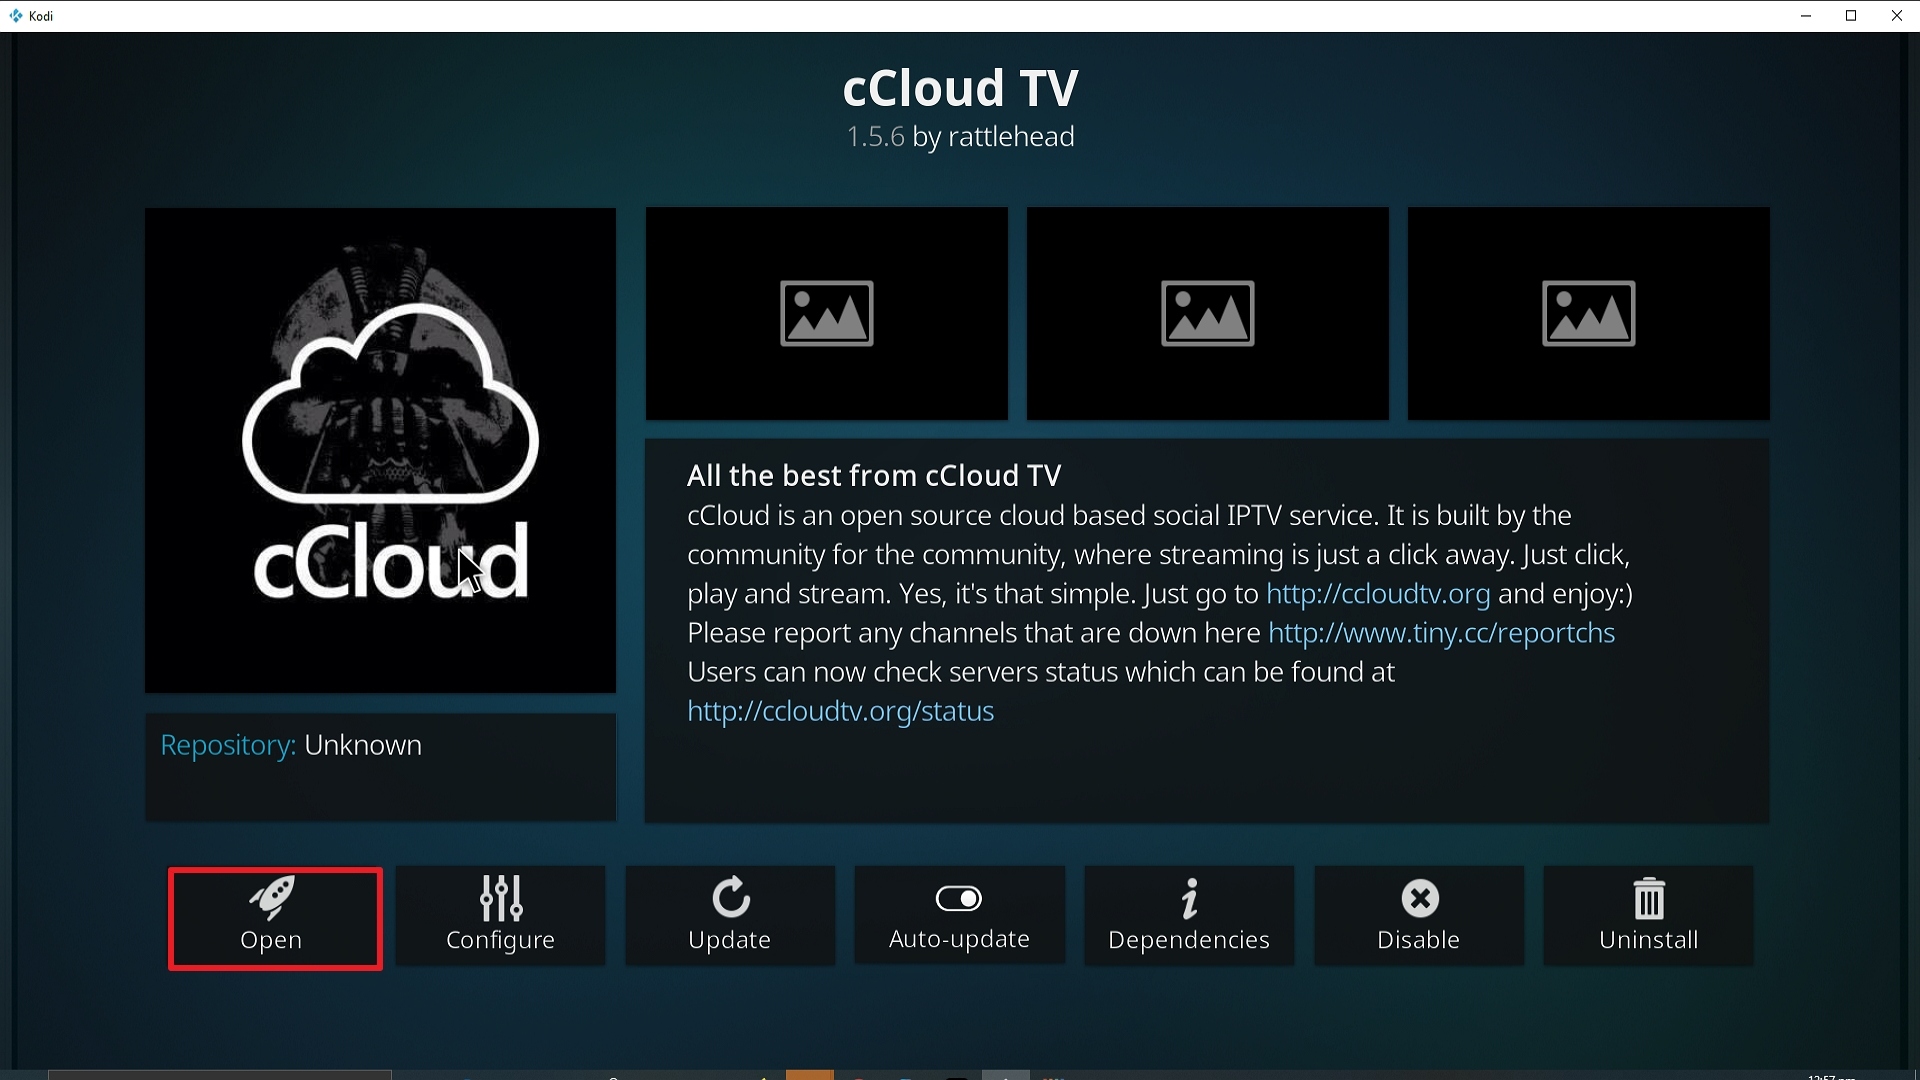
27. Click on Open to start the cCloud TV add-on.
Always Use a VPN On Kodi
It is advisable to install a VPN on your streaming device. This is because any time you are streaming content online, your online data is vulnerable and you are being monitored on the internet service provider’s network.
Not only that, but you will also experience location restrictions. Using a VPN will save you that headache and stress and you will be safe and secure while streaming content online. We recommend Surfshark as it offers high security and privacy with a zero log policy with DNS leak protection.
Note: For more information about Surfshark, please read our Surfshark Review.
How to Install Surfshark VPN on Firestick
If your Firestick still has the older interface, read this article to learn how to update it: Update Firestick Interface.
Follow our screenshots below to install the SurfShark VPN app on your Fire TV stick.
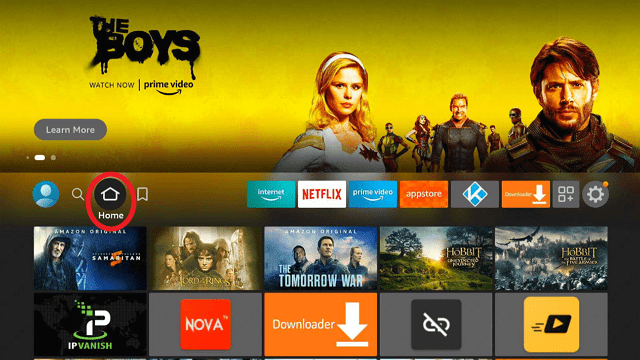
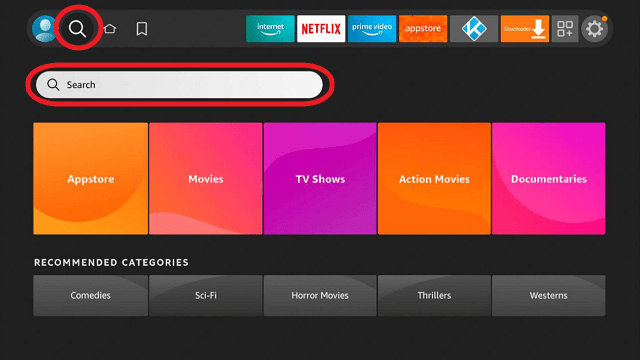
1. Go to the Home screen of your Firestick.
2. Navigate towards the Find tab. Press the Search button from the resulting dropdown.
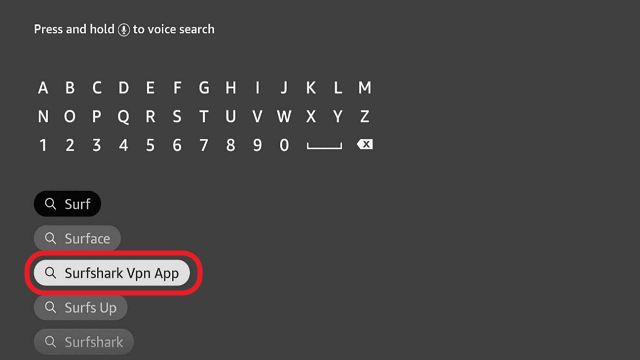
3. Type in the keyword of SurfShark and select from the suggestions that will appear.
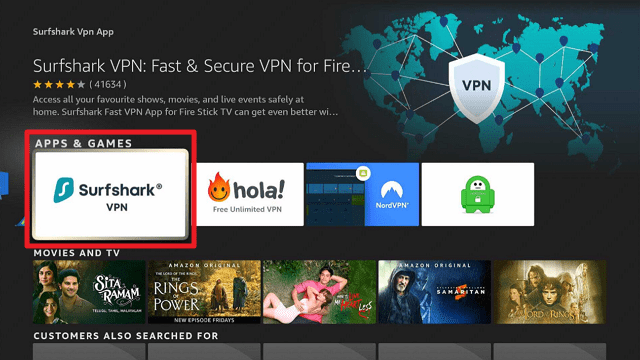
4. Click the official SurfShark icon from your search results.
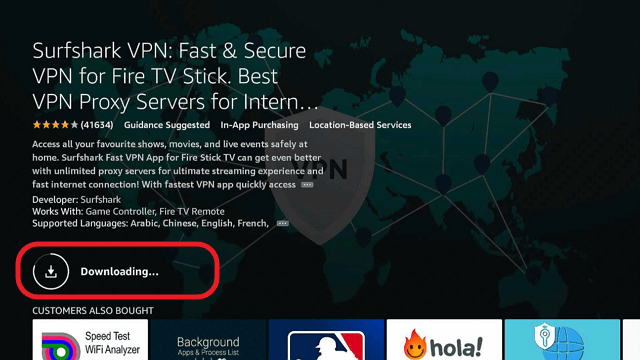
5. Press the Download (You own it) button.
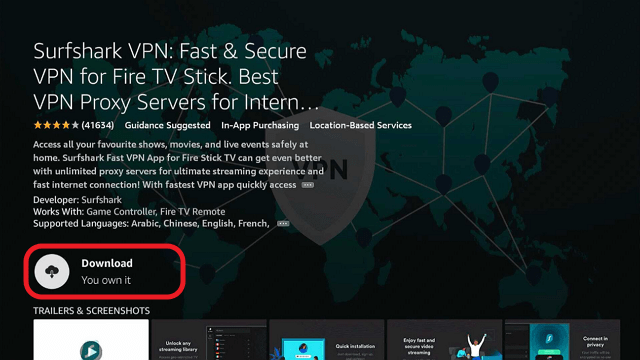
6. The SurfShark VPN installer will download on your device.
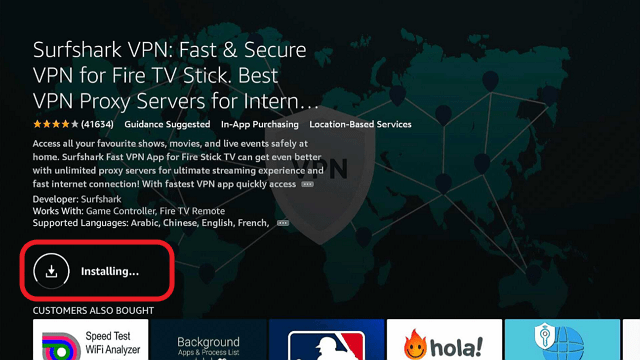
7. SurfShark VPN’s app will automatically install itself on your Fire TV stick.
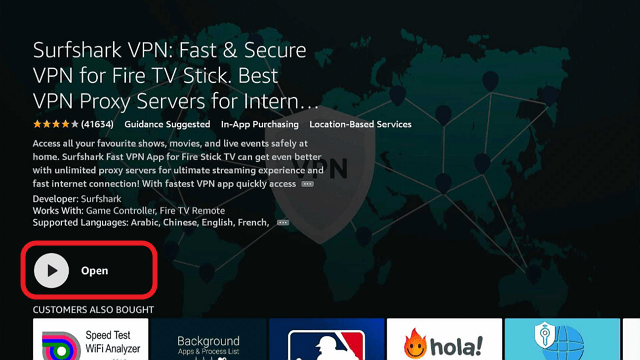
8. Press the Open button after completing SurfShark VPN’s installation process.
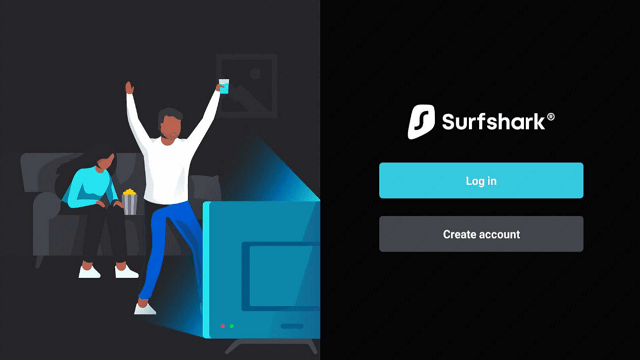
9. Please wait for the SurfShark VPN to load its user interface.

10. You can now log in with your SurfShark VPN account credentials.
Learn more about Surfshark and Grab the Best Surfshark Deal Now!
Install Surfshark on Firestick

For more VPN discounts, go to ReviewVPN Deals and purchase the best VPN for you.
Click here to get the lowest price on Surfshark through our exclusive limited-time offer.